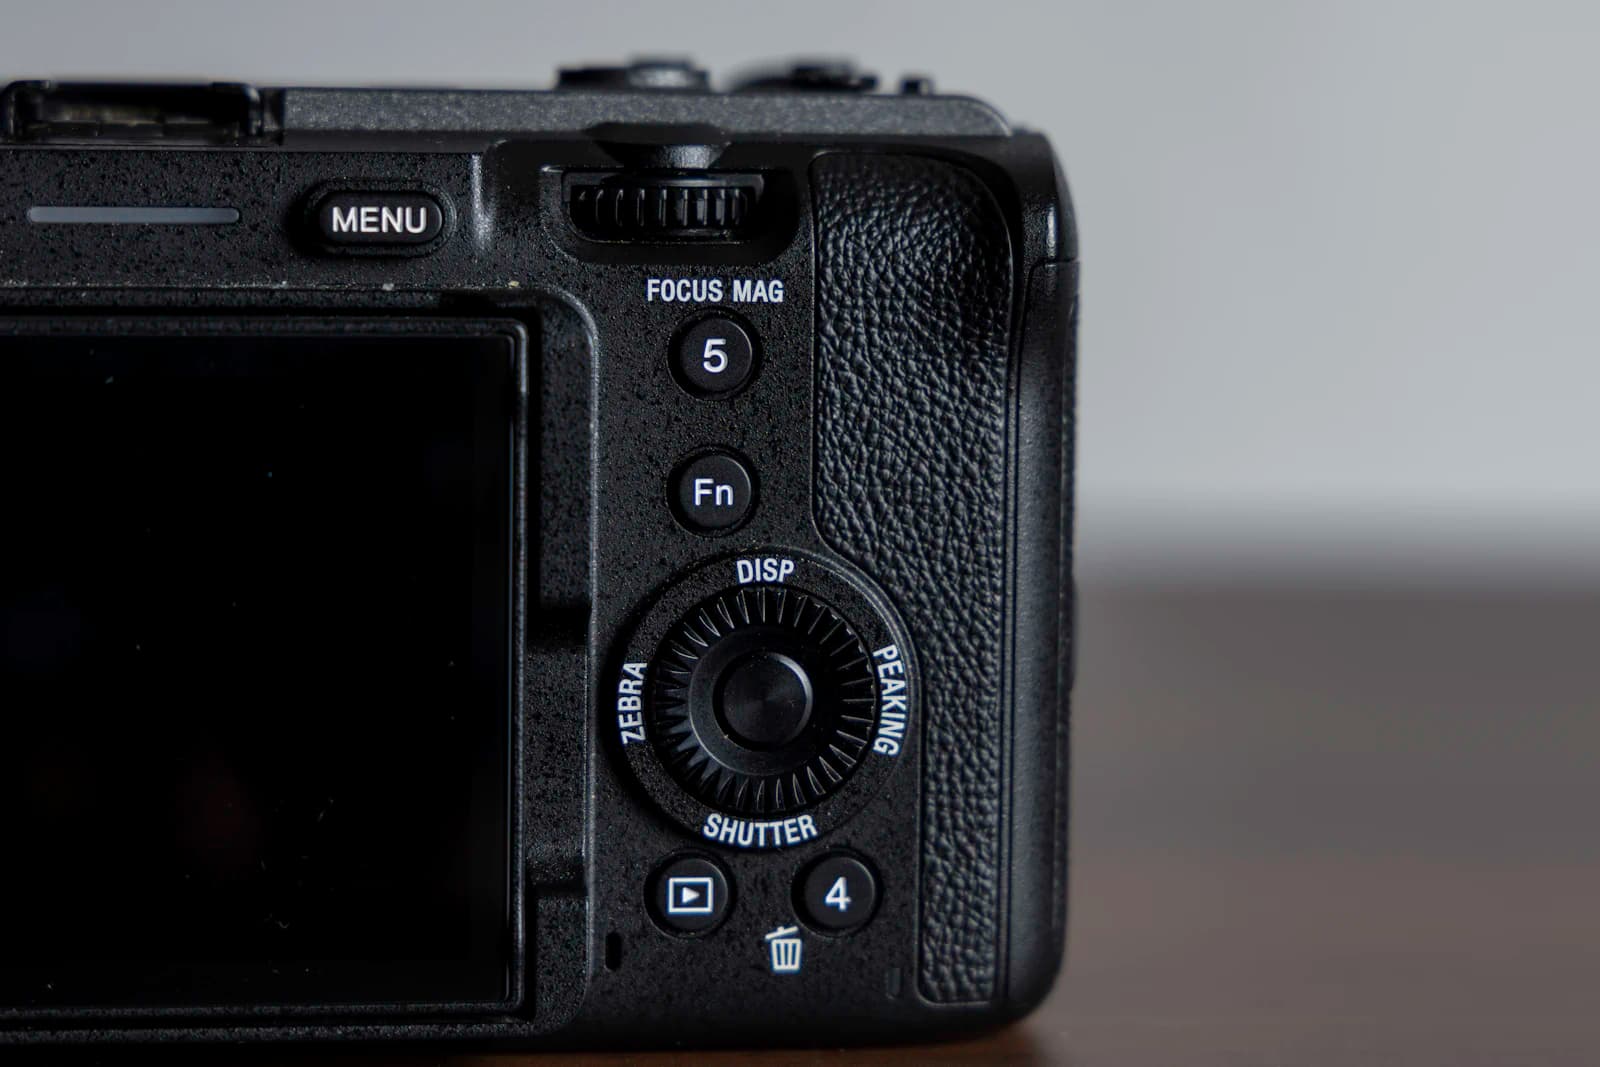
If you've ever tracked a bird weaving in and out of tree branches with the shutter half-pressed the whole time, only to have the camera snap focus onto a branch the instant it crossed the frame — leaving the bird itself soft — that's not a slow autofocus system. It's the shutter button doing two jobs at once: triggering autofocus and triggering the shutter. Back-button focus physically separates those two jobs, moving the autofocus trigger to a dedicated button on the back of the camera (usually labeled AF-ON) and leaving the shutter button to do nothing but fire the shutter.
Default behavior versus back-button focus
By default, half-pressing the shutter re-triggers autofocus every single time, which is fine for one still subject at a time but works against you the moment you want to hold focus through several frames or through a momentary obstruction. Switch to back-button focus and the shutter button only fires the shutter — focus only moves while your thumb is holding down the rear button, and it stays locked exactly where it was the instant you release that button, no matter how many times you press the shutter afterward.
Setting it up: what to look for in the menu
The naming varies by brand, but the mechanism is the same everywhere. Look in the custom function menu for an option along the lines of "assign AF to a rear button" or "decouple shutter from AF" — sometimes labeled Shutter/AF-ON separation — turn off autofocus on the shutter button, and assign the focus trigger to the AF-ON or AEL button instead. Once that's done, half-pressing the shutter will no longer move focus at all, so building the habit of reaching for the rear button becomes essential before you rely on this in the field.
Real scenario 1: a moving subject crossing an obstruction
Tracking wildlife or an athlete through a fence or branches in AF-C (continuous servo) with the shutter half-pressed means the camera snaps onto that obstruction the instant it crosses the frame, and your shutter fires with focus on the wrong thing. With back-button focus, you just lift your thumb off the AF-ON button for that brief moment — the camera holds the last focus point exactly where it was — then press again once the obstruction has passed to resume tracking.
Real scenario 2: locking focus once, then firing repeatedly
Shooting a still subject on a tripod, tap the AF-ON button once to lock focus, then let go — you can recompose, close down the aperture for a bracketed exposure series, or fire off several frames in a row, and focus stays exactly where you set it. With half-press focus, each frame's slightly different half-press angle recalculates focus by a hair each time, which is how a bracketed set ends up with only some frames perfectly sharp.
Common mistakes and things to watch for
The most common mistake right after switching to back-button focus is firing the shutter out of old habit without ever pressing the rear button — since the shutter no longer moves focus at all, that frame gets whatever focus distance was already set, which might not be what you wanted. Check your results on the LCD for the first several shots until the new habit sticks. Some cameras also treat AF-ON behavior separately for video mode, so if you want back-button focus for movies too, check for a second setting specific to video autofocus rather than assuming the stills setting covers it.
Pairing it with AF-S and AF-C
Leave the focus mode set to AF-C (continuous) and pair it with back-button focus, and you effectively get two modes on one button: holding it down tracks a moving subject continuously, and releasing it locks focus instantly, which means you no longer need to flip between AF-S and AF-C menu settings when a shoot mixes still and moving subjects. If the difference between focus modes themselves is still unclear, our guide on AF-S vs AF-C vs Manual Focus (/guides/focus-modes-af-s-vs-af-c-vs-mf) covers that ground first.
Field checklist
- In the custom function menu, turn off autofocus on the shutter button and assign it to the AF-ON button instead.
- Check your results on the LCD for the first several shots until reaching for the rear button becomes automatic.
- Lift your thumb off the AF-ON button to hold focus through a momentary obstruction, then press again to resume tracking.
- For tripod work or bracketed sequences, focus once and release the button rather than half-pressing for each frame.
- If you want this for video too, check for a separate AF-ON setting specific to movie autofocus.