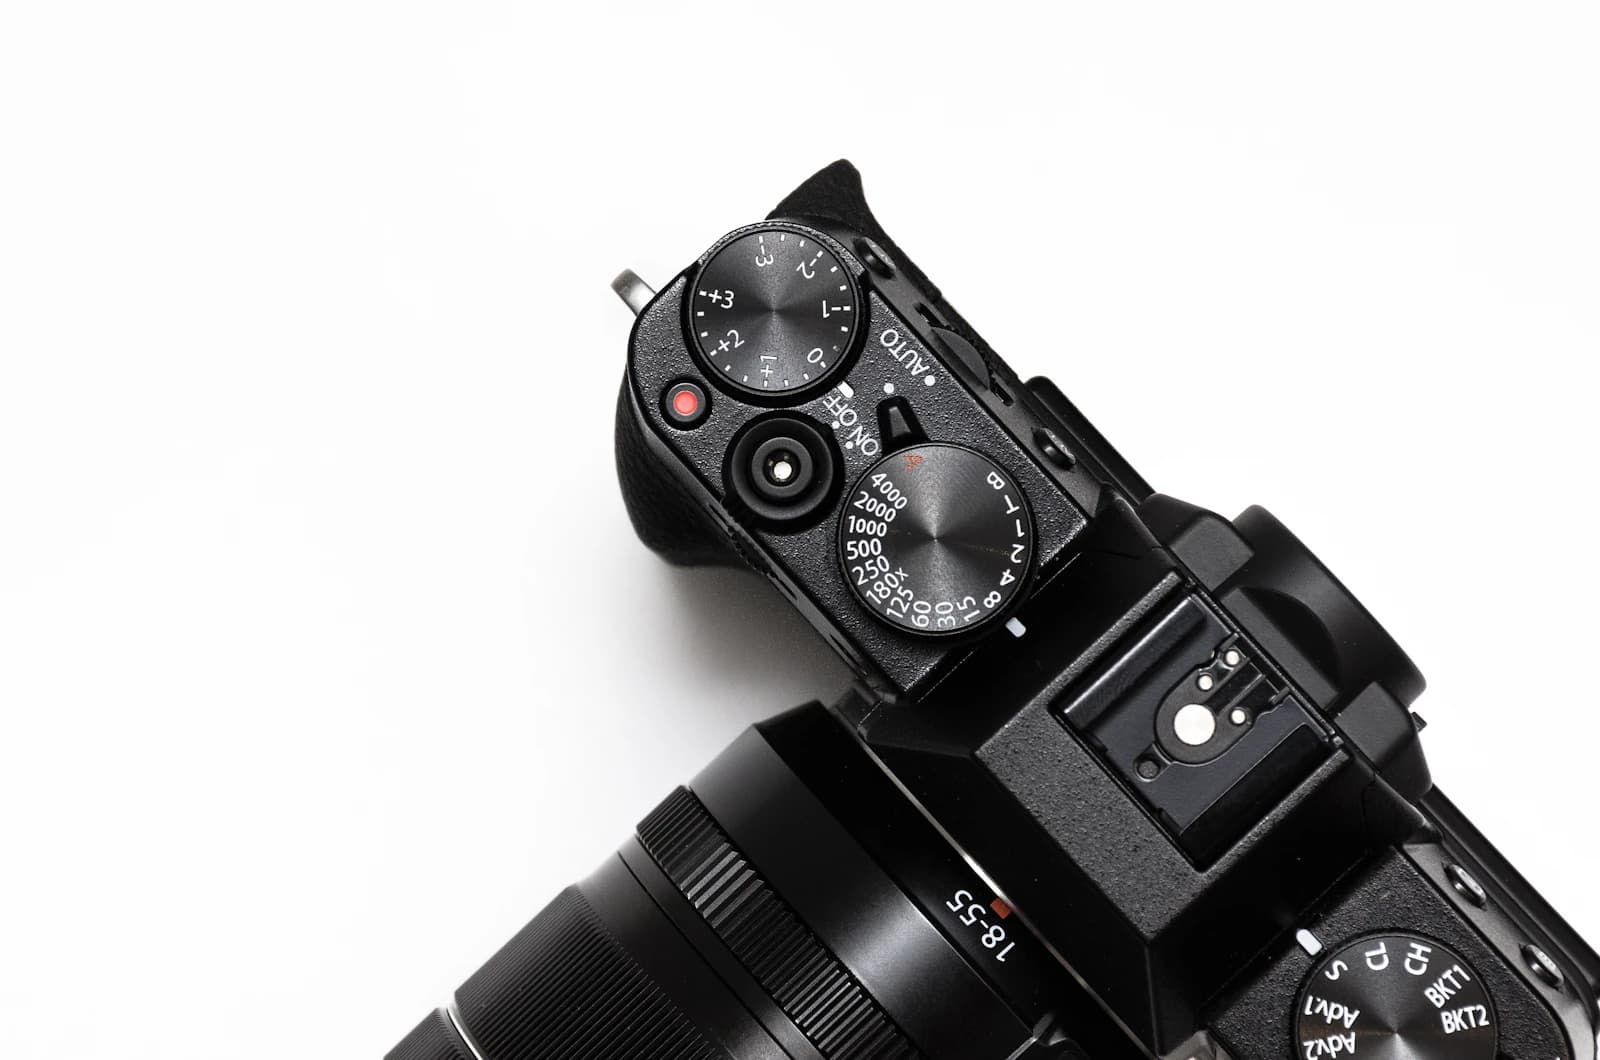
Manual mode has a reputation as the mark of a "real" photographer, which leads a lot of beginners to switch to it before they're ready and end up with worse photos than Auto was giving them. Understanding what Manual actually changes makes it much easier to use well, and to know when it's not even the right tool for the shot.
What Manual Mode Actually Does
In Auto mode, the camera picks aperture, shutter speed, and ISO for you based on its built-in metering, and it recalculates all three every time the light changes. In Manual mode, you set all three yourself and they stay put until you change them, regardless of what the camera's meter thinks. That's the entire difference: Manual doesn't give you access to some hidden capability Auto lacks, it just takes away the camera's authority to override your settings.
This matters most when the camera's automatic judgment and your creative intent disagree. A backlit subject, a scene with both very bright and very dark areas, or a shot where you want the exposure to stay exactly the same across a series of frames (like a time-lapse or a panorama) are all situations where Auto's constant recalculating works against you, and Manual's stability works for you.
Setting the Three Controls, in a Sensible Order
There's no single correct order, but this sequence works well for most situations and avoids the most common beginner mistake of adjusting all three controls at once and losing track of what changed what.
1. Aperture first, because it decides depth of field, which is usually the first creative decision for a shot — a wide aperture for a blurred background portrait, a narrow one for a landscape you want sharp front to back.
2. Shutter speed second, based on what needs to freeze or blur. A moving subject needs a fast shutter; a static tripod shot can go slow; a deliberately blurred waterfall or light trail needs slow on purpose.
3. ISO last, as the adjustment you make to bring the exposure to correct once aperture and shutter speed are locked in by your creative choices. Start low and raise it only as much as the first two settings force you to.
Check your camera's light meter (the scale visible in the viewfinder or on the LCD) after each setting — it tells you how far your current combination is from what the camera considers a balanced exposure, which is useful information even when you intend to deviate from it.
When Auto or a Semi-Automatic Mode Is Honestly Better
Manual mode isn't automatically superior. If you're shooting fast-changing situations where the light shifts constantly and you don't have time to re-meter between shots — street photography, a kid's birthday party, a fast-moving event — Auto or one of the semi-automatic modes (Aperture Priority, where you set aperture and the camera picks shutter speed, or Shutter Priority, the reverse) will keep more of your shots correctly exposed than trying to manually track a changing scene. Many professional photographers shoot in Aperture Priority for a large share of their work specifically because it removes one variable from a fast-moving situation without giving up creative control over the other two.
A Practical Way to Practice
Set your camera to Manual in a controlled, unhurried environment — a stationary subject in consistent light — and practice the three-step order above until adjusting all three settings feels automatic rather than something you have to think through step by step. Once that muscle memory is in place, Manual mode stops being slower than Auto and starts being the mode that gives you exactly the photo you intended, rather than the photo the camera guessed you wanted.