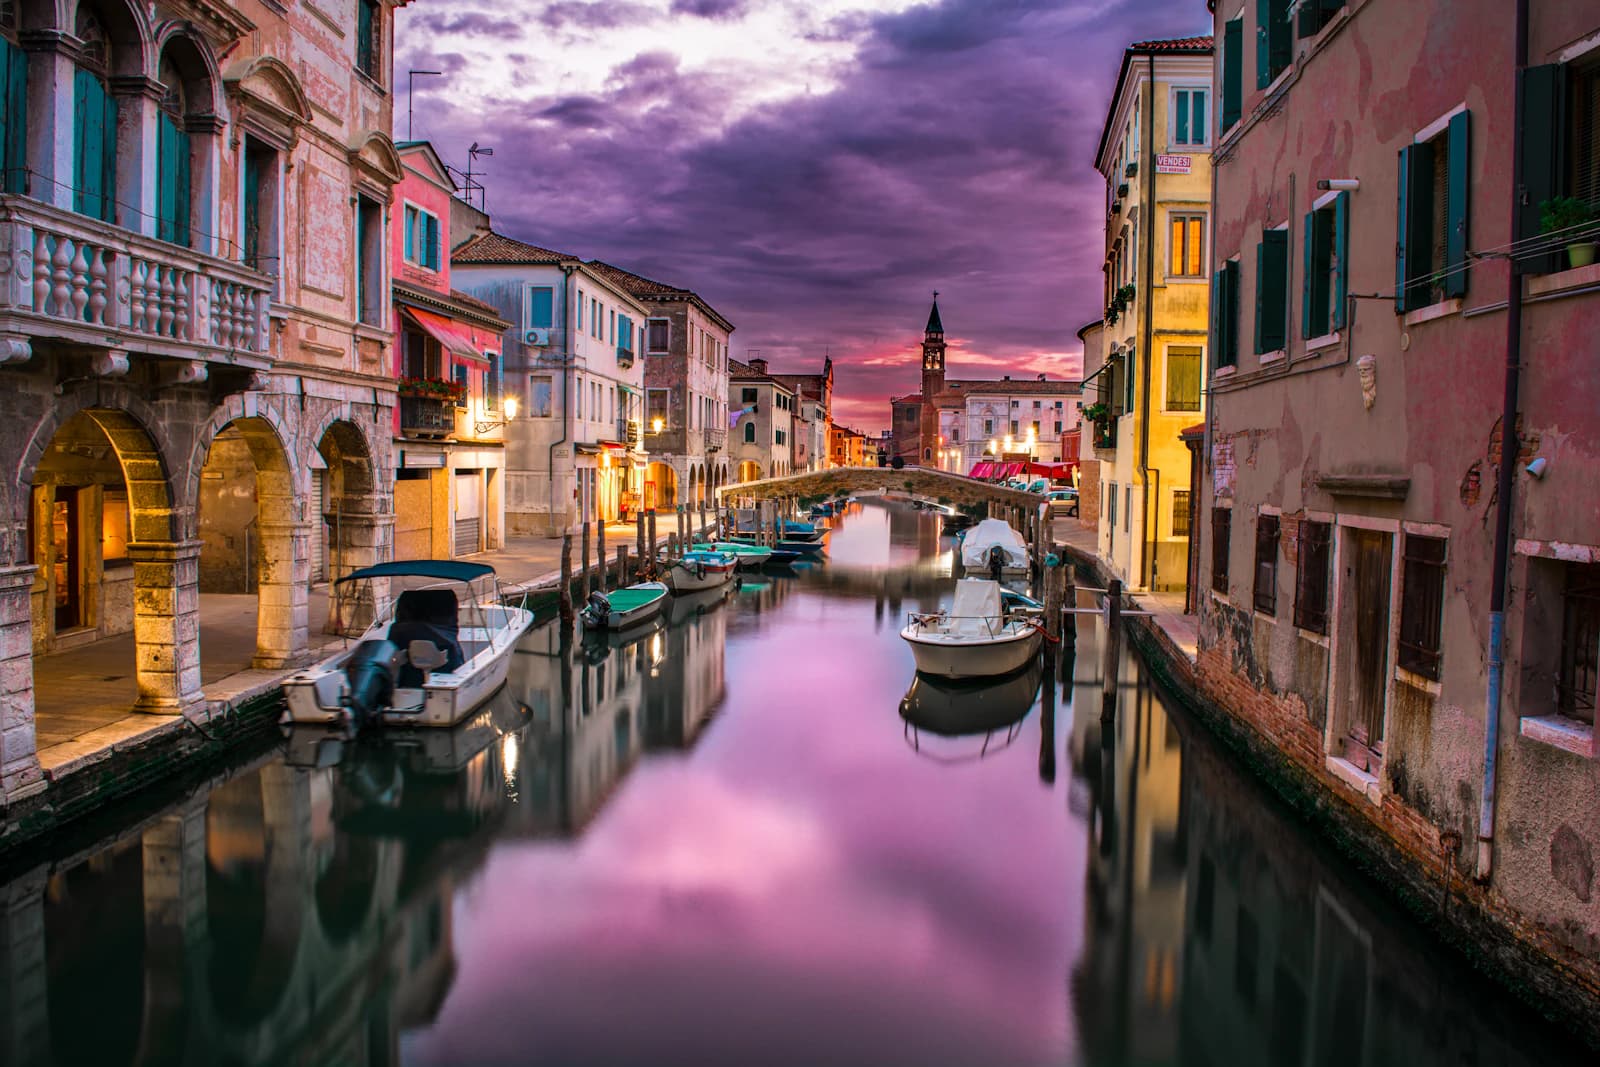
If you've ever exposed for a face near a window only to blow out the view outside, or exposed for the window and lost the face to shadow, that's not a technique problem — it's your sensor's dynamic range (the spread between the brightest and darkest tones it can record) running out before the scene's actual brightness range does. No single exposure can solve that physically. The fix is to shoot several exposures of the same frame and combine them afterward — a technique called exposure bracketing, with the merge itself known as HDR (High Dynamic Range) blending.
Setting up AEB (Auto Exposure Bracketing)
Most cameras let you set both the number of frames and the stop (EV) spacing in the AEB menu. For an ordinary backlit scene where the interior/exterior gap isn't extreme, 3 frames at ±2EV (say -2EV/0EV/+2EV) is often enough. But for an extreme scene — a sunset sky against a dark foreground — 5 frames at ±1EV (-2/-1/0/+1/+2EV) captures the tonal transition more finely, which noticeably reduces banding and noise when you blend later. Most cameras cap AEB at 3 frames, so anything beyond that means switching to manual shutter changes between shots.
Why you only touch shutter speed
Bracketing only works cleanly if aperture and ISO stay fixed and shutter speed does all the work. Change the aperture between frames and your depth of field shifts too, which misaligns edges when the images merge. Change ISO and the noise pattern differs frame to frame, which trips up the blending software's ability to stitch tones smoothly. Lock in f/8 and ISO 100, then move shutter speed alone across 1/500s (-2EV), 1/125s (0EV), and 1/30s (+2EV) — all three frames keep the same depth of field and noise character, so the blend holds together.
Why a tripod is close to mandatory
Because the technique relies on merging multiple frames, even a small amount of movement between shots shows up as doubled or blurred edges in the blend. If a tripod isn't an option, fire the AEB burst using continuous high-speed drive so all three frames land in a fraction of a second, minimizing hand-shake drift, then make sure to run the alignment step in your blending software afterward. Auto-alignment handles flat scenes reasonably well but can leave visible distortion in scenes with strong perspective, so treat it as a backup rather than a substitute for a tripod.
Ghosting from moving subjects
Anything that shifts position between frames — leaves in the wind, a person walking through, rippling water — tends to show up as a translucent double image after blending, a problem known as ghosting. Most HDR software (Lightroom, Photomatix, and similar) offers ghost removal, but it works by pulling one reference frame's exposure into just that region, which isn't a perfect fix. For a busy street scene with a lot of movement, a single RAW exposure recovered with highlight/shadow sliders in post often looks more natural than a bracketed blend.
Why RAW matters here
JPEG frames are already compressed down to 8-bit tonal data, which limits how much brightness information the blend has to work with. RAW preserves the original 12-14 bit tonal range, so merging the same three exposures produces a noticeably smoother transition between sky and shadow. The gap between RAW and JPEG results widens the more aggressive your tone mapping is (the stronger that exaggerated "HDR look" gets), so shooting bracketed sequences in RAW is worth the extra file size.
A common mistake
It's easy to set the stop spacing too tight — ±0.3EV, say — and end up with three frames that barely extend the dynamic range at all. The spacing should match the actual brightness gap in the scene, and it's worth checking the highlights of your brightest frame and the shadows of your darkest frame on the camera's rear screen right after shooting, so you catch clipped tones before you've left the location.
Practical checklist
- Lock aperture and ISO, and vary only shutter speed across the bracket.
- Try 3 frames at ±2EV for ordinary backlit scenes, 5 frames at ±1EV for extreme dynamic range.
- Use a tripod when you can; fall back on continuous burst mode to minimize hand-shake drift.
- For scenes with a lot of movement, consider a single RAW exposure with highlight/shadow recovery instead of bracketing.
- Shoot RAW to preserve the most tonal information for the blend.
- Check the highlight and shadow clipping on your brightest and darkest frames on-site before you move on.