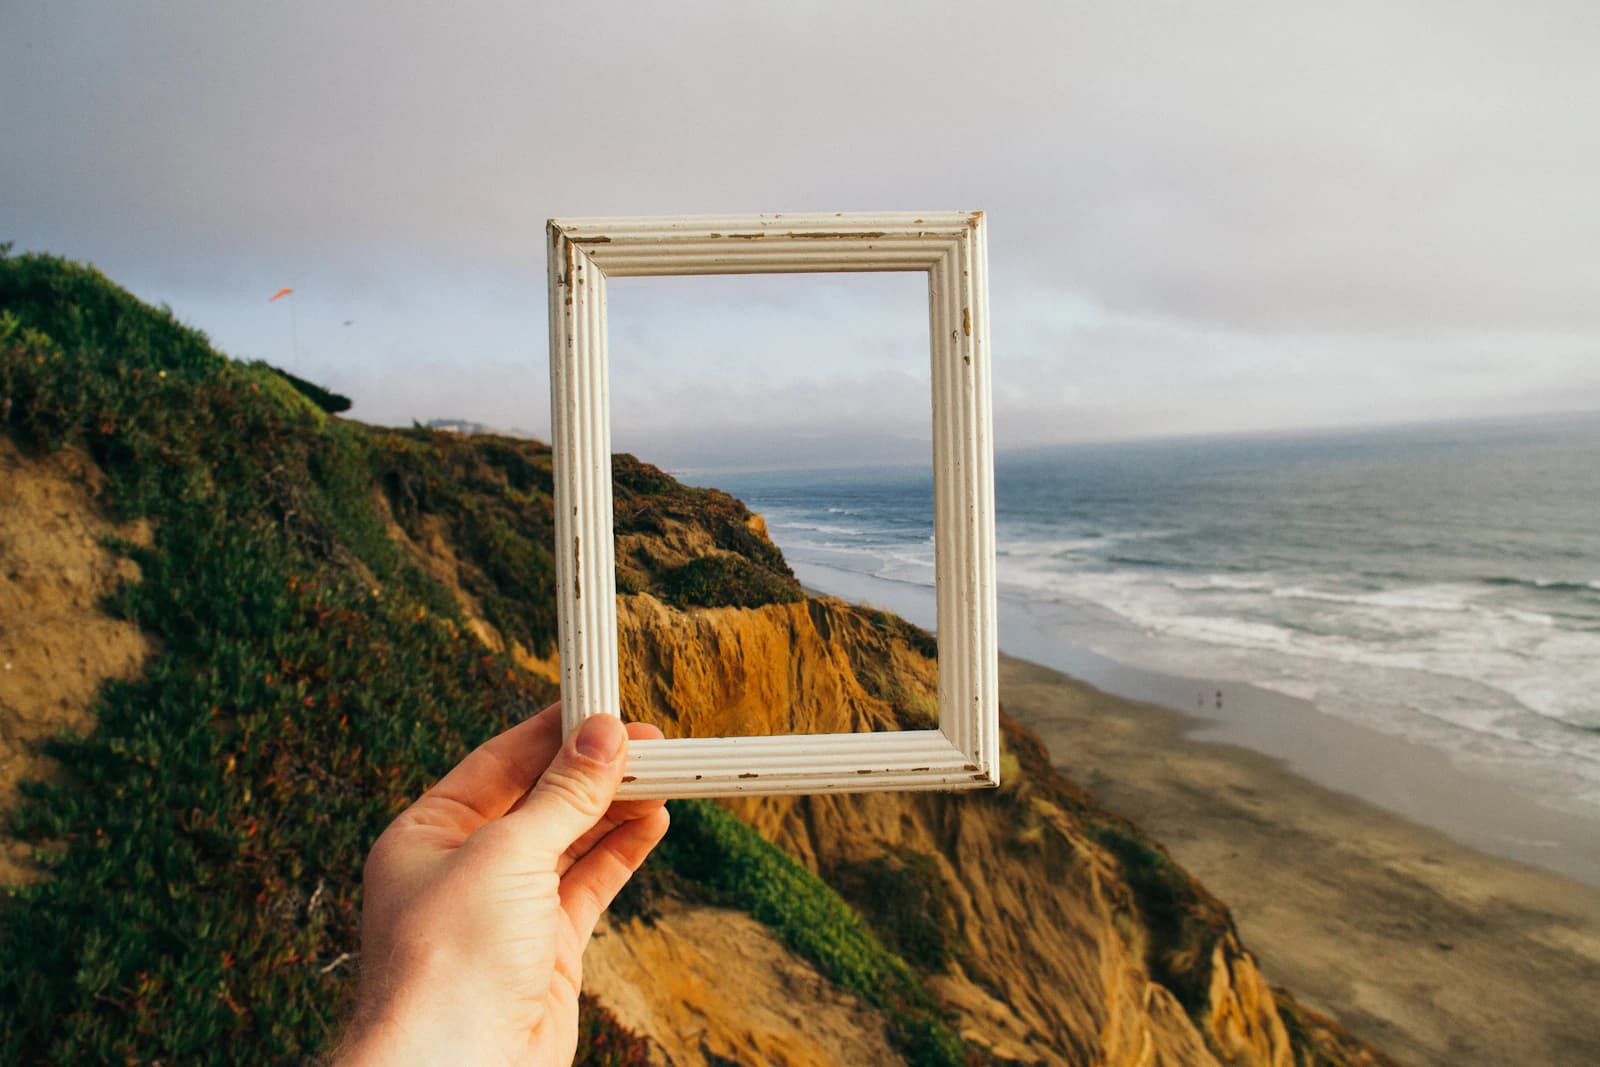
Scroll through photography accounts on Instagram or a photographer's portfolio site and you'll notice a recurring detail: a thin border under the photo listing the camera, lens, and exposure settings used to take it. This isn't just decoration — it serves a few real purposes, and it's simpler to add than most people expect.
Why Add a Camera-Info Frame at All
It's a signature. A consistent frame style across your posts makes your work instantly recognizable in a feed, the same way a watermark does, but without covering any part of the actual image.
It's informative. Other photographers genuinely want to know what gear and settings produced a shot they like. A frame with the camera, lens, aperture, shutter speed, and ISO answers that question without anyone needing to ask in the comments.
It protects context. Once a photo leaves your camera roll and gets reposted, downloaded, or screenshotted, the original EXIF metadata is often stripped by the platform. A frame bakes that information directly into the image pixels, so it survives regardless of what happens to the file's metadata.
Choosing a Frame Style
The right style depends on where the photo is going and what mood you're after:
- Minimal, thin-border styles (a simple dark or light mat with small text) work well for a personal portfolio or a printed contact sheet, where you want the information present but unobtrusive.
- Bold caption styles (larger text, sometimes with a logo or brand mark) suit social media, where the frame needs to read clearly at thumbnail size in a crowded feed.
- Film-inspired or vintage styles suit a specific aesthetic — useful if your work already leans toward a particular visual identity and you want the frame to match rather than contrast.
Most tools that generate these frames — including ExifLens's frame generator — offer several preset styles plus the ability to customize colors, fonts, and which fields are shown, so you're not locked into one look.
Step-by-Step: Adding a Frame
- Upload the photo. Drop it into the frame generator; its EXIF data (camera, lens, aperture, shutter speed, ISO, focal length, date taken) is read automatically, entirely in your browser.
- Pick a theme. Preview a few styles to see which fits the photo and the platform you're posting to.
- Adjust what's shown. Not every field needs to appear — some photographers prefer just camera and lens, others want the full exposure triangle. Any field can be edited or removed without changing the underlying EXIF data.
- Fine-tune the look. Padding, background color, text color, and font can usually all be adjusted so the frame matches your brand or personal style rather than a generic default.
- Download at full resolution. A good frame generator exports the photo at its original resolution plus the added border — no compression loss, no re-encoding artifacts, and nothing ever leaves your browser in the process.
A Note on Privacy
If you're framing a photo that includes GPS coordinates in its EXIF data, check what fields the frame actually displays before sharing. Most frame generators only show camera and exposure info by default, not location data, but it's worth confirming — especially if you're publishing publicly and would rather not reveal where the photo was taken.
When Not to Use a Frame
A frame adds visual weight, so it's not always the right call. Competition submissions, stock photography, and client deliverables typically expect a clean, unframed image, since the frame competes with the photo itself and most platforms and clients want to add their own presentation. Save the frame for channels where it's genuinely additive — your own portfolio, personal social accounts, or a photography community where the technical details are part of the conversation.