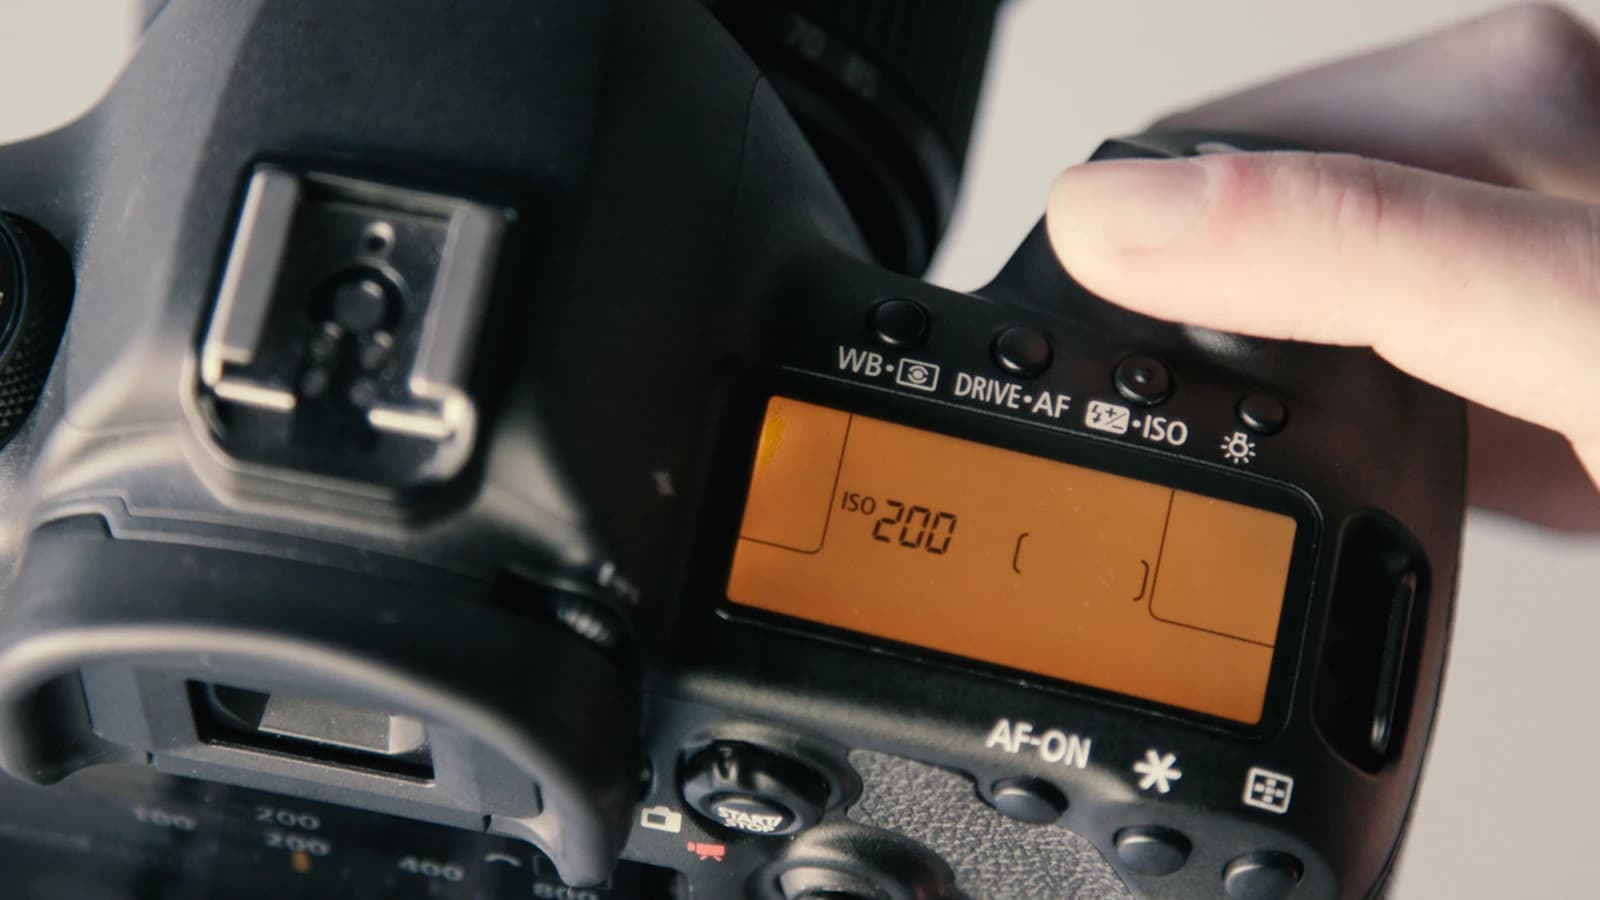
Every photo your camera saves carries a small, invisible file inside it — EXIF (Exchangeable Image File Format) data. It's a log of exactly how the shot was taken: which camera and lens were used, and the three settings that decide how bright or dark the photo turns out — ISO, shutter speed, and aperture. If you've ever opened a photo's "details" panel and seen a wall of numbers you didn't fully understand, this guide walks through what each one means and why it matters.
What Is EXIF Data?
EXIF data is metadata — information about the photo, not the photo itself — written into the image file at the moment you press the shutter. It typically includes the camera make and model, the lens used, the date and time the photo was taken, GPS coordinates (if location services were on), and the three exposure settings covered below. None of this is visible in the image itself; you need a viewer that reads the file's metadata, like the panel at the top of this page.
ISO: How Sensitive Is Your Sensor?
ISO controls how sensitive your camera's sensor is to light. A low ISO (100 or 200) means the sensor needs more light to produce a properly exposed image — this is what you'd use on a bright, sunny day. A high ISO (1600, 3200, or higher) makes the sensor react more strongly to whatever light is available, which is useful indoors or at night, but it comes with a tradeoff: more digital noise (visible grain or speckling) in the final photo.
The rule of thumb is to keep ISO as low as the lighting conditions allow. If your photo looks noisy or grainy, checking its EXIF ISO value is often the first step in diagnosing why.
Shutter Speed: How Long Is the Shutter Open?
Shutter speed is the length of time your camera's sensor is exposed to light, measured in seconds or fractions of a second — 1/1000s, 1/125s, 1/30s, 2s, and so on. A fast shutter speed (1/1000s or faster) freezes motion, which is why it's used for sports or wildlife photography. A slow shutter speed (1/30s or slower) lets more light in but risks motion blur — from camera shake, a moving subject, or both.
Slow shutter speeds are also the basis of long-exposure photography: silky waterfalls, light trails, and star trails are all created by leaving the shutter open for seconds, or even minutes, at a time. If you're shooting long exposures in daylight, you'll usually need a neutral density (ND) filter to avoid overexposing the shot — our ND filter calculator handles that math for you.
Aperture: How Much Light Gets Through?
Aperture is the size of the opening in your lens that light passes through, expressed as an f-number (f/1.8, f/4, f/11, and so on). Counterintuitively, a smaller f-number means a larger opening — f/1.8 lets in far more light than f/11. Aperture affects two things at once: how much light reaches the sensor, and depth of field — how much of the scene, from foreground to background, is in sharp focus.
A wide aperture (f/1.8, f/2.8) lets in a lot of light and produces a shallow depth of field, which is why portrait photographers use it to blur the background behind a subject. A narrow aperture (f/11, f/16) lets in less light but keeps much more of the scene in focus, which is why landscape photographers favor it.
How These Three Work Together (The Exposure Triangle)
ISO, shutter speed, and aperture are collectively known as the exposure triangle, because changing any one of them affects how much adjustment the other two need to keep the exposure balanced. Widen the aperture and you can use a faster shutter speed or lower ISO for the same brightness. Raise the ISO and you can use a faster shutter speed or a narrower aperture. There's no single "correct" combination — the right settings depend on what you're photographing and which tradeoff (motion blur, noise, depth of field) matters most for that shot.
This is exactly why reviewing EXIF data after the fact is so useful: it tells you precisely which combination produced a result you liked (or didn't), so you can repeat or adjust it next time.
How to Check Your Photo's EXIF Data
Most desktop photo software and even your phone's native gallery app can show basic EXIF data, but the fastest way — without installing anything — is to drop the photo into a browser-based EXIF viewer like ExifLens. It reads the camera, lens, ISO, shutter speed, aperture, and focal length directly from the file, entirely in your browser; the photo is never uploaded anywhere.
If you're editing your ND filter settings or exporting a photo with its camera info displayed on the frame, having the EXIF data extracted automatically saves you from digging through menus in editing software just to find a single number.
A Few Common Questions
Does deleting or editing a photo remove its EXIF data? Some edits strip it entirely (especially messaging apps and social platforms, which often scrub EXIF for privacy), while others preserve it. If you need to check, re-upload the edited file to an EXIF viewer.
Why does my photo have no EXIF data at all? Screenshots, scanned images, and heavily processed exports (some social media downloads, for instance) often have no camera metadata because they were never generated by a camera sensor in the first place.
Is EXIF data a privacy concern? It can be — GPS coordinates in particular reveal where a photo was taken. If you're sharing photos publicly, it's worth checking whether location data is included before you post.