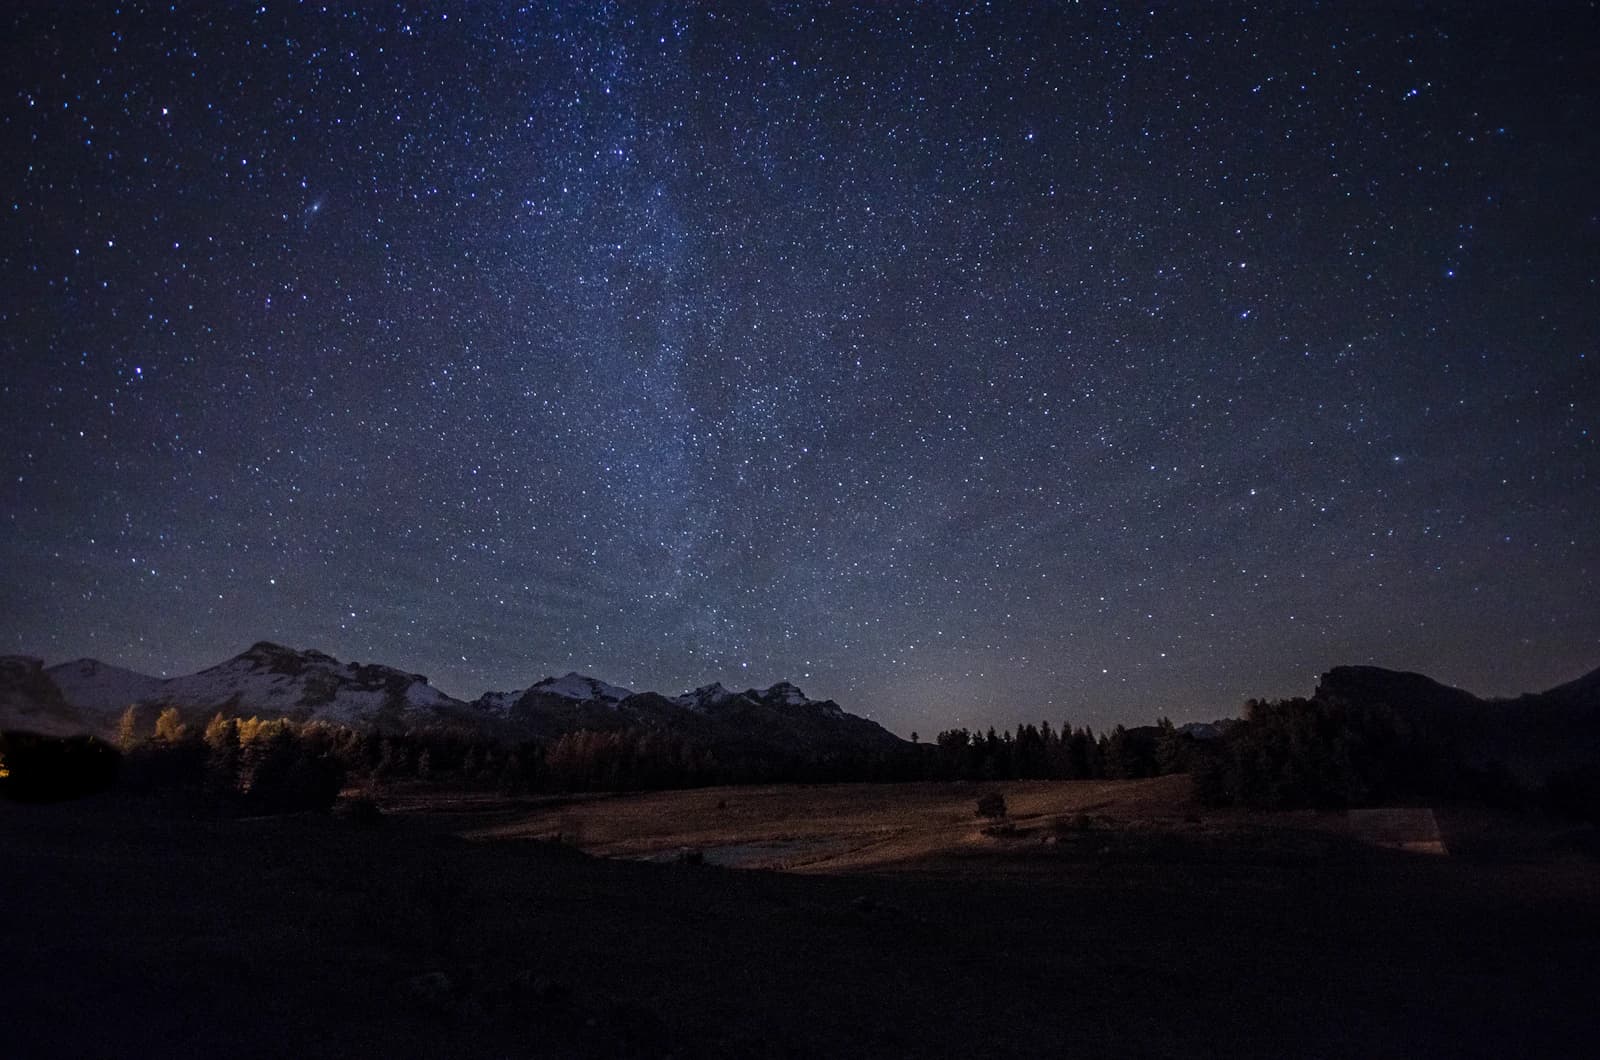
It's possible to calculate a perfect exposure and still come home with a photo where the Milky Way is nowhere to be seen, or the sky is just a flat, washed-out haze. Camera settings are only half of a Milky Way photograph; the other half is planning when and where to point the camera in the first place.
The galactic core is only up during certain months
What most people mean by "the Milky Way" in a photo isn't the whole galaxy but the galactic core — the dense, bright band of stars and nebulae near its center. In the northern hemisphere, the core is only above the horizon roughly from late February through October, visible in the early evening during summer and only in the pre-dawn hours during the shoulder months. In the dead of winter, the core sits below the horizon all night, so no exposure setting, however well calculated, can put it in your frame.
Moonlight is the easiest thing to wash it out
Even at a genuinely dark site with no light pollution, a night near full moon floods the whole sky with enough light to erase the Milky Way's faint contrast against the background. The safe window in practice is roughly the 3–4 nights around new moon, timed for a stretch when the moon has either not yet risen or has already set. Check moonrise, moonset, and moon phase a few days ahead using a weather or astronomy app rather than leaving it to chance.
Light pollution maps narrow down where to go
Even with the season and moon phase right, shooting too close to a city leaves the whole sky glowing orange and buries the Milky Way's subtle color variation. Checking a light pollution map for a low Bortle-class (dark) location ahead of time, and weighing that against how far you're willing to drive, produces far better results than picking a spot on the fly once you're already out.
The calculator only comes in once timing and location are set
Once the season, moon phase, and site are locked in, it's finally time to nail down the exposure. Enter your lens's focal length, your aperture, and your camera's sensor format and resolution into ExifLens's Astrophotography Calculator (/tools/astrophotography-calculator), and it returns the maximum shutter speed under both the 500 rule and the NPF rule immediately. Working out a few likely aperture values ahead of time at home, rather than doing the math in the dark at the site, saves a lot of fumbling once you're there.
The common mistake: checking only the weather forecast
The most common way a Milky Way shoot falls flat is checking nothing but a clear-sky forecast. A perfectly clear night still won't deliver if the galactic core hasn't risen yet, or if it happens to fall near full moon — no amount of exposure precision fixes either problem. Make it a habit to check galactic core visibility and moon phase alongside the weather every time.
Field checklist
- Confirm the galactic core's visibility season (roughly late February through October) and that night's visible window before anything else.
- Pick a night within 3–4 days of new moon, in a window when the moon is down — full-moon brightness is the easiest way to lose the Milky Way.
- Check a light pollution map ahead of time and pick a low Bortle-class location.
- Only after location and timing are set, use the astrophotography calculator to lock in the maximum shutter speed for your lens, aperture, and sensor.
- Don't rely on a clear-sky forecast alone — check galactic core visibility and moon phase every time.