Most of what we publish on ExifLens is about numbers: stops, distances, angles. This post is different. It looks at six photographs we made ourselves (each carries our "Chronicle of Moments_SH" watermark) and asks a simple question about each one: what idea made us raise the camera, and which technique turned that idea into a frame? One caveat up front. These files no longer carry their original shooting data, so we will not quote exact apertures or shutter speeds as if we had them in front of us. Instead we describe what each frame teaches and give starting points you can test with our calculators.
1. The sunrise seascape: slowing the water to build calm
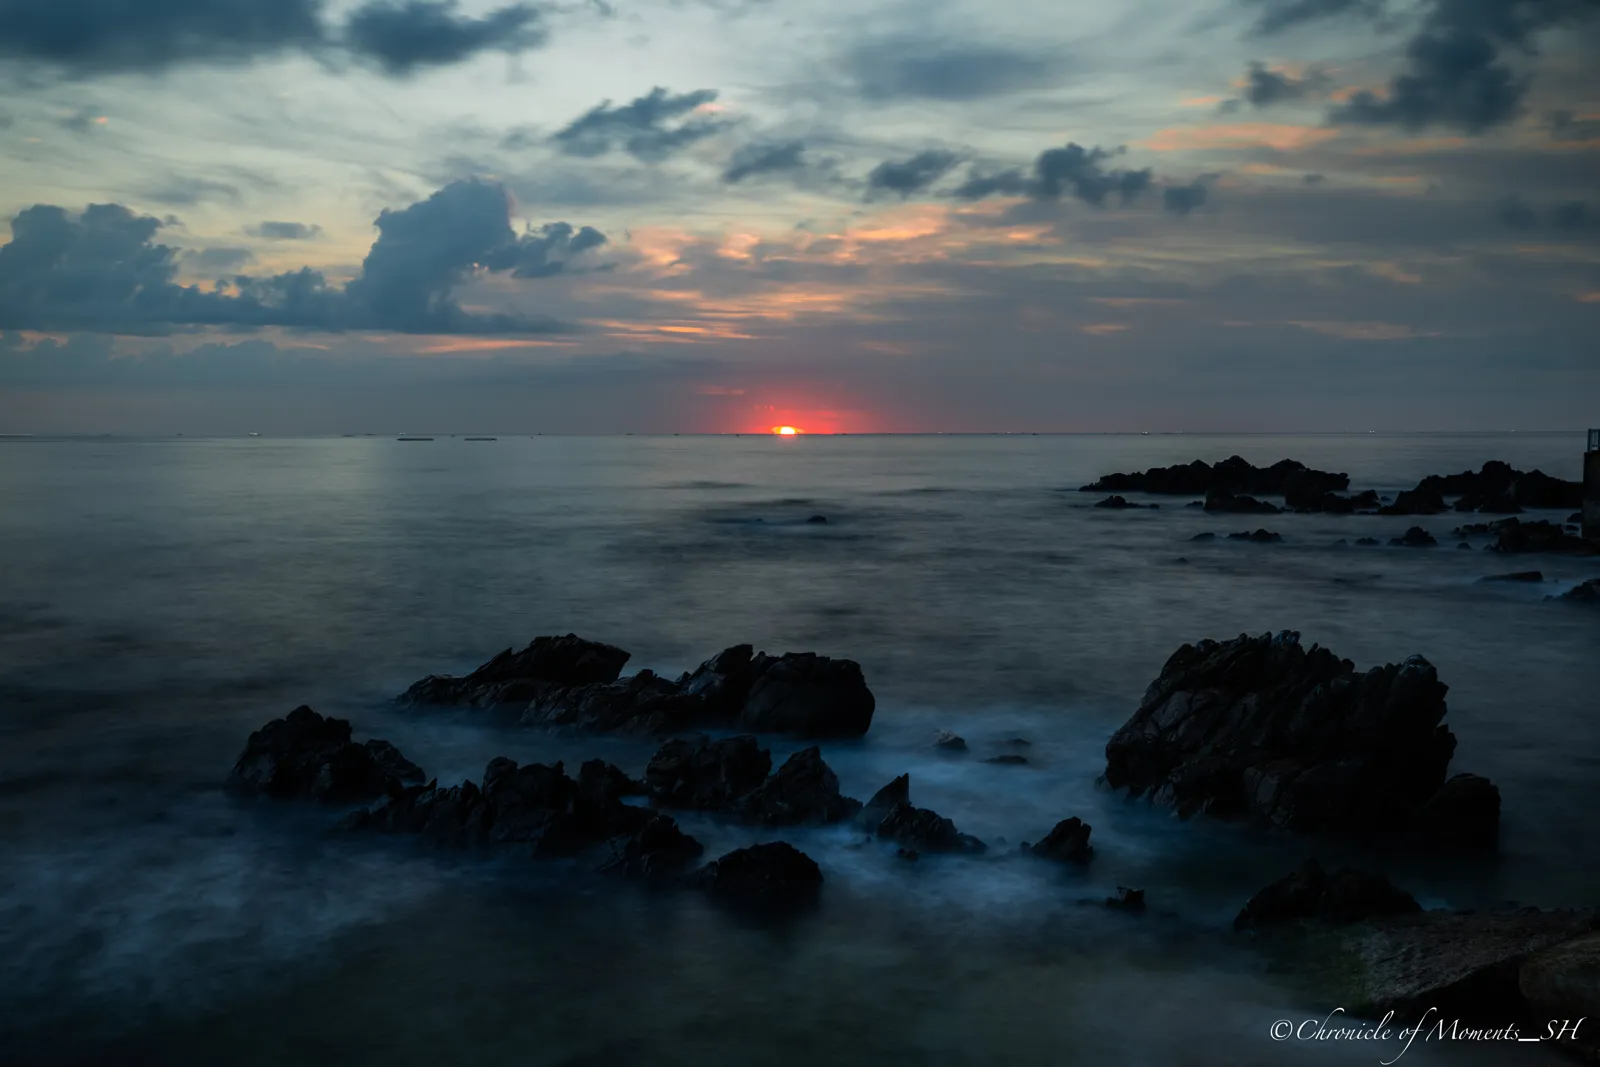
The idea here is contrast between two kinds of time. The rocks are permanent; the water is not. A long exposure lets waves blur into a low mist, so the dark rocks become islands in a calm surface and the eye travels to the thin red line of sun on the horizon.
Making that happen is mostly arithmetic. If the scene meters at 1/15 s without a filter, a 6-stop ND filter multiplies the exposure by 64, so 1/15 s becomes about 4.3 seconds, which is usually enough to smooth moving water. Our exposure stops calculator does the same math: add the stops, and double the time for each one. Shooting at sunrise also means the sky near the sun is much brighter than the still-dark foreground, so we would bracket (see our bracketing calculator) and blend, or accept a dark foreground as a deliberate silhouette.
2. The backlit maple: a sunstar needs a small aperture
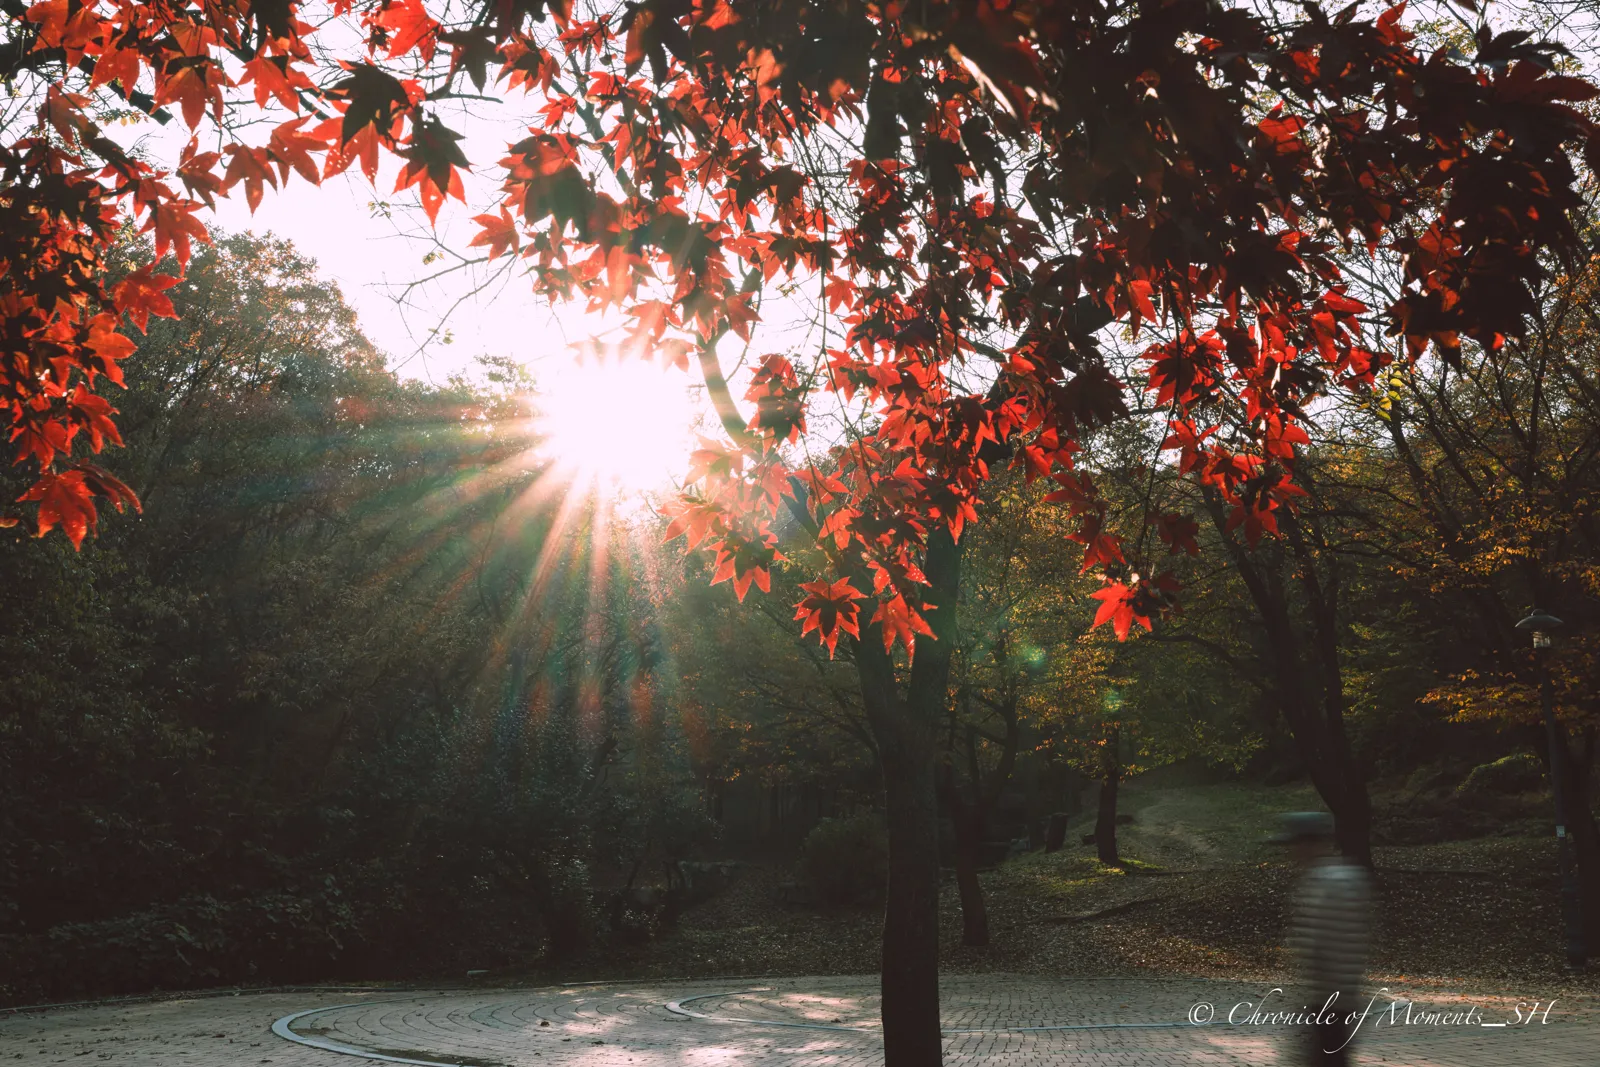
Red maple leaves are translucent, so they glow when the sun sits behind them. The sun itself, partly hidden by leaves, becomes a point of light. Stopping the lens down to a narrow aperture, often around f/11 to f/16, makes the aperture blades shape that point into a starburst. The faint, blurred walker on the right is a side effect of a slower shutter speed and, for us, a nice accident: it adds life without becoming a subject.
The trade-off is diffraction, which softens fine detail at very small apertures. Our advanced DoF and diffraction calculator shows where that softening starts for your sensor, so you can choose the smallest aperture that still gives a clean star. Partly blocking the sun with a leaf or branch is the other secret: the star is cleaner when only a sliver of the sun is visible.
3. The black-and-white ferris wheel: geometry over color
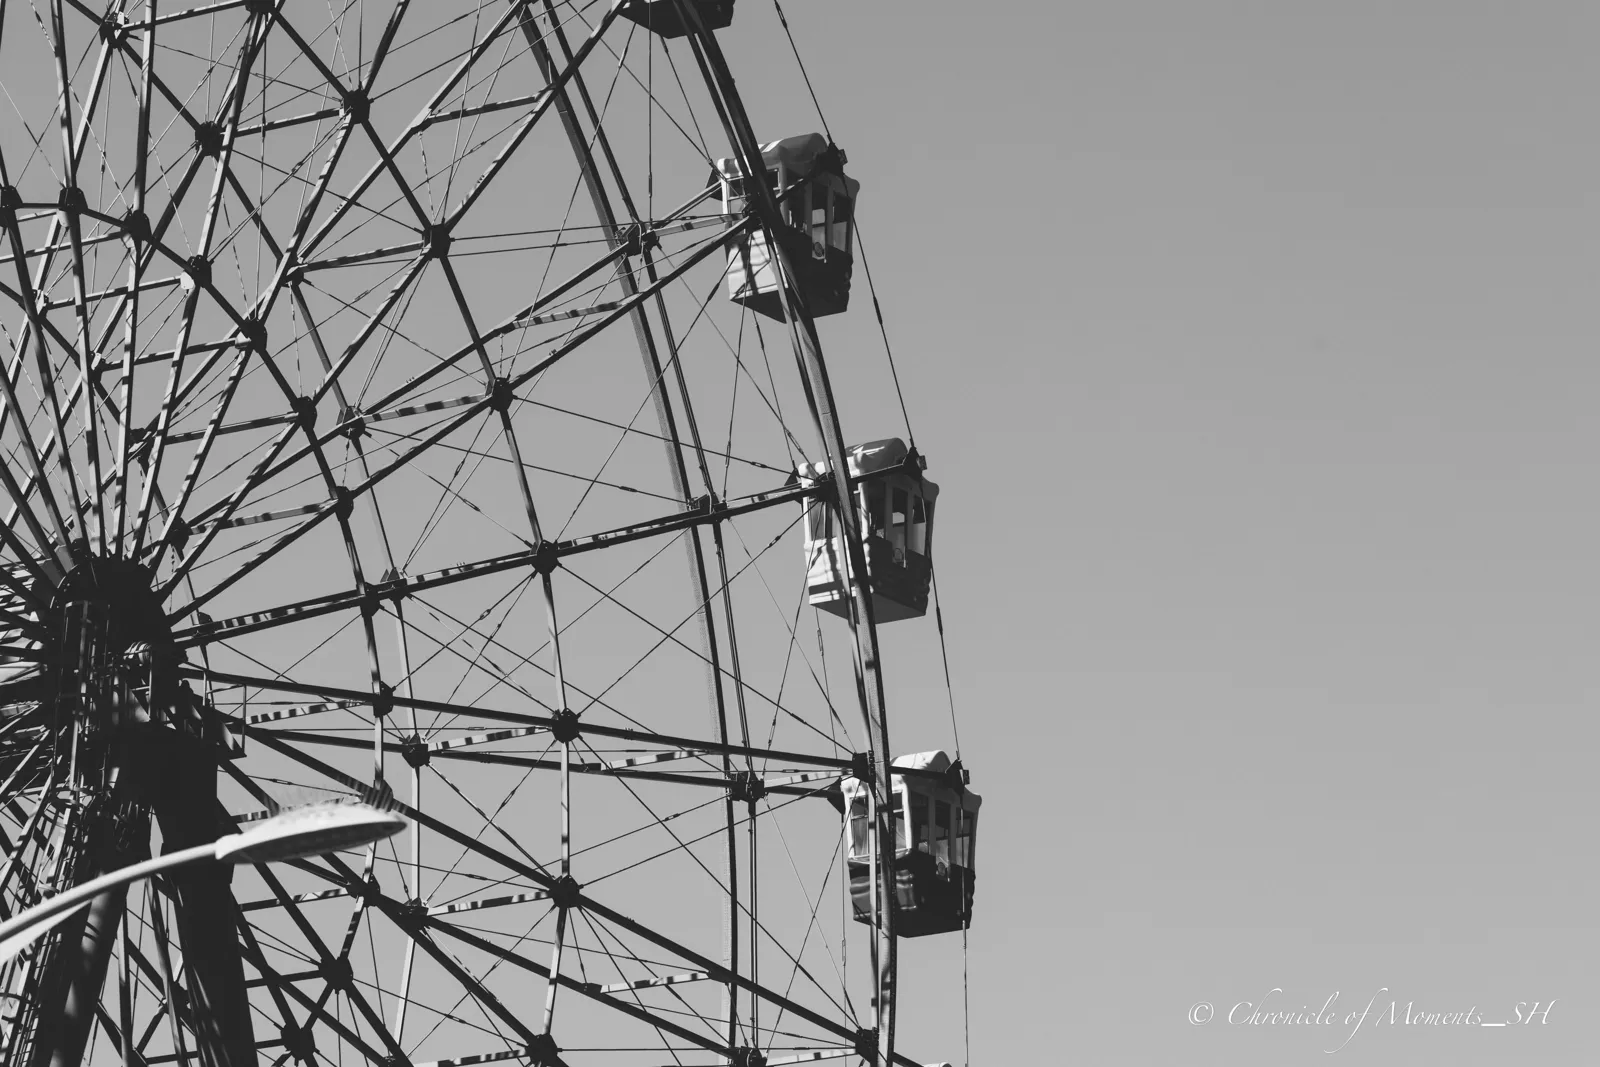
A ferris wheel is one of the few everyday objects built from radial lines. In color the bright paint and busy background compete; in black and white only structure remains. We cropped tight, let the wheel run off the left edge, and left the right half as empty grey sky. That negative space gives the cabins room to read as small repeating shapes.
For this kind of image, shoot in raw so you can convert later and control how the sky tones map to grey. Underexposing the sky slightly before conversion deepens the contrast between the dark steel and the pale background.
4. The calm lake skyline: waiting for still water
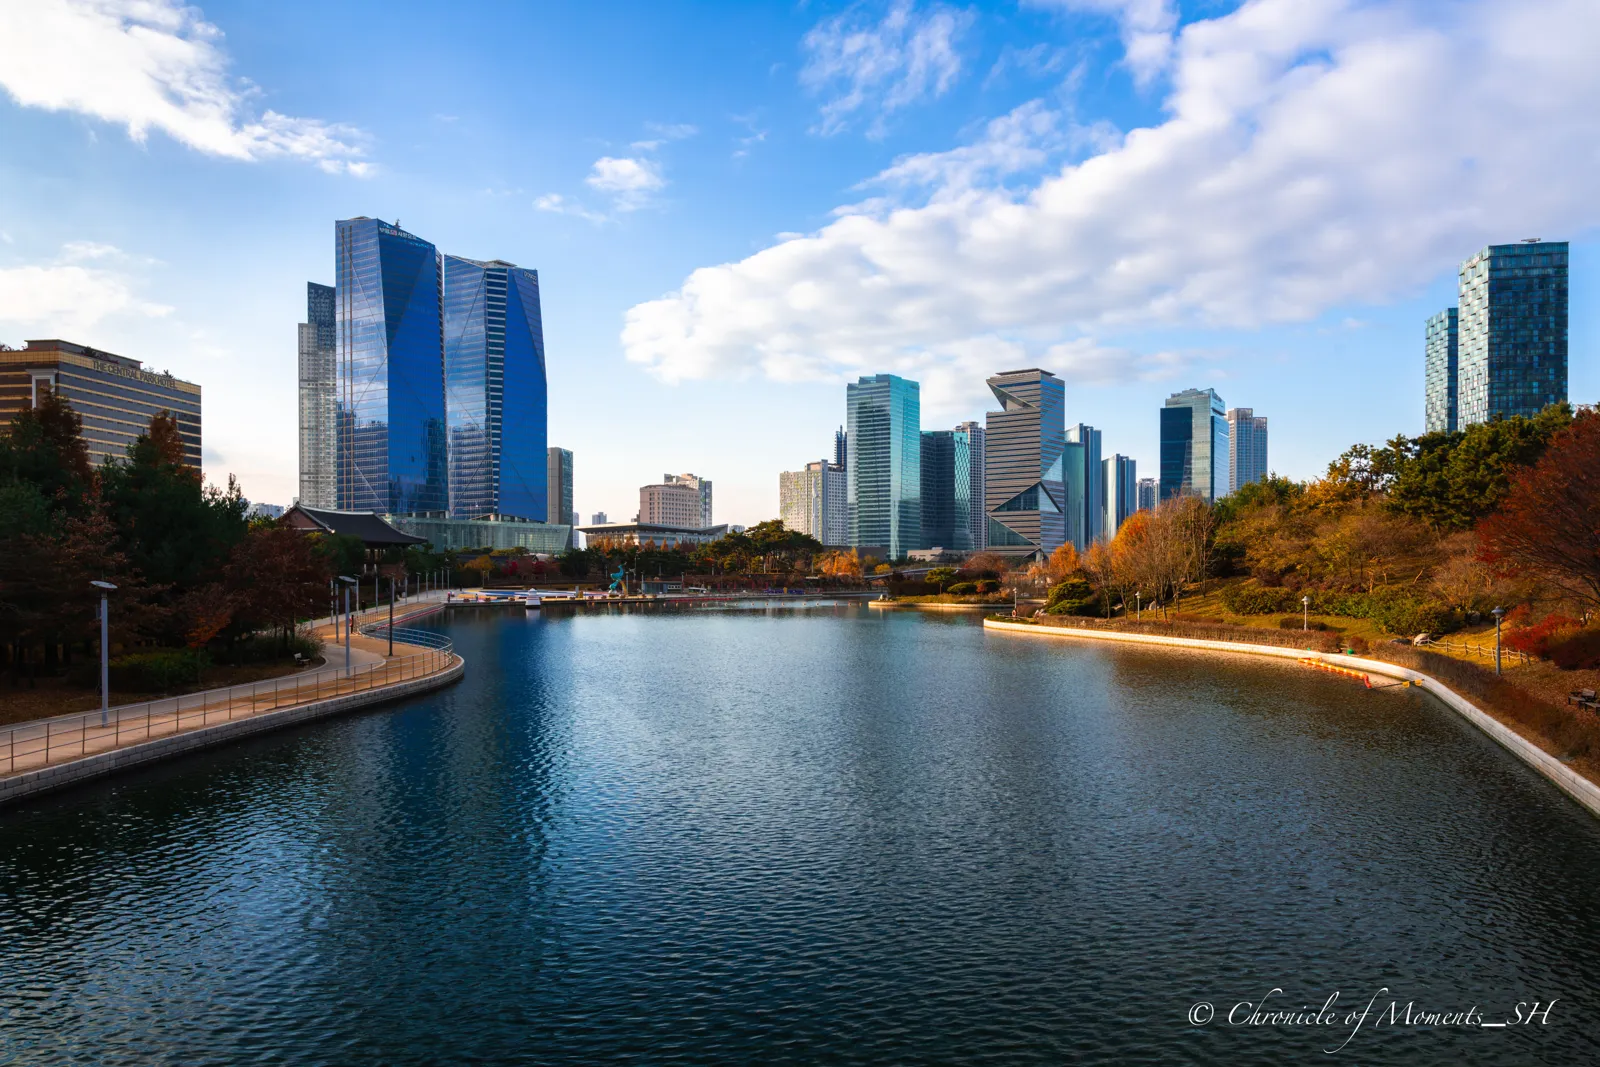
City skylines can look flat in midday light. What lifts this frame is the water: a gentle ripple pattern in the foreground carries the blue of the sky and leads the eye along the curved bank toward the towers. The warm light skimming the far shoreline and the first autumn colors add a second palette against the cool glass.
Wide-angle placement matters. Standing low and close to the water makes the foreground large and the buildings recede. Use the camera FOV calculator to check how much of the scene a given lens covers before you walk to the location, and consider a polarizing filter to control reflections on the water surface.
5. The autumn waterway: color temperature as a design tool
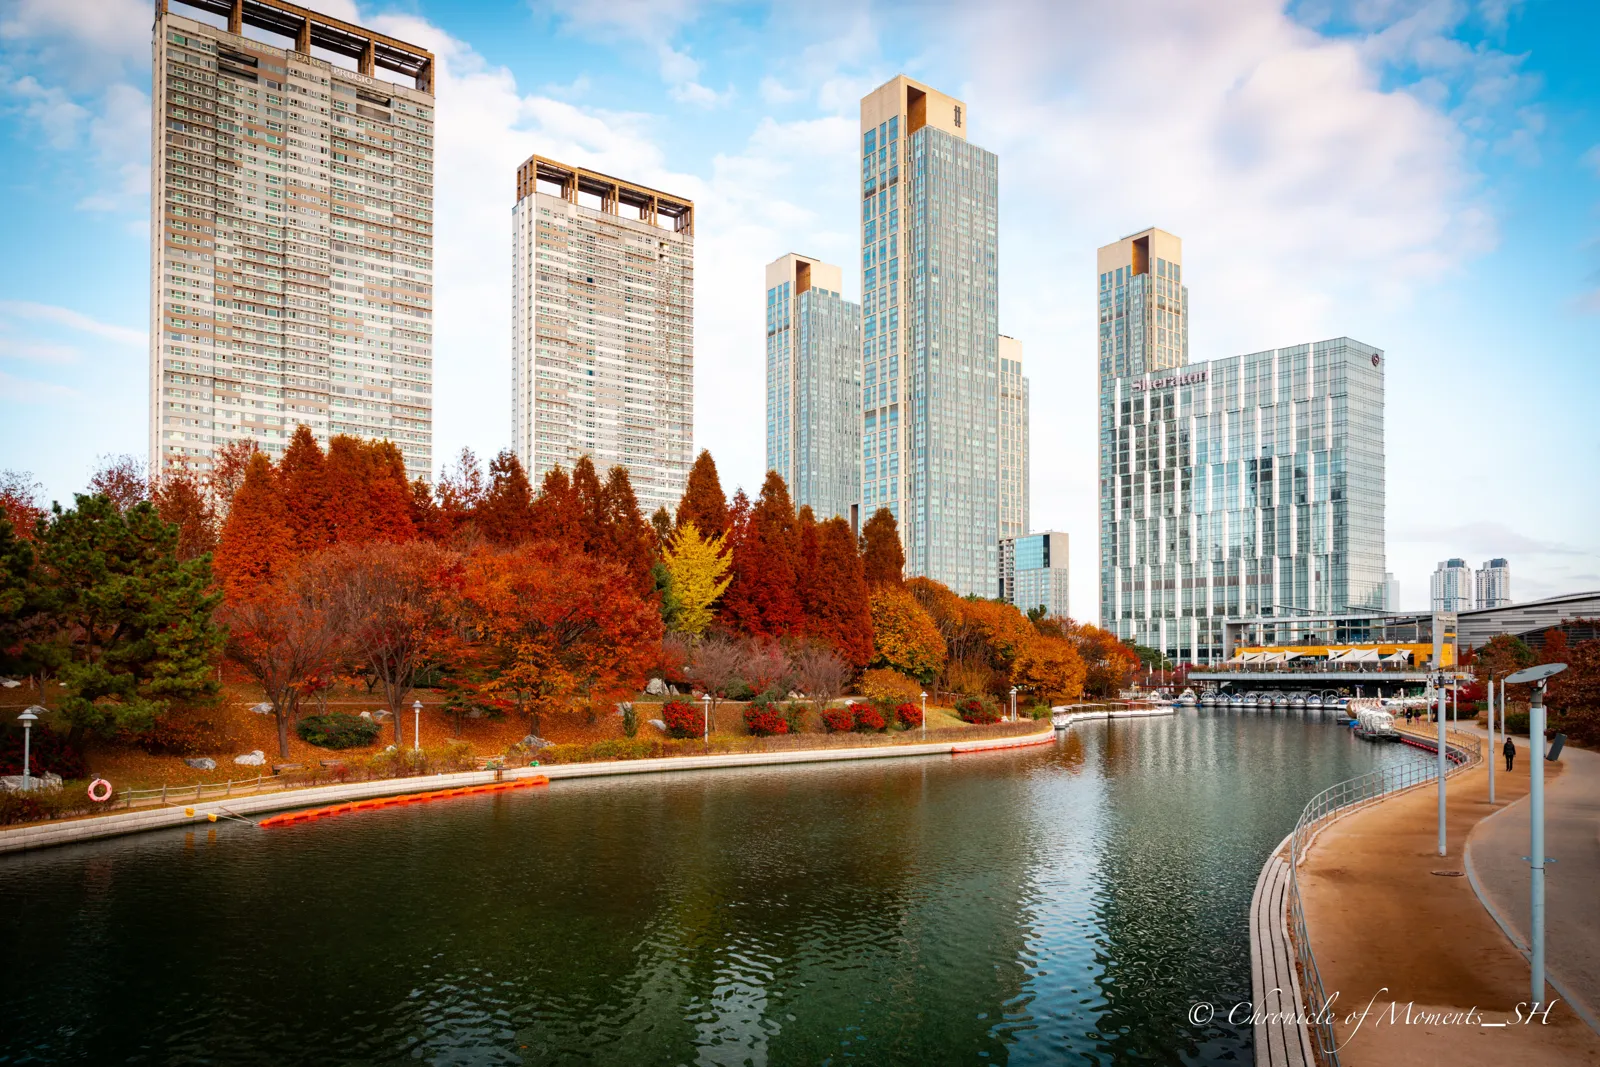
Here the idea is color contrast: warm foliage on one side, cool glass and sky on the other. The waterway works as a leading line that curves out of frame, and the reflections double the color in the lower half.
The practical lesson is exposure. Bright sky above, shaded water below, so check your histogram before you leave. If you are unsure how to read it, our guide to reading a histogram walks through it. Shoot slightly to the bright side without clipping the sky, and recover the shadows in editing.
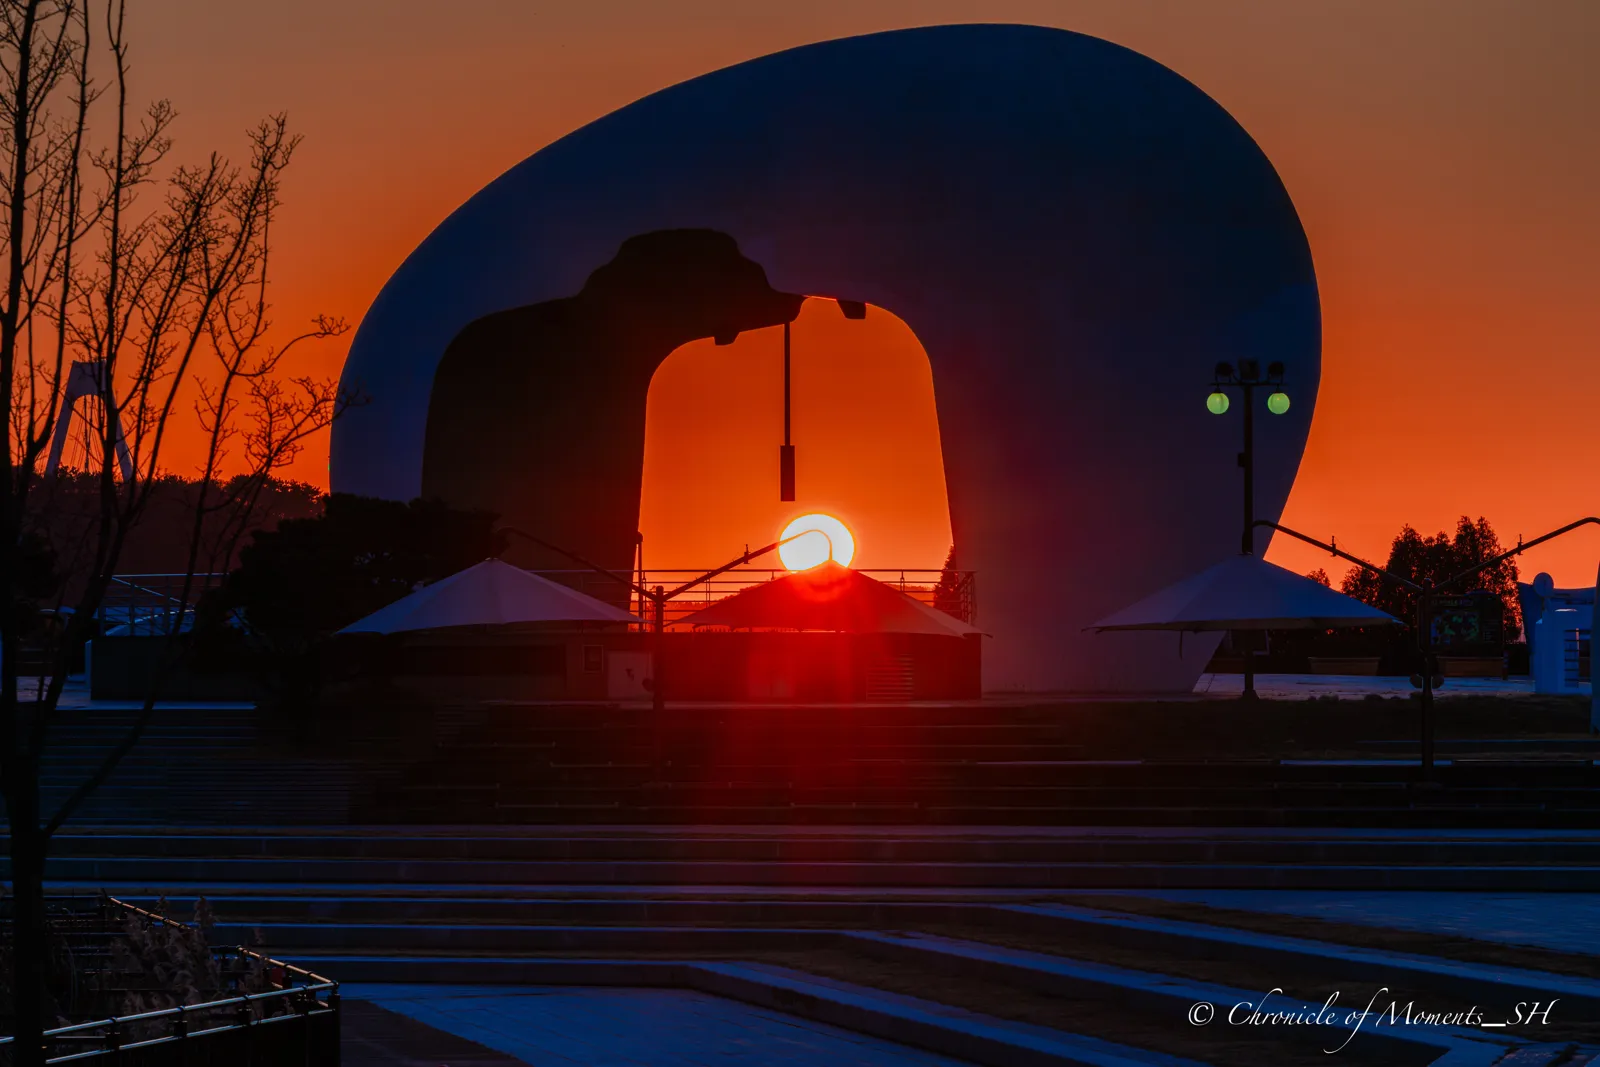
6. The sun in the sculpture: planning beats luck
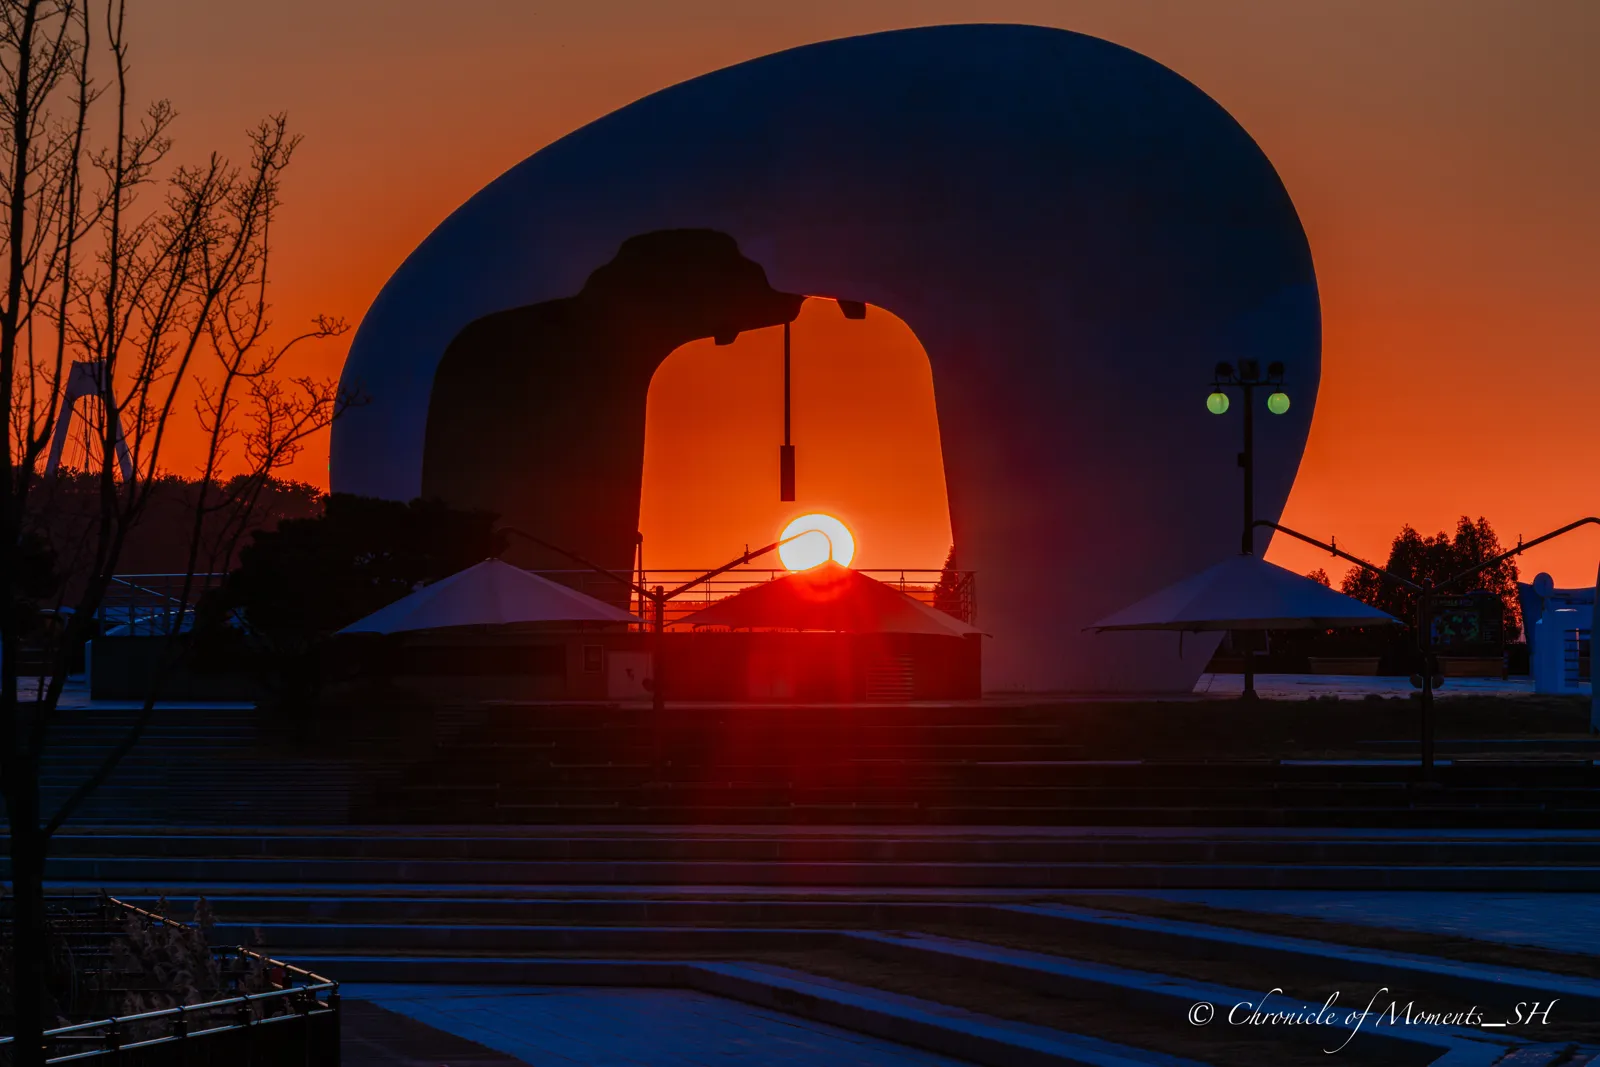
This is the frame that required the most planning. The sun sits exactly inside the opening of the sculpture for only a short time, and only from one spot on the ground. Moving a few steps left or right breaks the alignment. We would plan it with the golden hour calculator: it gives sunrise and sunset times and the direction of the sun, so you can scout the location in daylight and know when and where to stand.
Because the sun is the brightest thing in the frame and everything else is in silhouette, meter for the sky, not the structure. A longer lens compresses the distance between you and the sculpture and makes the sun look larger relative to the arch; our FOV calculator helps you pick a focal length. Arrive early, because the alignment only lasts a few minutes.
What the six frames have in common
First, each one began with a reason, not a subject: slow water, a glowing leaf, radiating lines, a calm reflection, warm against cool, an alignment of sun and object. Second, almost every one needed something we could plan in advance with a tool: the right ND strength, the smallest clean aperture, the field of view, or the time of sunset. Third, the weaker photographs we did not publish usually lacked the reason.
A short checklist to try on your next walk
- Decide on one idea before you press the shutter, and write it in a sentence.
- Check the sunrise or sunset time and direction with the golden hour calculator.
- Work out ND math in stops before you leave home rather than at the water's edge.
- Pick the smallest aperture that still looks sharp on your camera, not the smallest one available.
- Look at the histogram on bright, contrasty scenes.
- Remove location data before you share exact spots publicly with our EXIF remover.
FAQ
Do you need expensive gear for these kinds of photos? No. A sturdy tripod and a single ND filter cover the seascape, and every other frame here depends more on timing and position than on equipment.
Why not quote exact settings for each photo? Because we would rather be accurate than impressive. The original shooting data is not available to us, so we give reasoned starting points instead, which you should test on your own camera.
Which of the six is the best one to learn from first? Start with the backlit maple. It needs only a small aperture and a low sun, and it teaches you how light direction changes everything.