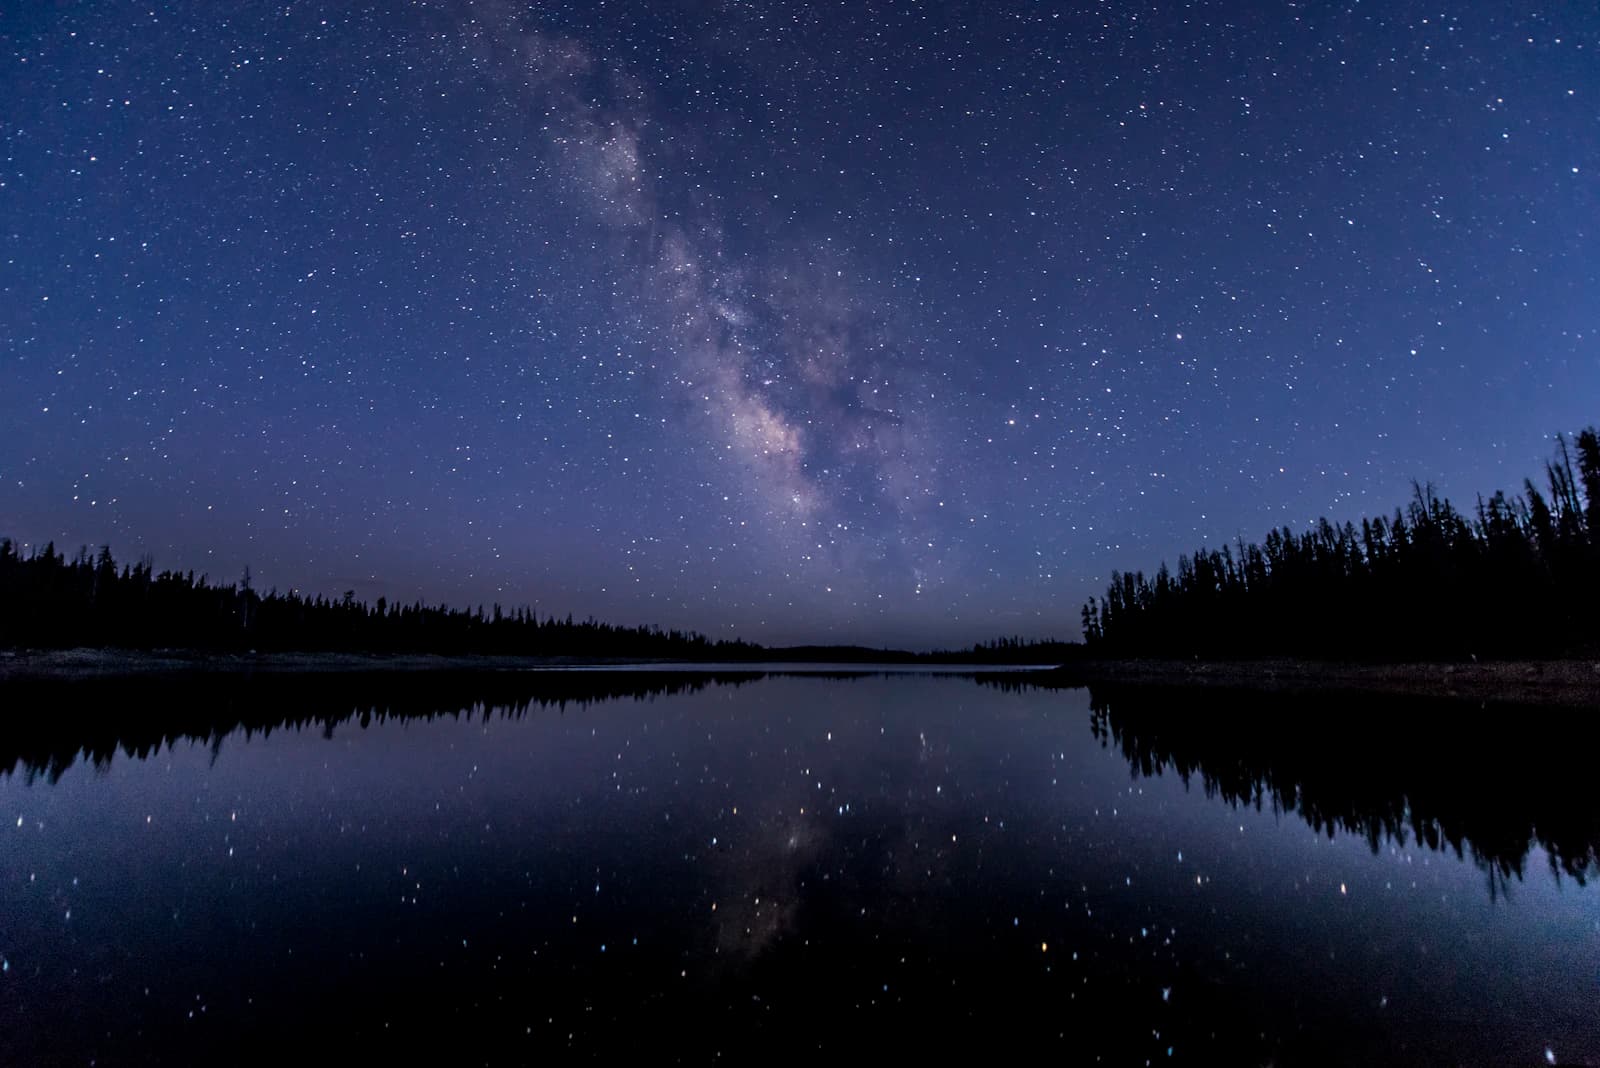
Shooting the night sky looks intimidating from the outside — pitch darkness, distant pinpricks of light, a scene your eyes can barely make out — but the camera settings involved are more formulaic than most genres of photography. Here's where to start.
Gear: What You Actually Need
A camera capable of full manual control and a sturdy tripod are the requirements; nothing else is strictly necessary. A wide-angle lens (14mm–24mm on full-frame, roughly 10mm–16mm on crop-sensor) with a wide maximum aperture (f/2.8 or wider) is the standard choice, since a wider field of view captures more sky and a wide aperture gathers more light in a limited exposure time. A remote shutter release or a 2-second self-timer prevents camera shake from your finger pressing the shutter button.
The Three Settings, and Why They're Different at Night
Aperture: as wide as your lens allows. Unlike daytime photography, depth of field isn't a concern here — you're focused at infinity on a subject that's effectively infinitely far away — so there's no reason not to use your lens's widest aperture (f/2.8, f/1.8, whatever your lens offers) to gather as much light as possible.
Shutter speed: governed by the 500 Rule. Leave the shutter open too long and stars stop being points of light and start streaking across the frame, because the earth is rotating under them. To find the longest shutter speed before that streaking becomes visible, divide 500 by your lens's focal length (using its full-frame-equivalent value if you're on a crop sensor). A 20mm lens gives roughly 500 ÷ 20 = 25 seconds. A 14mm lens allows about 35 seconds. This is a starting guideline, not a hard law — pixel-level scrutiny at 100% crop will always show some elongation, but it's a reliable ceiling for a sharp-looking result at normal viewing sizes.
ISO: as high as your camera can handle while keeping noise acceptable. This is the setting most dependent on your specific camera — a recent full-frame body might stay clean up to ISO 6400 or beyond, while an older or smaller-sensor camera may start showing heavy noise past ISO 1600. ISO 3200 is a reasonable starting point to test and adjust from.
Focusing in the Dark
Autofocus generally fails in near-total darkness, so the standard technique is to switch to manual focus, point the lens at the brightest star or a distant light on the horizon, zoom in using your camera's live view (electronically, not by moving the lens), and manually adjust focus until that point of light is as small and sharp as possible. Once set, avoid touching the focus ring again for the rest of the session.
Star Trails: Turning the "Problem" Into the Subject
Everything above is aimed at avoiding star trails, but they're a legitimate creative choice in their own right — circular streaks of light centered on the celestial pole, built by either one very long exposure (tens of minutes, which risks sensor noise and requires a strong understanding of your camera's long-exposure noise reduction) or, more commonly today, stacking dozens or hundreds of shorter exposures shot back-to-back and blended in software. The individual-frame settings are close to standard night-sky settings above, just shot in a continuous sequence rather than as a single frame.
Light Pollution Is the Real Limiting Factor
Camera settings only go so far — the single biggest factor in how much of the sky is actually visible in your photo is how far you are from artificial light. A dark-sky location (checked in advance with a light pollution map) will show a visibly denser Milky Way and fainter stars than the same settings would capture from inside or near a city, regardless of how well-tuned your exposure is.