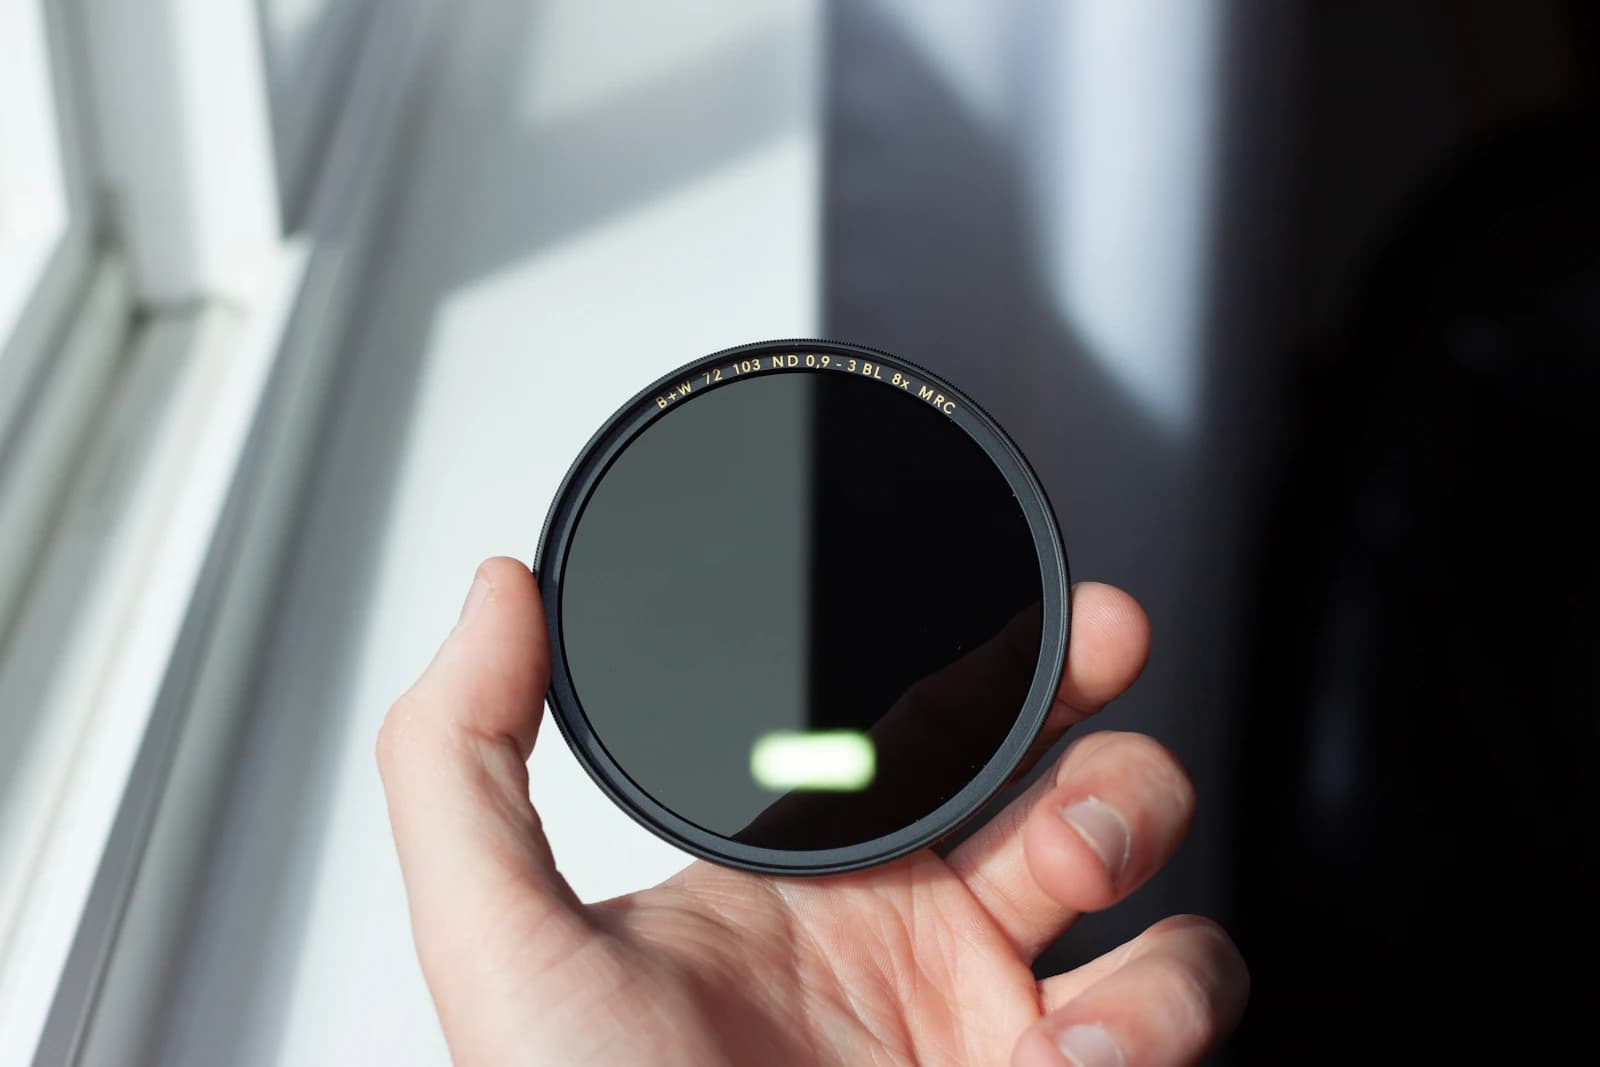
Picture a coastal sunset where you need a graduated ND to hold back a bright sky, a CPL to cut glare off wet rocks, and a plain ND to blur the incoming waves — all at once. In theory you just screw all three onto the lens. In practice, stacking filters brings problems that never show up when you shoot with just one: darkened corners, a subtle color shift, or reflections you didn't expect. Knowing how many filters you can safely stack, and in what order, saves you from discovering these issues after you're already home.
Vignetting: The First Wall You Hit on Wide Lenses
A screw-in circular filter, frame and glass combined, typically runs 6-9mm thick, so stacking two adds 12-18mm of extra length in front of the lens. On a full-frame 24mm lens, two 82mm slim-profile filters (5-6mm each) start showing corner vignetting, and standard-thickness filters (8-9mm) can darken corners even at 35mm. Past roughly 50mm, that added thickness sits outside the angle of view and vignetting risk drops to near zero. If you regularly stack filters on an ultra-wide lens, checking the stated thickness on the spec sheet and favoring slim-profile filters is worth the extra cost before you ever get to the shoot.
Stacking Order and Thread Compatibility
When multiple filters need to go on together, the one you'll rotate — the CPL — belongs on the outside, mounted last. Bury it behind another filter and you can't adjust the polarization angle without unscrewing everything in front of it mid-shoot. Mixing brands in one stack also risks thread pitch mismatches: filters that thread too tight to remove cleanly, or loose enough to let in light around the edges. Sticking to one brand and product line for a stack sidesteps this. If your filter diameter is smaller than the lens thread, put a single step-up ring at the very base of the stack and thread everything else on top of it — that keeps the stack stable and protects the threads from cross-threading.
Why Color Casts and Ghosting Compound
A single filter rarely shows a visible color shift, but pairing a budget ND with a budget CPL often does. A thinly-coated ND1000 that leans slightly magenta, stacked with a CPL that leans slightly cyan, can leave shadow areas with a muddy green-purple tint that's hard to fully correct afterward. Because that cast is baked into the light path rather than a simple exposure error, shooting RAW and locking in a custom white balance — a gray card, or a reference frame shot without any filter — on location gives you something reliable to correct against later. More glass surfaces also means more internal reflections when shooting toward a light source, so ghosting and flare get noticeably worse with each added filter; keep the lens hood on whenever the sun is in or near the frame, and drop filters you don't strictly need for that shot.
When You Genuinely Need to Stack: Choosing a System
If you find yourself needing three effects at once on a regular basis, a 100mm square filter holder system is worth considering over stacking multiple screw-in circulars. These holders mount a slim circular CPL in the rearmost slot, with graduated NDs sliding into slots in front of it, leaving almost no air gap between filters — which cuts down on both vignetting and internal reflections compared to a cheap stack. Magnetic filter systems have also become more common; their thinner frames and quick-swap design suit shooters who change filter combinations often, though the higher price tag makes sense mainly if you'll actually use that flexibility regularly.
Quick Checklist
- Stacking two or more filters on a lens 24mm or wider — confirm they're slim-profile first
- Always mount the CPL as the outermost filter so you can rotate it freely
- Mixing brands in one stack — test the thread fit before you're in the field
- Shoot RAW and record a custom white balance or reference frame whenever you stack filters
- Keep the lens hood on when the sun is near the frame to limit ghosting and flare
- Stacking often? Consider a square filter holder or magnetic system instead of loose screw-ins