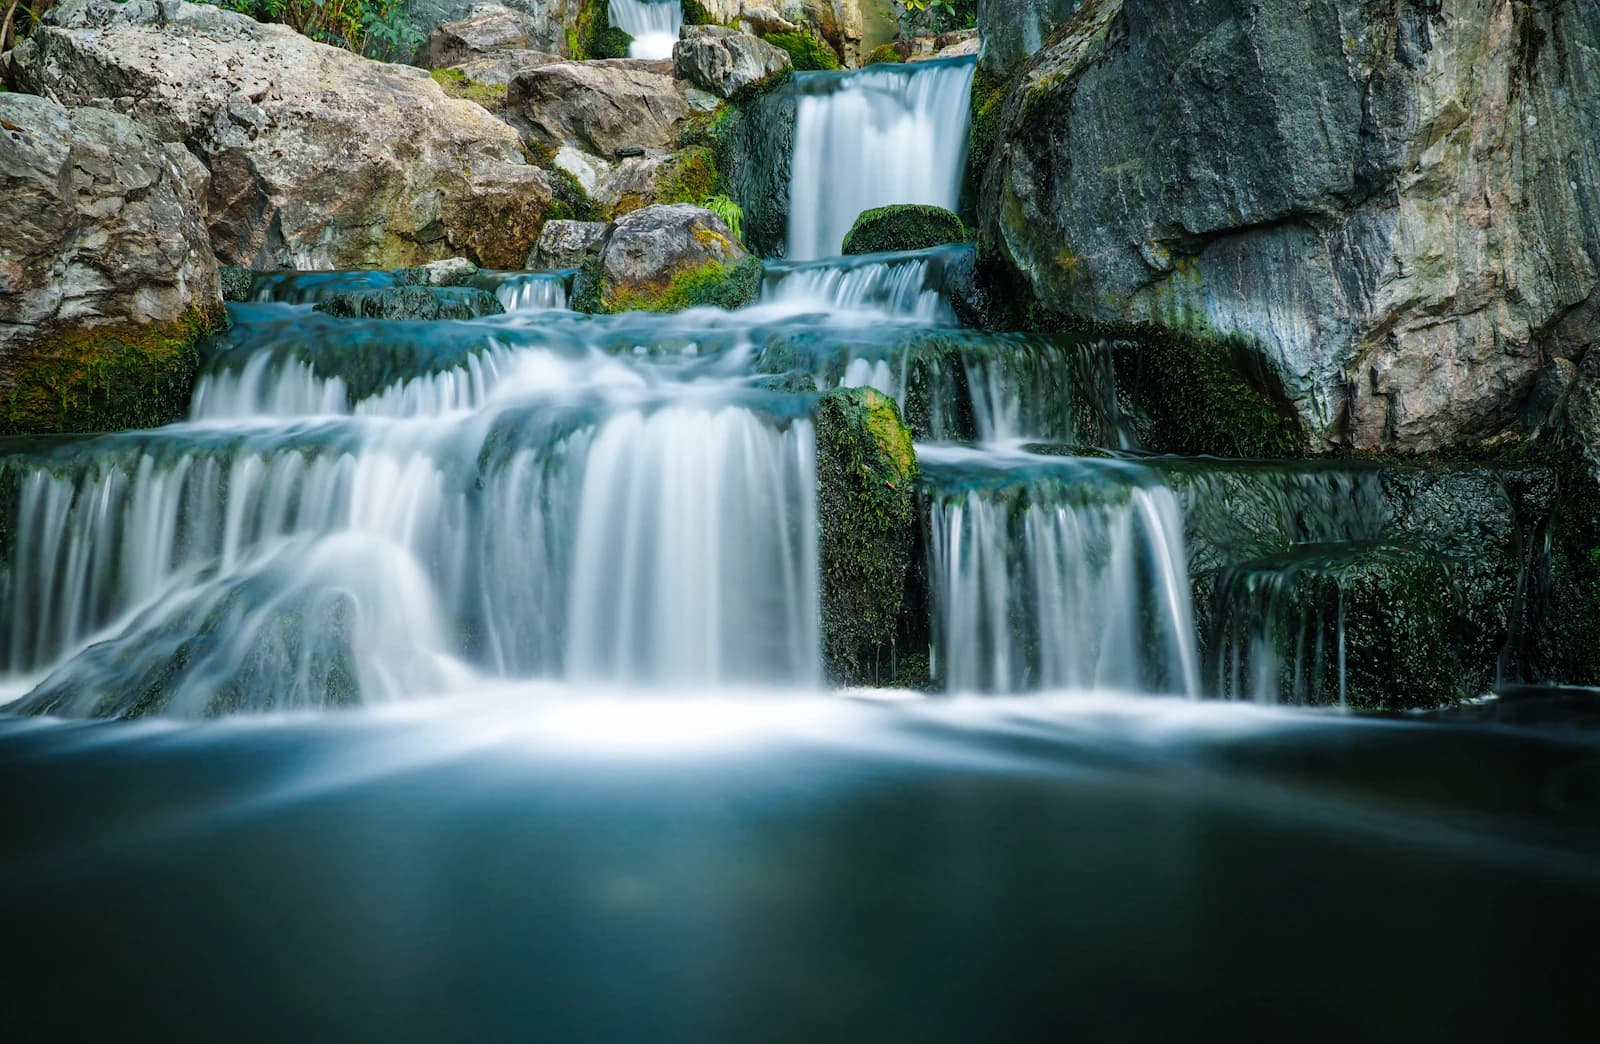
Landscape photography and waterfall photography share a lot of the same fundamentals, with one key difference: how you treat shutter speed. Here's a practical settings breakdown for both.
Shooting Mode: Aperture Priority or Manual
Most landscape photographers work in aperture priority (A or Av) or full manual. Aperture priority lets you set the aperture for depth of field and lets the camera pick a matching shutter speed, which is fast and reliable in changing light. Manual mode is worth switching to once you're using an ND filter, since the camera's light meter can behave unpredictably with a strong filter attached.
Aperture: The Sharpness Sweet Spot
For landscapes where you want everything from foreground to horizon in focus, a narrow-ish aperture is standard — typically f/8 to f/11. It's tempting to go narrower (f/16, f/22) for even more depth of field, but most lenses lose sharpness past a certain point due to diffraction; f/8–f/11 is usually the sharpest range a lens can produce while still giving plenty of depth of field. If you need more depth of field than one aperture setting can deliver, focus stacking (blending several shots focused at different distances) is generally a better solution than stopping down further.
ISO: As Low as the Tripod Allows
Since landscape and waterfall shots are almost always taken from a tripod, there's rarely a reason to raise ISO above its base value (typically ISO 100, sometimes ISO 64 or 50 on some cameras). A low ISO means minimal noise and maximum dynamic range, which matters for landscapes where you're often recovering shadow or highlight detail in post-processing.
Shutter Speed: The Waterfall Decision Point
This is where the two subjects diverge:
Static landscapes (mountains, forests, general scenery with no moving water) don't need a particular shutter speed — whatever the aperture and ISO settings above produce is fine, since nothing in the frame is moving. If it's windy and there's foliage in the shot, a faster shutter speed (1/60s or faster) avoids blurred leaves and branches.
Waterfalls and flowing water are a shutter-speed decision first. A fast shutter speed (1/500s or faster) freezes individual water droplets, which can look dramatic but often reads as busy or chaotic. A moderate speed (1/15s to 1s) blurs the water into recognizable but textured streaks. A slow speed (2 seconds or longer) smooths the water into the classic silky, misty look most waterfall photos aim for.
Getting a Slow Shutter Speed in Daylight
The catch: waterfalls are usually shot in daylight, and at ISO 100 and f/11, a properly exposed shot might only need 1/60s or 1/125s — nowhere near slow enough for the silky effect. This is where an ND filter comes in. A 3-stop to 6-stop ND filter is usually enough for waterfalls (you rarely need the strength of a 10-stop filter here, since you're aiming for 1–4 seconds, not several minutes). Our ND filter calculator converts your base shutter speed to the new one instantly once you know your filter's stop count.
A Practical Workflow
- Set up on a tripod, compose, and focus (switch to manual focus once you're happy with it, so it doesn't shift).
- Set aperture to f/8–f/11 and ISO to its base value.
- Note the shutter speed the camera suggests without any filter attached.
- Decide on your target shutter speed for the water effect you want, then work out which ND filter strength gets you there using the calculator.
- Attach the filter, switch to manual exposure mode, dial in the calculated shutter speed, and use a 2-second timer or remote release to fire the shutter without touching the camera.
Overcast Days Are Your Friend
Waterfall photography is often easier on overcast days: flatter, softer light avoids harsh highlights on wet rocks and white water (which can blow out easily), and the lower overall light level means you need less ND filtering to reach a slow shutter speed.