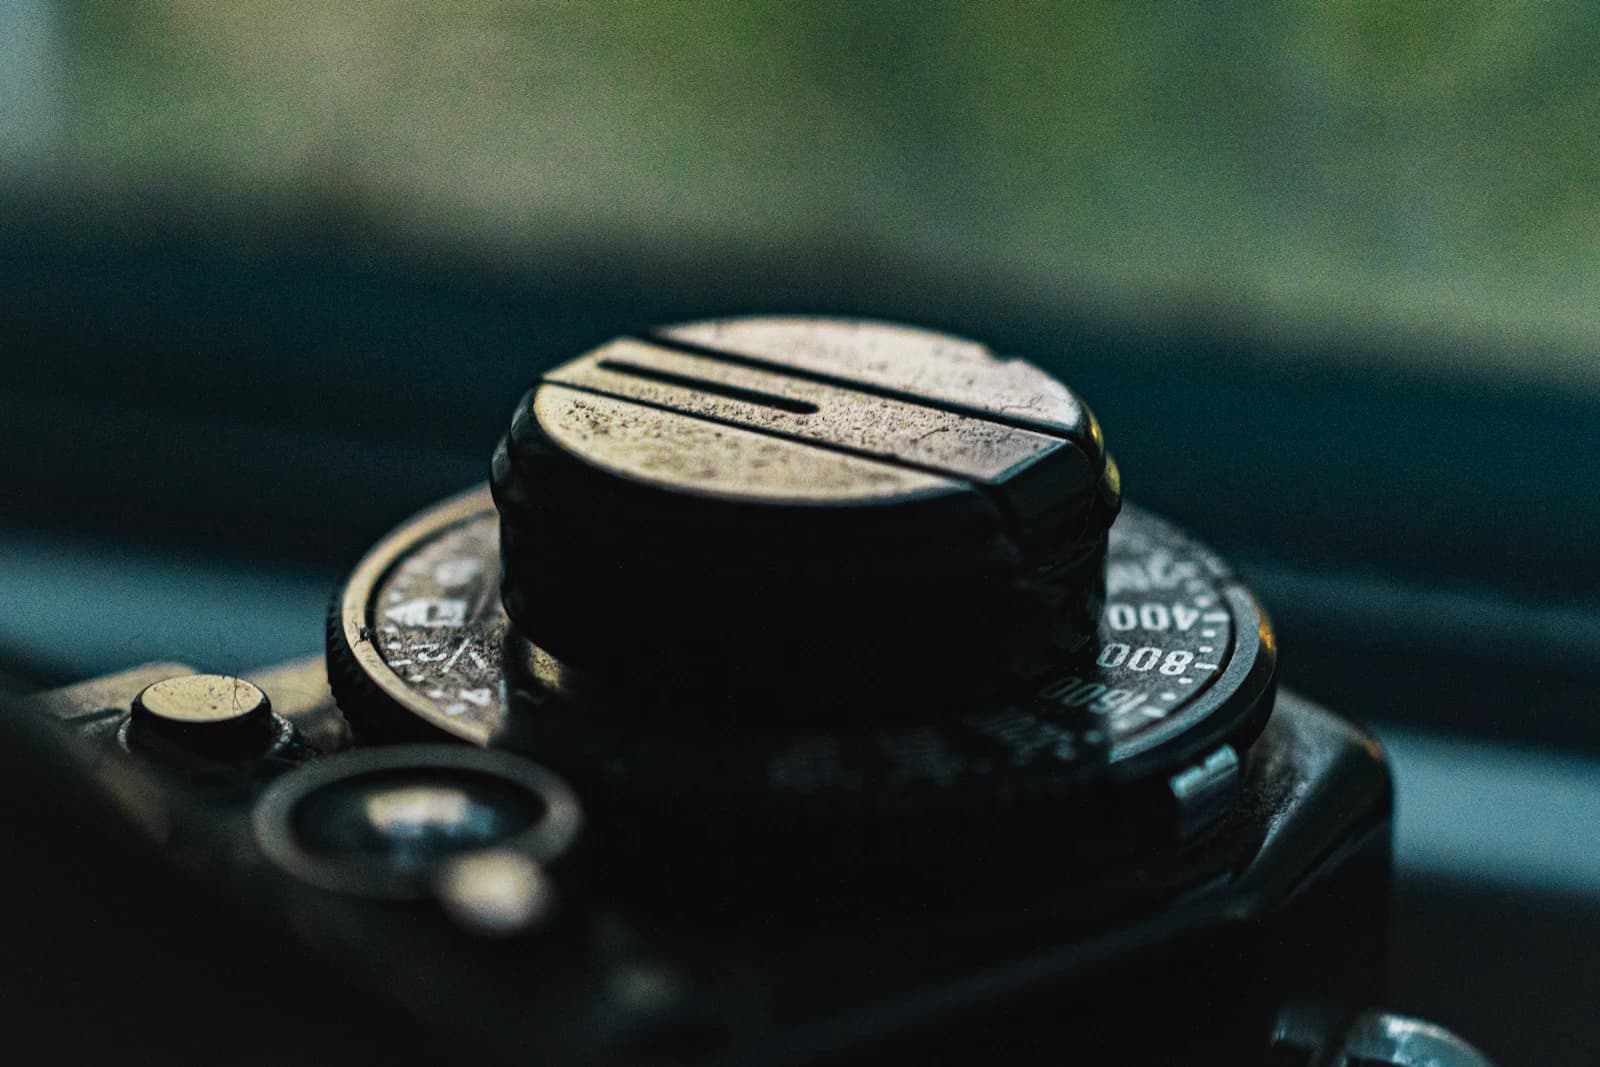
Macro photography breaks most of the assumptions that work at normal shooting distances. Depth of field collapses to a few millimeters, small hand movements become visible camera shake, and the working distance to your subject can be so short that your own lens blocks the light. None of this is complicated once you understand why it happens.
Magnification Ratio: What "Macro" Actually Means
A true macro lens reproduces a subject at 1:1 magnification — meaning a 24mm-wide subject projects as a 24mm-wide image on the sensor. Many "macro" zoom lenses only reach 1:2 or 1:4, which is close-up photography rather than true macro, but still useful. The higher the magnification, the shorter the working distance tends to be and the shallower the depth of field becomes, so a dedicated macro lens or extension tubes matter more as you push past 1:2.
Depth of Field: Why It Nearly Disappears
At close focusing distances, depth of field can shrink to a millimeter or less even at narrow apertures. This is the single biggest difference from other genres: stopping down to f/16 in macro work still may not keep an entire insect in focus, where the same aperture would keep a whole landscape sharp. Expect to choose deliberately which single plane — the eyes of an insect, the front edge of a flower petal — carries the focus, and let the rest fall away.
Aperture: Balancing Sharpness Against Diffraction
- f/2.8–f/4: extremely shallow, isolates a tiny sliver of the subject — dramatic but hard to use
- f/8–f/11: the practical sweet spot for most macro subjects, balancing usable depth of field against diffraction softness
- f/16–f/22: maximizes depth of field but starts to visibly soften fine detail through diffraction on most sensors
Because diffraction becomes more visible at high magnification, many macro shooters treat f/11 as a ceiling rather than pushing all the way to f/22 for "more" depth of field.
Focus Stacking: Getting Around the Depth of Field Limit
When no single aperture gives enough sharp depth, focus stacking solves it: take a series of shots at the same framing, shifting focus slightly between each one — either by rotating the focus ring in small increments or using a macro focusing rail — then blend the sharp regions of each frame in post-processing. A focusing rail gives far more repeatable, even steps than trying to nudge focus by hand.
Light: Working Around a Blocked Path
At high magnification the lens often sits so close to the subject that it blocks ambient light from reaching it, which is why dedicated macro flashes (ring flash or twin flash heads mounted around the lens) are common. Diffusing that light — even with something as simple as a folded sheet of white paper — softens the harsh shadows a small, close light source otherwise creates.
Shutter Speed and Stability
Handheld macro amplifies any camera movement, since even a small tremor is magnified along with the subject. A stable platform (tripod, focusing rail, or a flash powerful enough to freeze motion at very short flash duration) does more for sharpness than a fast shutter speed alone. Outdoors with live subjects like insects, a flash-frozen exposure often out-resolves a longer handheld exposure at a "safe" shutter speed.
Putting It Together
A reliable starting point for handheld flower or insect macro: f/9–f/11, a diffused off-camera or ring flash for fill light, single-point autofocus (or manual focus with focus peaking) placed exactly on the nearest sharp edge you want the viewer's eye drawn to — then check the EXIF data on your test shot to confirm the aperture and flash didn't push ISO or shutter speed somewhere unexpected in the moment.