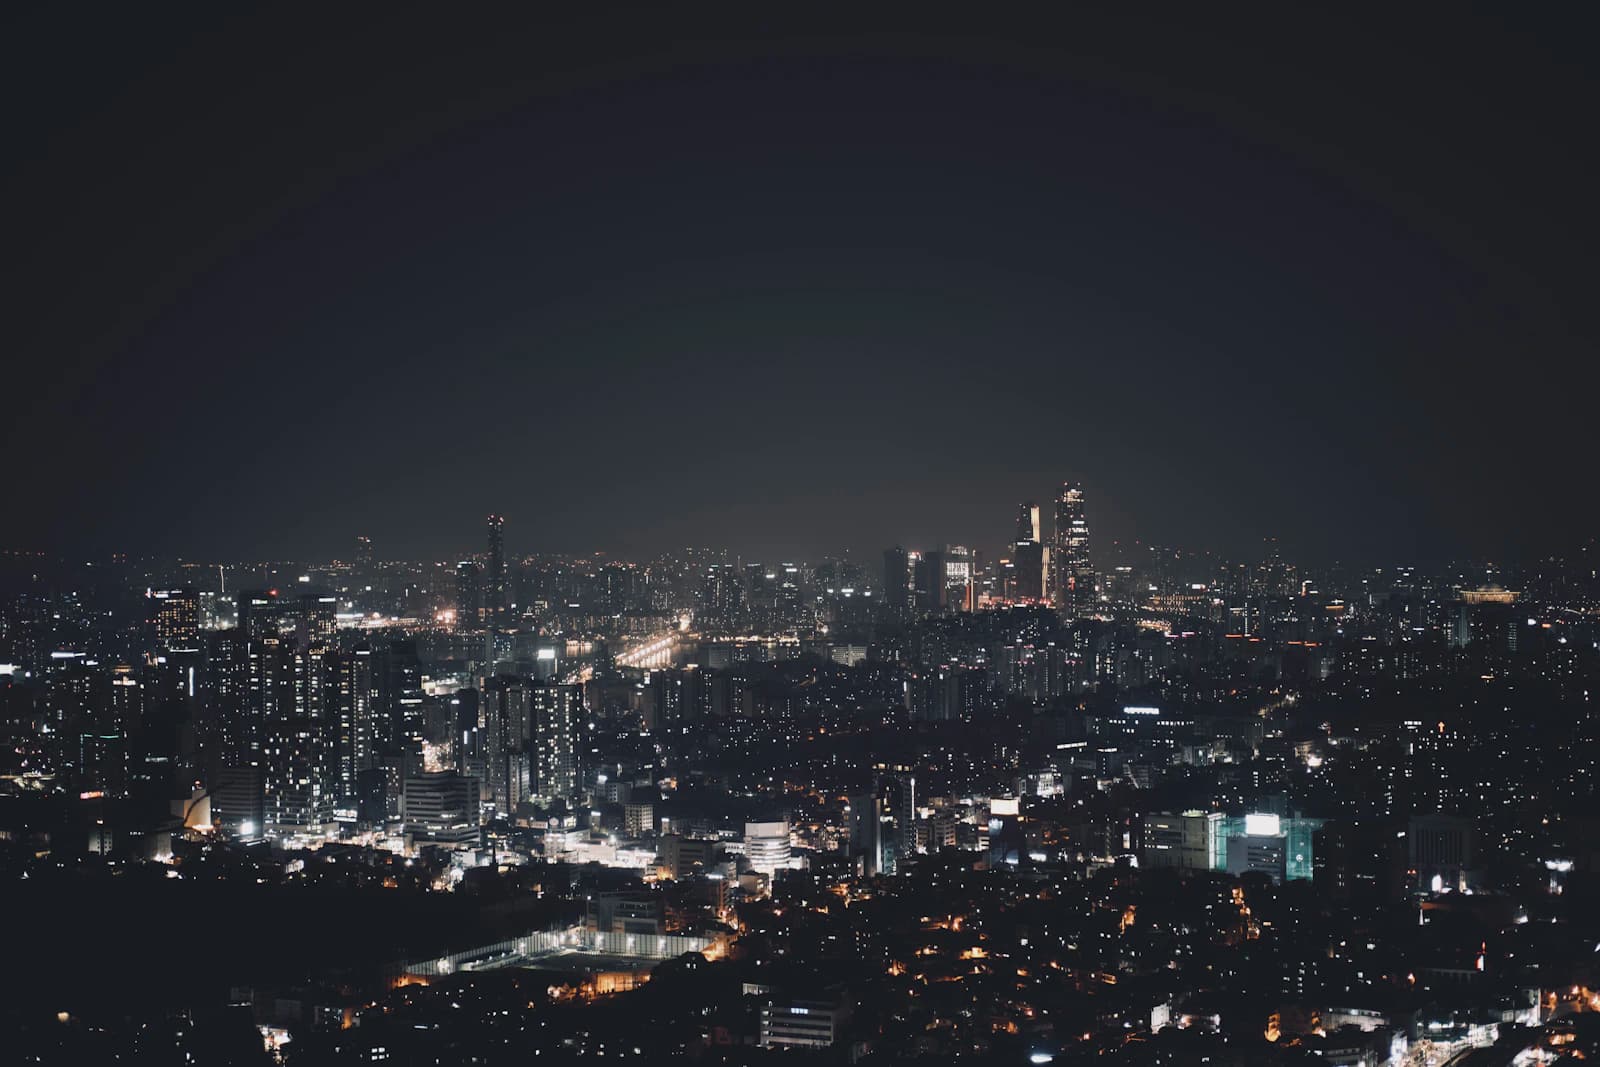
A night cityscape crams more brightness range into one frame than almost any other genre. Skyscraper windows glow individually, headlights streak past, streetlamps blow out, and the gaps between them fall into total shadow. Every city also mixes its own cocktail of light sources, so getting white balance wrong turns the whole frame sickly yellow or lifeless blue. The approach also splits sharply depending on whether you have a tripod, so here's a breakdown by scenario.
Aperture: chasing starbursts or just depth of field
With a tripod and no rush, stop down to f/11–f/16 to chase two things at once: depth of field from foreground to skyline, and the starburst effect that turns streetlamps and signage into pointed stars. The number of points in that starburst depends on your lens's aperture blade count — an odd number of blades produces that many points, an even number produces half that many — and stopping down to f/16 makes those points noticeably longer and sharper than at f/8. Push too far, though, and diffraction softens overall sharpness, so f/11–f/13 is usually the sweet spot on most full-frame lenses. Handheld, the priority flips: you need shutter speed more than starbursts, so open up to f/2.8–f/4 instead.
Shutter speed: tripod versus handheld are two different games
- Tripod, static cityscape: 5–30 seconds (to keep ISO low)
- Tripod, capturing car light trails: 10–25 seconds
- Handheld with stabilization: 1/15–1/30 second
- Handheld without stabilization: 1/60 second or faster
On a tripod there's no reason to rush the shutter. Lock ISO at its base value (usually ISO 100) and let the shutter speed run as long as the meter suggests for your chosen aperture — it's the better trade for image quality. With traffic in the frame, 10+ seconds turns headlights and taillights into continuous trails, and 15–20 seconds is often enough to fill an entire intersection with light lines. Handheld is the harder problem: even with a lens rated for 4–5 stops of stabilization, success rates drop sharply below 1/15 second. Bracing against a wall or railing can effectively buy you 1–2 stops, so lean on whatever nearby structure is available when a tripod isn't an option.
ISO: dynamic range matters before noise does
It's well known that pushing ISO adds noise at night, but the more common practical problem is dynamic range loss. As ISO climbs, the range of highlight and shadow detail a sensor can hold shrinks, which makes it harder to keep a bright window interior and a dark gap between buildings in the same frame. On a tripod, keeping ISO at 100–200 and letting shutter speed carry the exposure is the most reliable way around this. Handheld, ISO 1600–3200 is well within what most modern cameras can clean up in post, but past ISO 6400 color detail in shadow areas starts to break down, so it's worth staying under that when you can.
White balance: taming a mix of light sources
The classic mistake is leaving white balance on auto and shooting anyway. When sodium vapor lamps (roughly 2200K, orange), aging fluorescent tubes (roughly 4000K, greenish), and modern LED signage (roughly 5500K–6500K, blue-white) all sit in the same frame, a camera trying to average them often lands on a muddy, indecisive color that flatters nothing. Shooting RAW, locking white balance to a neutral 4000K–4500K and adjusting later tends to be more consistent than chasing auto white balance shot to shot. In older districts dense with sodium lighting, auto white balance often overcorrects and pushes the whole image toward an unnatural blue — if you want to preserve that district's warm character instead, deliberately locking to a slightly lower color temperature (3600K–3800K) can keep the warmth intentional rather than accidental.
Bracketing: keeping window detail and shadows together
Holding both a bright window interior and a dark building edge in a single exposure is genuinely difficult. On a tripod, exposure bracketing — a baseline shot plus -2EV and +2EV — captured as three frames for later blending is the most reliable approach. If you only get one frame, bias exposure slightly down (roughly -0.7EV against the brightest windows) and recover shadow detail from the RAW file afterward. Blown-out window highlights are essentially unrecoverable, while shadow detail usually survives in the RAW data far better than the reverse.
Focus: the infinity trap
Autofocus often hunts in the dark, so many photographers switch to manual and rack the focus ring to infinity — but on a surprising number of lenses, the physical hard stop at the end of the ring doesn't actually align with true optical infinity. Zooming in on live view to its maximum and fine-tuning focus against the farthest bright point source (a streetlamp or a lit window) is far more reliable. If a nearer foreground subject — a railing, a tree, a sign — needs to stay sharp too, focusing roughly a third of the way to the farthest subject in frame, rather than at true infinity, uses hyperfocal distance to hold both foreground and skyline in acceptable sharpness.
Quick checklist
Before you shoot: on a tripod, is ISO locked at 100–200; if you want starbursts, is the aperture around f/11–f/13; is white balance locked to roughly 4000K instead of left on auto; have you biased exposure down for window highlights (or turned on bracketing); did you confirm focus by zooming in on live view rather than trusting the infinity stop. Handheld, double-check that shutter speed isn't dropping below 1/30 second and look for a wall, railing, or ledge to brace against.