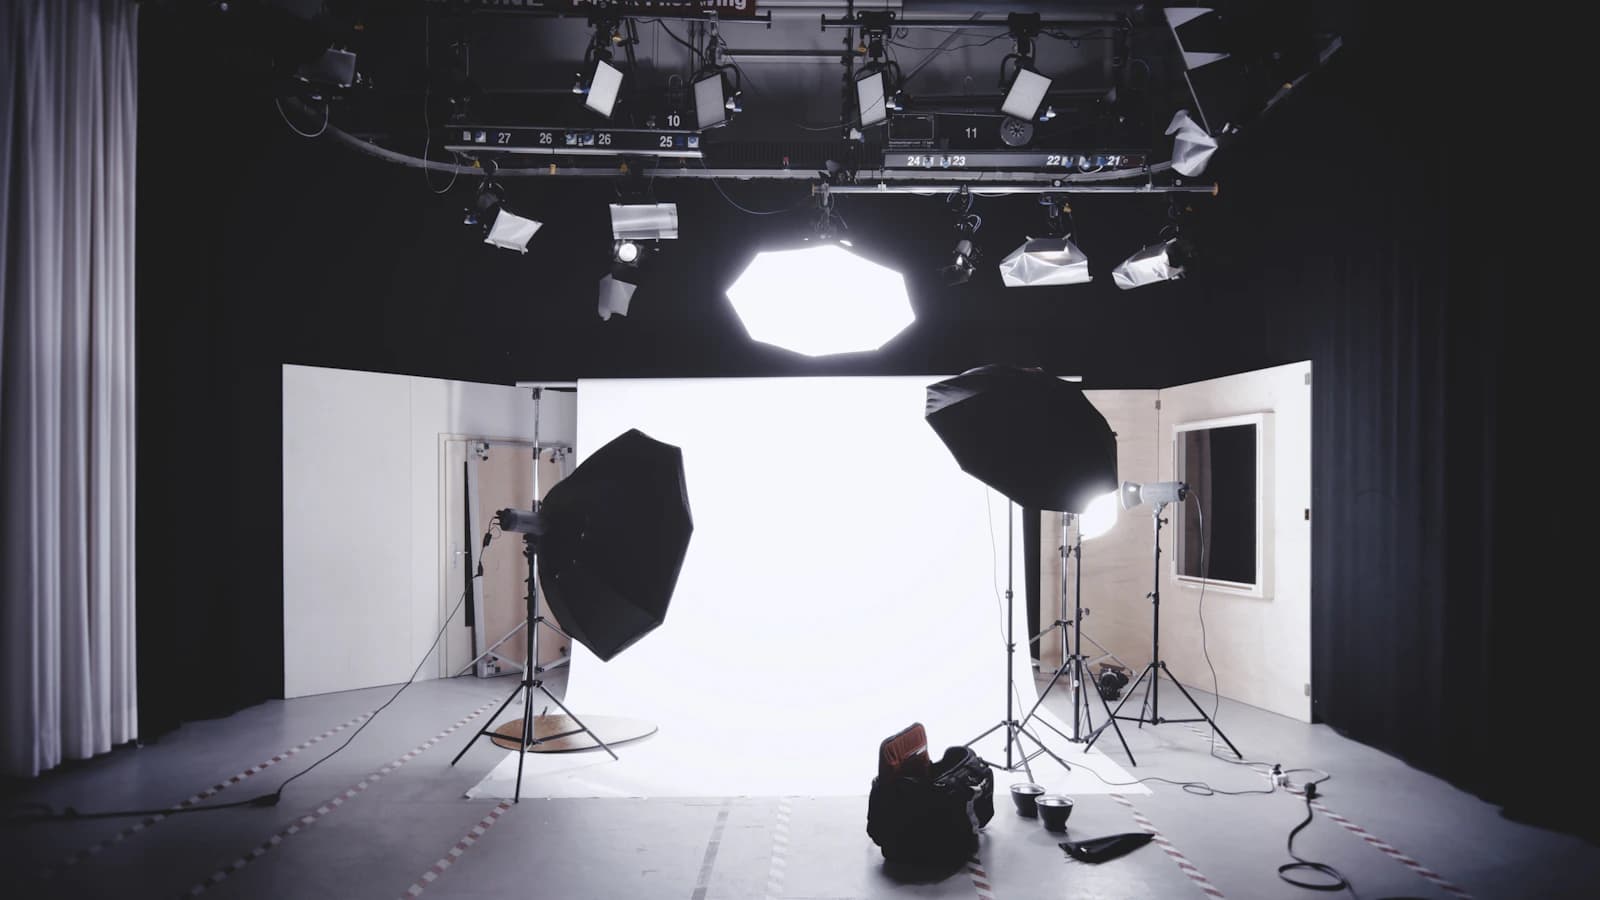
Anyone setting up studio lights for the first time has hit one of two walls: fire a single light and one side of the face disappears into shadow, or turn on every light in the kit and the whole shot goes flat with no sense of depth at all. Studio lighting gives you full control over the position, distance, and number of light sources — a huge advantage over natural light — but that same control means a shoot can end up looking worse than daylight if you don't understand the fundamentals behind it.
Splitting the work: key, fill, and back light
The standard three-light setup is a key light (the main source), a fill light (softens shadows), and a back light (separates the subject from the background, sometimes called a hair light). Position the key light 30-45 degrees off-axis from the camera and slightly above eye level to establish the dominant shadow direction. The fill light sits on the opposite side of the camera, dialed down below the key light's output — match it to the key light exactly and the opposing shadow vanishes entirely, leaving a flat face with no sense of form. The back light sits behind and above the subject, grazing the hair or shoulders just enough to pull them away from a dark background.
The inverse-square law: why moving a light a little changes exposure a lot
Double the distance between a light and your subject and the light falling on them drops to a quarter — that's the inverse-square law in action. Say you've metered f/8 at ISO 100 with a softbox 1m from the subject; push that same light out to 2m and the output drops to a quarter of what it was, roughly a 2-stop loss, meaning you'd need to open up to f/4 or quadruple the light's power output to hold the same exposure. Move it the other way, from 1m down to 50cm, and the light quadruples — another 2 stops, gained. That's why nudging a light just 10-20cm closer or farther can throw your meter reading off more than you'd expect.
Calculating a lighting ratio to shape facial depth
The stop difference between your key and fill light output is called the lighting ratio, and it does more to set the mood of a shot than almost anything else. Set both lights to the same output (a 1:1 ratio) and you get the nearly shadowless, flat look common in beauty retouching shots. Push the key light 2 stops brighter than the fill — a 4:1 ratio, say f/11 on the key against f/5.6 on the fill — and the shadows deepen dramatically, carving out much more defined contours on the face. Most portrait work starts somewhere between 2:1 and 4:1 and gets fine-tuned from there depending on face shape and the mood you're after.
Softbox vs. umbrella: light quality and shadow edges
A softbox's internal diffuser and side panels give you some control over where the light actually lands, producing a soft-edged shadow with relatively little spill onto the background — useful when you need light aimed precisely. A shoot-through umbrella spreads light far more broadly; it's soft too, but it throws light everywhere, so watch for spill hitting the backdrop or flaring into the lens. The rule that holds across both: the bigger the light source relative to the subject, and the closer it sits, the softer the shadow edge — halve the distance between a softbox and your subject and the shadow transition visibly softens, even with the same softbox.
Separating subject from background
Stand a subject too close to a dark backdrop and key light spill often bleeds onto it, blurring the subject's silhouette into the background. Push the subject 1.5-2m or more away from the backdrop and the key light's throw falls off before it reaches it, letting the background sit naturally darker on its own — add a dedicated background light or back light on top of that and the subject's outline separates cleanly.
A common mistake: sloppy light placement
Aim the key light too high above the face and you'll dig deep shadows under the eyes and nose — the classic "raccoon eyes" look. Drop it below eye level instead and the result reads as unnaturally harsh, almost horror-movie lighting. It's also worth checking for catchlights — the small highlight reflected in the eyes from the light source — since a portrait without them tends to look lifeless; make checking the catchlight's shape and position part of your routine before you commit to a light's placement.
Practical checklist
- Set the key light's shadow direction first, then bring in the fill at a lower output to soften — not erase — those shadows.
- Re-meter after any light move: shifting distance by just 10-20cm can shift exposure noticeably under the inverse-square law.
- Dial the lighting ratio between 2:1 (natural portraits) and 4:1 (dramatic portraits) depending on the mood you want.
- For softer shadow edges, move the light closer to the subject or switch to a larger diffuser.
- Keep 1.5-2m or more between subject and backdrop, and use a dedicated back light to separate them.
- Check catchlight position and shadow shape on the face before you press the shutter.