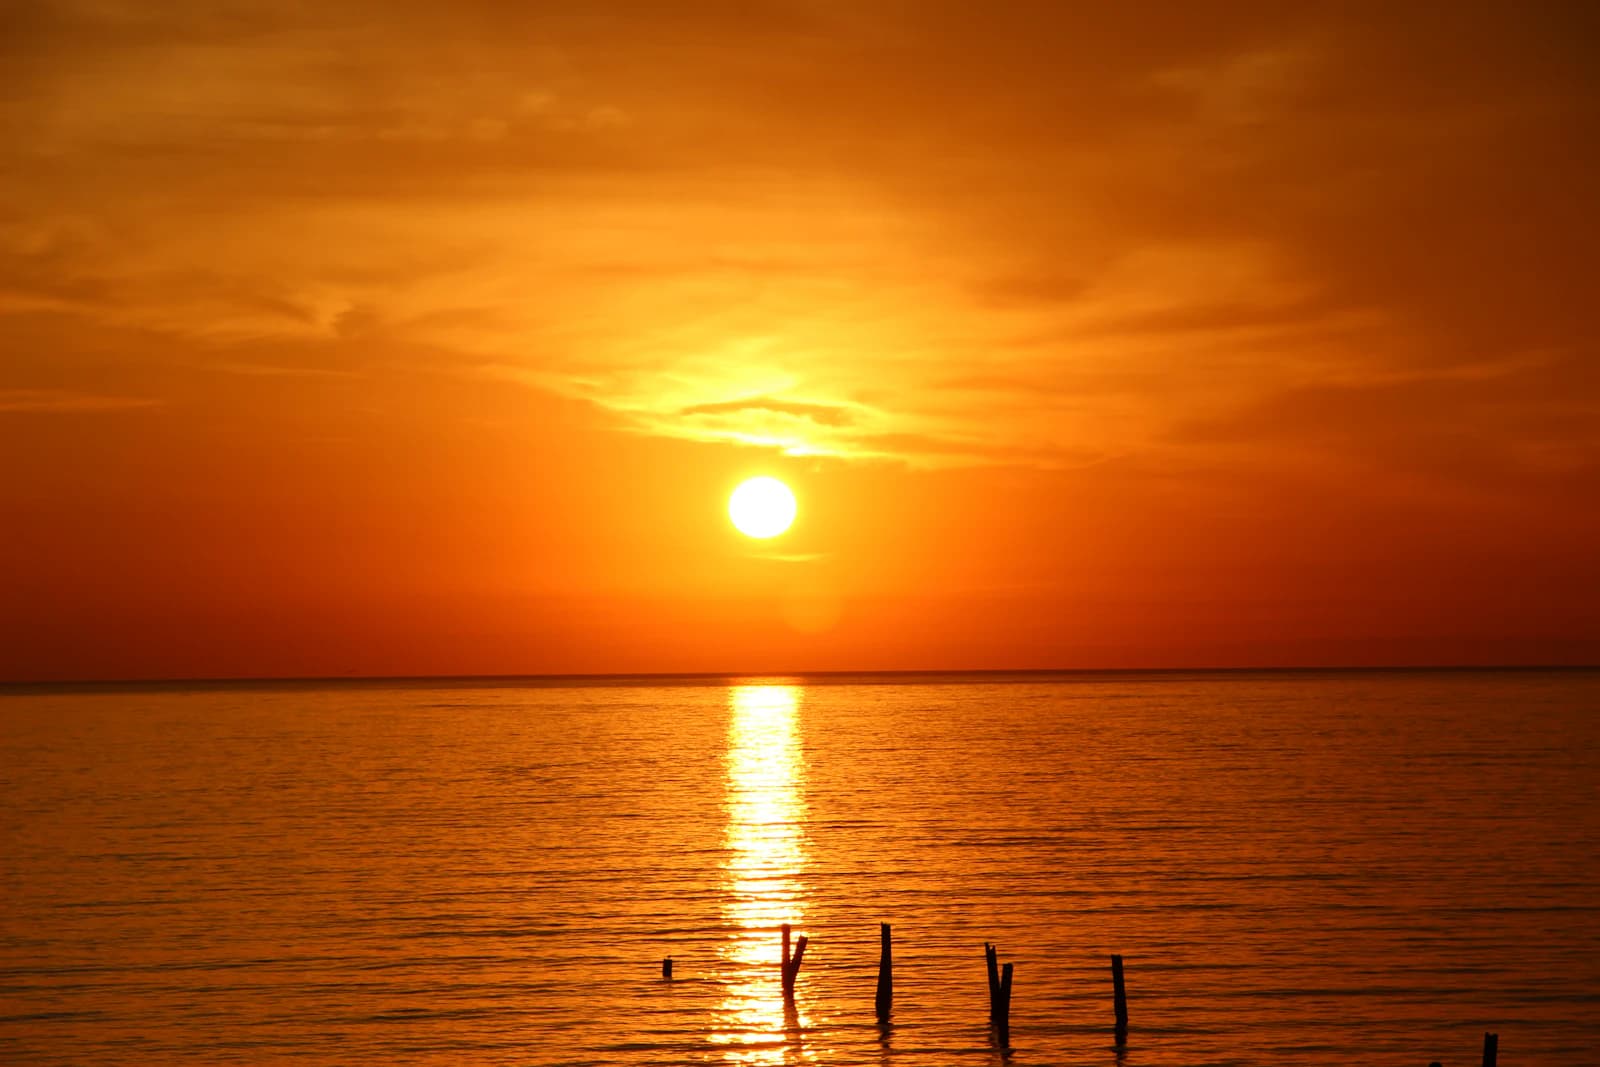
Sunrise and sunset are two of the most popular subjects in photography and also two of the hardest to expose correctly, because the light is both extremely bright (the sun itself) and comparatively dark (the foreground) in the same frame, and it keeps changing throughout the shoot. Here's how to handle both problems.
The Core Challenge: Dynamic Range
A scene with the sun in frame has a dynamic range — the spread between its brightest and darkest areas — that often exceeds what a single exposure can capture cleanly. Expose for the sky and the foreground goes dark and silhouetted; expose for the foreground and the sky blows out to featureless white. Neither is wrong, exactly — silhouettes against a colorful sky are a legitimate and popular look — but you should choose deliberately rather than end up there by accident.
Aperture and Depth of Field
A narrow aperture (f/11–f/16) does double duty here: it keeps a wide scene sharp from foreground to horizon, and if the sun itself is in frame, a narrow aperture also produces the star-burst effect around it that many sunrise and sunset photos are known for. That starburst effect gets more pronounced as the aperture narrows further, so this is a case where stopping down has a clear creative payoff, not just a technical one. If you want to check how much sharpness you gain or lose at a given f-stop, our Advanced DoF and Diffraction Calculator shows where diffraction starts to soften the image on your sensor.
Metering: Don't Trust the Average
Your camera's default metering mode averages brightness across the frame, and with the sun in the shot, that average gets dragged toward "too bright," leaving everything else underexposed. Spot metering off a mid-toned part of the scene — not the sun itself, and not the darkest shadow — gives a more useful starting exposure. From there, checking the histogram (rather than the LCD preview, which is unreliable in bright outdoor light) is the most reliable way to confirm you haven't blown out the sky or crushed the foreground more than you intended.
Graduated ND Filters: Compressing the Range In-Camera
A graduated neutral density filter, darkened at the top and clear at the bottom, can hold back the sky's brightness relative to the foreground directly at capture time, which is often more effective than trying to recover the same range afterward in editing. This is especially useful when the horizon is relatively flat — an open field, a beach, the sea — where a hard-edge graduated filter can align cleanly with it.
White Balance: Let the Warmth Through
Auto white balance sometimes tries to neutralize the orange and pink tones of golden hour, treating them as a color cast to correct rather than the actual color of the light. Setting white balance manually to Daylight or Cloudy (rather than Auto) generally preserves more of that warmth. If you're shooting RAW, this setting isn't permanent and can be adjusted afterward regardless of what you chose in-camera, which is one more reason RAW is worth considering for this kind of shooting.
Timing: The Light Changes Fast
The most dramatic color often isn't at the moment the sun touches the horizon — it's in the 20–30 minutes before sunrise or after sunset, sometimes called the "blue hour," when the sky can show deep blues and pinks well after direct sunlight is gone. Plan to arrive early and stay late rather than showing up for the single moment you expect to be best; the light shifts continuously, and some of the most useful shots happen when you weren't specifically watching for them. Our Golden Hour Calculator gives you the times for your location and date, so you can plan your arrival instead of guessing.
Worked example: how many stops of sky?
Let's put numbers on the dynamic range problem. Say we stand at a flat beach, ISO 100, f/11. Spot metering the bright sky just above the horizon gives 1/500 s. Spot metering the dark sand in the foreground gives 1/60 s.
- The ratio between the two shutter speeds is 500 divided by 60, which is about 8.3.
- Each stop is a doubling, and 2 to the power of 3 is 8, so the difference is about 3 stops.
That tells us the sky is about 3 stops brighter than the foreground. A 3-stop graduated ND filter (sometimes labelled 0.9) aligned with the horizon would pull the sky down to match the foreground, letting us expose at roughly 1/60 s for both. Without the filter we have two choices: bracket, or accept a silhouette. A bracket of three frames at minus 2, 0, and plus 2 EV spans 4 stops between the darkest and brightest frame, which covers a 3-stop gap with room to spare. Our Bracketing Calculator builds the sequence for you, and the Exposure Stops Calculator lets you check the math for any pair of settings.
Here is a second example for the blue hour. Suppose at ISO 100 and f/8 a correct exposure is 1/15 s. Light fades quickly after sunset, and every stop of fading doubles the shutter time: 1/15 s becomes 1/8 s after one stop and 1/4 s after two. At that point a tripod is no longer optional.
Common mistakes
- Metering on the sun. The meter sees an intensely bright spot and darkens everything. Meter a mid-tone nearby instead.
- Trusting the LCD outdoors. Judge exposure by the histogram, not by how the screen looks in glare.
- Leaving auto white balance on and wondering where the color went. Try Daylight or Cloudy and compare.
- Packing up when the sun disappears. The color often peaks afterward.
Limits: when these settings don't apply
Everything above assumes a sun low in a clear or partly cloudy sky. If the sky is solid overcast, the dynamic range is small and a graduated filter will only make the top of the frame look dim and unnatural. If you're photographing from a moving vehicle or boat, a narrow aperture will push the shutter too slow, so you'll need a higher ISO and a wider aperture. Finally, a graduated filter assumes a fairly straight horizon. With mountains, buildings, or trees poking through, the filter will darken them too, and a bracketed blend is usually the better tool.
A practical scenario
We arrive 40 minutes before sunrise at a beach. We set the tripod, switch to RAW, and set white balance to Daylight. First frames at f/11 and ISO 100 show a dark foreground, so we spot meter the sand, check the histogram, and add a graduated ND filter aligned to the horizon. As the sun nears the horizon we shoot a three-frame bracket for safety, then keep shooting for another 20 minutes after it is up, because the warm light on the waves is often better than the sunrise itself. For a timelapse, we plan the interval first with the Timelapse Calculator.
Quick checklist
- Check sunrise or sunset time and arrive early.
- RAW, tripod, and white balance set deliberately.
- f/11–f/16 for depth and starburst.
- Spot meter a mid-tone, then check the histogram.
- Filter or bracket if the sky is more than about 2 stops brighter.
- Keep shooting after the sun leaves the frame.
FAQ
Should I use auto or manual exposure for sunsets?
Either works. We usually start in aperture priority or manual, check the histogram, and use exposure compensation or manual changes as the light drops, because the scene keeps changing.
Do I need a graduated filter if I shoot RAW?
Not always. Modern sensors recover a lot of shadow detail, so a bracket or careful editing can work. A filter simply gets the result right at capture, which can save time.