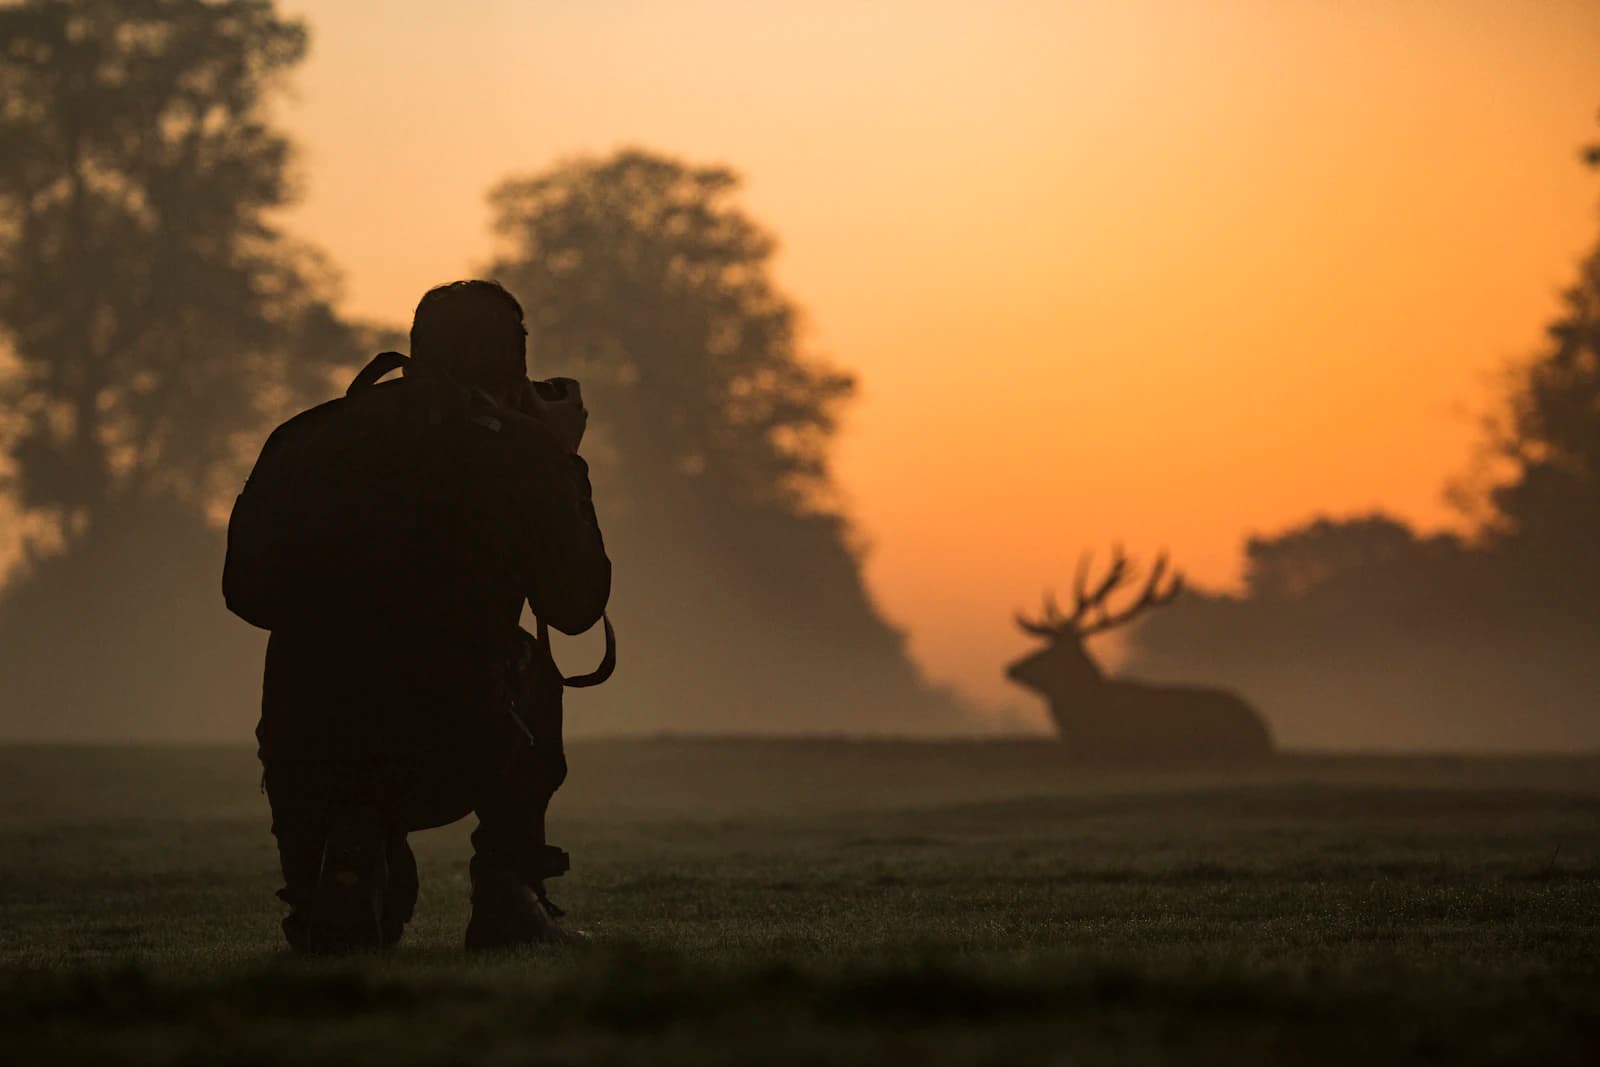
Wildlife rarely waits for you to finish adjusting your camera. A settling bird can launch mid-composition, and a grazing deer can bolt the moment a twig snaps underfoot. The settings that matter most in this genre are the ones that let you react in a fraction of a second rather than the ones you'd choose in a controlled studio.
Shutter Speed: Matching the Subject's Movement
A perched bird or a resting mammal can be sharp handheld at 1/500s with a stabilized lens, but that same speed will blur a bird taking flight or a running fox. As a starting reference, small fast-moving birds in flight typically need 1/2000s or faster to freeze wingtip motion, while larger mammals moving at a trot are usually sharp by 1/1000s. The reason isn't just subject speed — it's angular velocity relative to the lens, so an animal crossing your frame close-up needs a faster shutter than the same animal moving at the same physical speed far away.
- Stationary or slow-moving subject: 1/500s–1/800s
- Walking or trotting mammal: 1/1000s–1/1600s
- Bird in flight, running predator: 1/2000s–1/4000s
A common mistake is locking in a "safe" 1/1000s for an entire session and then missing the one moment a subject explodes into motion. It's worth checking the EXIF of a few early frames to confirm the shutter speed the camera actually chose in aperture-priority mode, especially as light shifts through a session.
Autofocus: Continuous Tracking Over Single-Shot
Wildlife photography is one of the clearest cases for continuous autofocus (AF-C / AI Servo) over single-shot AF. Animals shift their footing, turn their heads, or drift closer or farther even when they appear to be holding still, and a locked single-shot focus point will drift out of the plane of focus within seconds. Pair AF-C with a focus mode that tracks eyes or subjects if your camera offers animal-eye detection — it dramatically reduces the number of frames lost to focus landing on fur or feathers instead of the eye.
For dense environments like forest edges or reeds, a single, manually placed focus point is often more reliable than wide-area tracking, which can lock onto a branch in front of the animal instead of the animal itself. Wide-area tracking works better in open habitats — grassland, tundra, open water — where there's little in the frame to distract the autofocus system.
Aperture: Balancing Background Blur and Depth
Wide apertures (f/4–f/5.6, common on long telephoto lenses) separate the subject from a cluttered background, which matters more in wildlife than almost any other genre since backgrounds are rarely controlled. But depth of field at long focal lengths is thin even at f/5.6 — a large animal photographed close can have its nose in focus and its ears already soft. Stopping down to f/8 when the subject and distance allow it gives a better margin for keeping the whole animal sharp without giving up too much background separation.
ISO: Accepting Grain in Exchange for Shutter Speed
Wildlife shooters are usually working near dawn or dusk, when animals are most active and light is weakest — exactly when a fast shutter speed is hardest to get without raising ISO. Rather than protecting a low ISO and accepting motion blur, most experienced wildlife photographers set a minimum acceptable shutter speed and let ISO float up to whatever value achieves it, often into ISO 3200–6400 range on modern sensors with acceptable results after noise reduction. A sharp, slightly noisy frame of a fleeting subject is almost always more usable than a clean but blurred one, since a missed moment can't be recreated.
Lens Choice and Working Distance
Most wildlife subjects require 300mm or longer (full-frame equivalent) simply to fill enough of the frame without disturbing the animal or endangering the photographer. A 100–400mm zoom offers useful flexibility for subjects at varying distances, while prime telephotos (500mm, 600mm) usually offer a wider maximum aperture at the cost of weight and cost. Teleconverters extend reach but cost one to two stops of light and can soften autofocus speed — worth testing on your specific lens body combination before relying on one in the field.
Putting It Together
A practical starting point for daylight wildlife with a telephoto lens: aperture-priority mode at f/5.6–f/8, AF-C with animal-eye detection if available, and a minimum shutter speed set high enough for your subject's expected movement (1/1000s as a general floor, faster for birds in flight), letting ISO rise as needed. A quick checklist before a session: confirm AF-C is active, confirm your minimum shutter speed threshold if using auto-ISO, check your last few frames' EXIF for focus point placement, and reset exposure compensation if you carried it over from a previous scene's lighting.