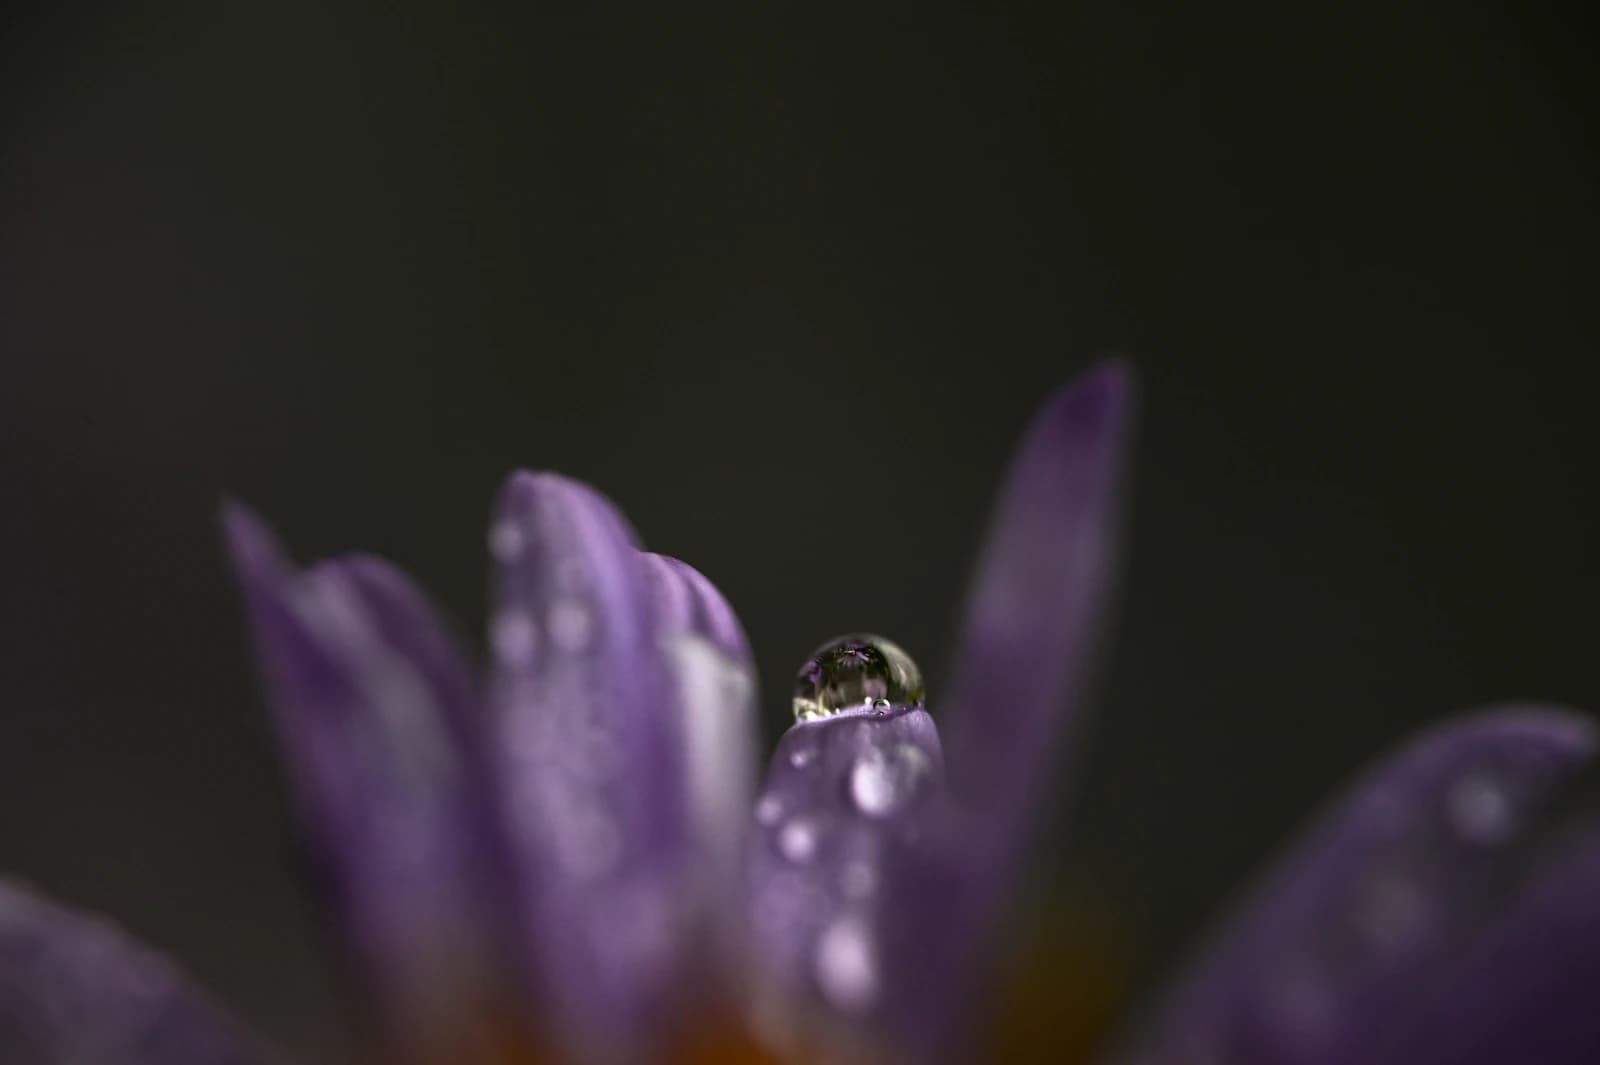
It's well known that depth of field in macro photography collapses to a few millimeters, but stopping down to f/16 or f/22 often still isn't enough to cover a whole subject — and going past that point just trades depth for diffraction softening. Focus stacking sidesteps the whole tradeoff: shoot a series of frames at slightly different focus points, then blend them afterward so the final image carries far more depth than any single exposure could.
What focus stacking actually does
You shoot the same frame at the same exposure settings repeatedly, moving the focus point back a small, consistent amount between shots, then hand the sequence to software that picks the sharpest region from each frame and merges them into one composite. The core idea is that stacking lets you extend depth of field almost arbitrarily just by adding more frames, something no single exposure can do regardless of aperture. It's especially useful when you want an entire insect, or the inside of a flower, sharp from the nearest point to the farthest.
Aperture: more frames beats stopping down further
Once you're stacking, there's no reason to chase depth by stopping down into diffraction territory. At 1:1 magnification, a lens at f/8 has a depth of field of roughly 0.3–0.5mm — but that's often close to the lens's sharpest aperture, its sweet spot. Push to f/16 or f/22 instead and each individual frame gains depth, but diffraction softens the image itself, which drags down the sharpest possible result even after stacking. Finding the aperture where your lens resolves the most detail — usually somewhere around f/5.6–f/8 — and making up any shortfall in depth with more frames almost always produces a sharper final composite.
Working out step size and frame count
If your step distance is wider than the depth of field in a single frame, you end up with a thin band that's out of focus in every frame and never gets rescued in the composite. A reliable rule of thumb is setting the step to roughly 70–80% of the depth of field at your working aperture, so consecutive frames overlap comfortably. At f/8 with a depth of field of about 0.4mm, that puts your step around 0.3mm; for a subject that's 5mm deep front to back — a small insect, roughly — that works out to about 5mm ÷ 0.3mm, or somewhere around 15–20 frames. Push magnification past 2:1 and depth of field per frame drops fast, so the frame count needed to cover the same subject depth climbs sharply — worth checking whether you actually need that much magnification before you commit to it.
Gear: focusing rails and in-camera focus bracketing
Turning the focus ring by hand between shots rarely produces even steps, and uneven steps show up as banding artifacts in the finished stack. A dedicated macro focusing rail moves the whole camera toward the subject by a fixed physical distance instead, which gives you a much more consistent step. Many recent mirrorless bodies — Sony Alpha, Nikon Z, and Fujifilm X-series cameras among them — now have a built-in focus bracketing (or focus shift) mode where you set the number of shots and a step width (usually on a 1–10 scale) and the camera racks focus and fires the sequence automatically, getting you a reasonably even stack without a rail at all.
Lighting: why continuous light beats flash here
In-camera focus bracketing often fires frames faster than a flash can recycle between them, and when that happens a handful of frames in the middle of the stack come out underexposed, leaving a visible seam once everything's merged. Continuous LED panels sidestep the recycle problem entirely, so every frame in the sequence gets identical exposure — a real advantage on longer stacks of 30 frames or more. If flash is unavoidable, locking it to manual at low power shortens recycle time, and spacing the shots out a bit further gives it room to keep up.
Camera shake and subject motion: the most common stack killer
Stacking only works if dozens of frames land on the same position and framing, which makes it especially vulnerable to anything alive — a flower swaying in a breeze, an insect shifting its legs mid-sequence. Outdoors, a folding wind shield cuts down the small movements around the subject; some indoor macro shooters work with recently collected, refrigerated insects to slow them down briefly instead of anesthetizing them. Mounting the camera solidly on a tripod and focusing rail and getting through the whole sequence as fast as possible is the most dependable defense either way.
Post-processing: merging the sequence in stacking software
Once the sequence is captured, blend it in Helicon Focus, Zerene Stacker, or Photoshop's Auto-Blend Layers. Dedicated stacking software includes options aimed at reducing the halo and ghosting artifacts that commonly appear along blend boundaries, but it's still worth zooming to 100% and checking those boundaries by eye afterward — and manually re-selecting a source frame with a brush if something needs a fix.
Practical checklist
- Set aperture to your lens's sharpest point (usually around f/5.6–f/8) and cover any shortfall in depth with more frames rather than stopping down further.
- Set the step size to roughly 70–80% of the depth of field at your working aperture so consecutive frames overlap.
- Use a focusing rail or in-camera focus bracketing when you can — even steps matter more than the exact number of frames.
- Shoot long stacks (30+ frames) with continuous light rather than flash to avoid exposure drift from recycle lag.
- Use a wind shield outdoors and finish the sequence as fast as possible to limit subject-motion failures.