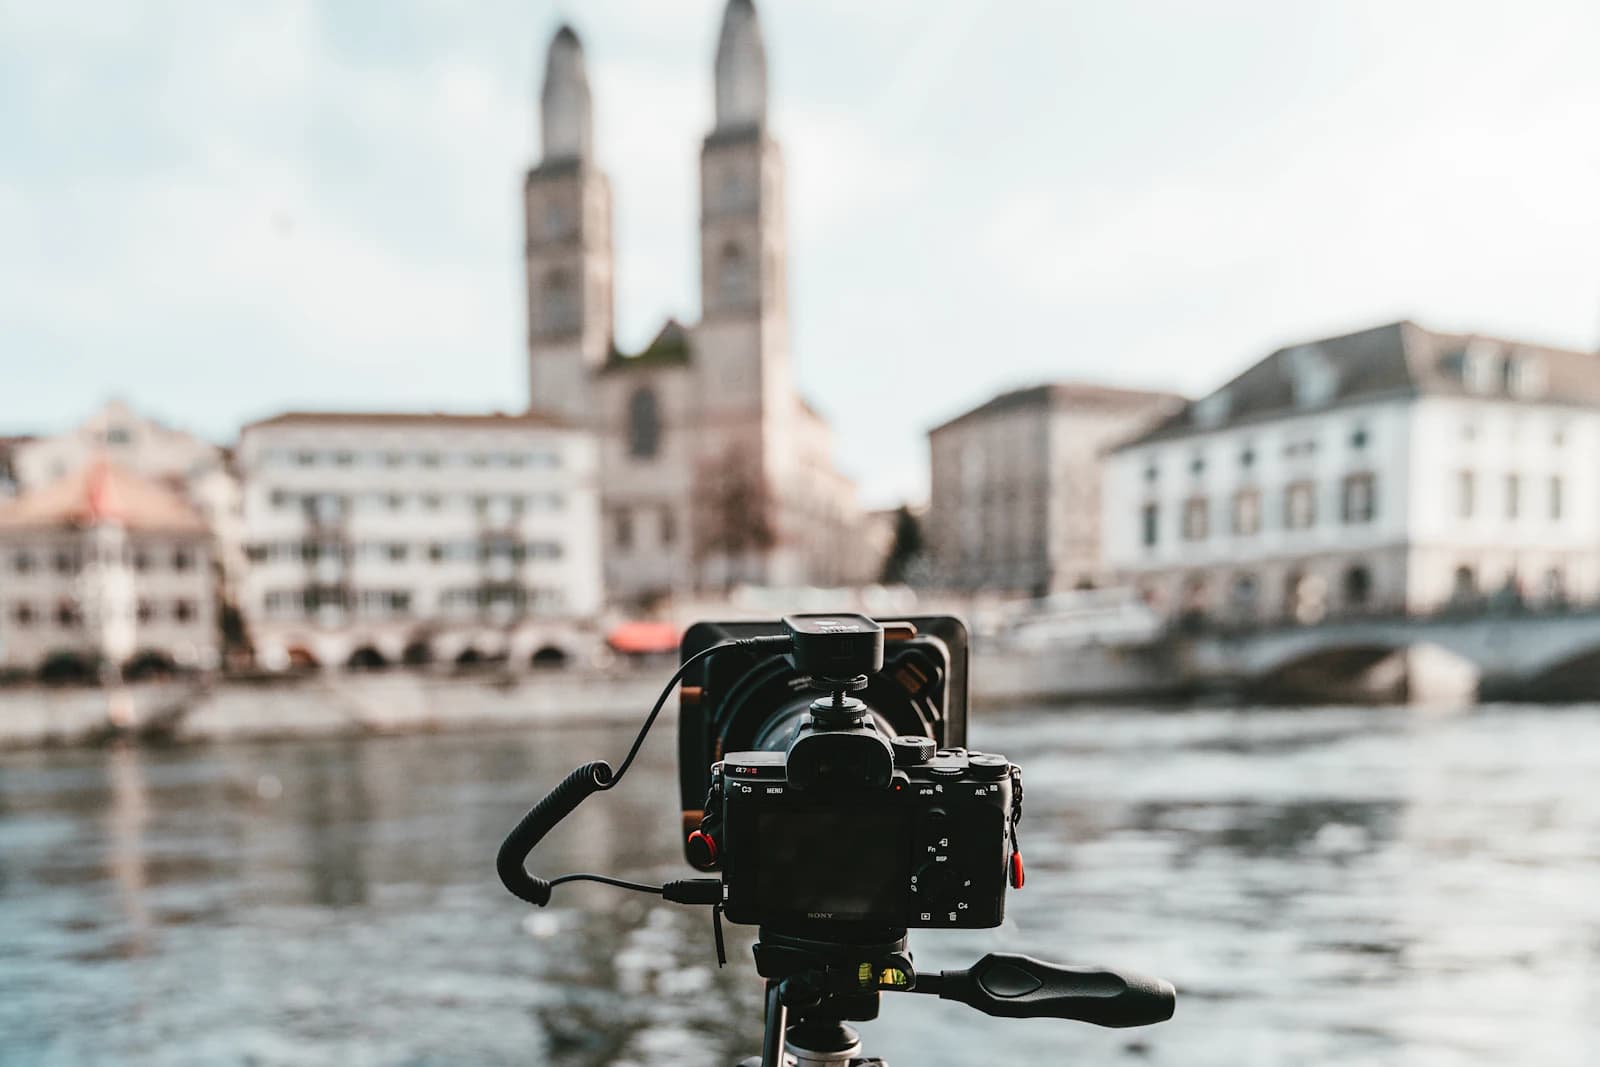
Walk into any camera store's filter aisle and you'll find ND filters labeled with numbers that mean almost nothing at a glance: ND8, ND1000, ND64, "6-stop," "10-stop." Picking the wrong one means either a shot that's barely different from no filter at all, or an exposure so long it's impractical. Here's how to actually choose.
What an ND Filter Does
A neutral density (ND) filter is, in effect, sunglasses for your lens — a piece of tinted glass or resin that reduces the amount of light entering the camera without changing color. Less light reaching the sensor means you need a longer shutter speed (or wider aperture, or higher ISO) to get a correctly exposed shot. That's the entire point: it lets you use a much slower shutter speed than the available light would normally allow, even in broad daylight.
Filter Strength, in Stops
ND filters are rated by how many stops of light they block — each stop halves the amount of light reaching the sensor, which doubles the shutter speed needed for the same exposure. You'll see strength described two ways, and they refer to the same thing:
- Stop rating: 3-stop, 6-stop, 10-stop, 15-stop, 20-stop
- Filter factor / ND number: ND8 (3-stop), ND64 (6-stop), ND1000 (10-stop), ND32000 (15-stop), ND1000000 (20-stop)
If a chart of these numbers isn't handy, our ND filter calculator does the conversion for you — enter your unfiltered shutter speed and the stop count, and it returns the new shutter speed instantly.
Matching Strength to the Shot
3-stop to 6-stop (ND8–ND64): Useful in overcast conditions, golden hour, or anytime you want a moderate slowdown — smoothing out choppy water, adding a touch of motion to clouds, or shooting at a wider aperture in bright light without overexposing. Exposures typically land in the 1–15 second range.
10-stop (ND1000): The most common "serious" long-exposure filter. In daylight, it turns a 1/125s shot into roughly an 8-second exposure — enough to smooth moving water into a silky blur, streak clouds, or empty a busy scene of moving people and cars. This is the strength most photographers reach for first.
15-stop to 20-stop: For the most dramatic effects — minutes-long exposures in daylight that turn choppy seas into glass-flat water, or compress an hour of cloud movement into visible streaks. These are specialist filters for a specific look, not everyday tools.
A Few Practical Notes
Stacking filters isn't ideal. Combining two ND filters to reach a higher stop count works, but it increases the risk of vignetting (dark corners) and color cast, especially on wide-angle lenses. A single filter at the strength you need is almost always the better choice.
Variable ND filters trade convenience for quality. A variable ND lets you dial in anywhere from roughly 2 to 8 stops with one filter, which is convenient for video and for photographers who don't want to carry several filters. The tradeoff is a visible dark "X" pattern at the extreme ends of its range on wide lenses, and slightly softer image quality compared to a fixed-strength filter.
Very strong filters make your viewfinder go dark. With a 10-stop or stronger filter mounted, you often can't see through an optical viewfinder or compose on a mirrorless screen. The standard workflow is to compose and focus first, then attach the filter, switch to manual focus (so the camera doesn't hunt for focus in the dark), and use the calculator to work out your new shutter speed before shooting.
Putting It Together
Once you know your unfiltered shutter speed — the reading you'd get without any filter attached, at your chosen aperture and ISO — plug it into an ND calculator along with your filter's stop rating to get the exact new shutter speed. From there it's a matter of setting your camera to bulb mode (for exposures longer than 30 seconds) or manual mode, using a remote shutter release or the camera's built-in timer to avoid shake, and letting the shutter do the rest.