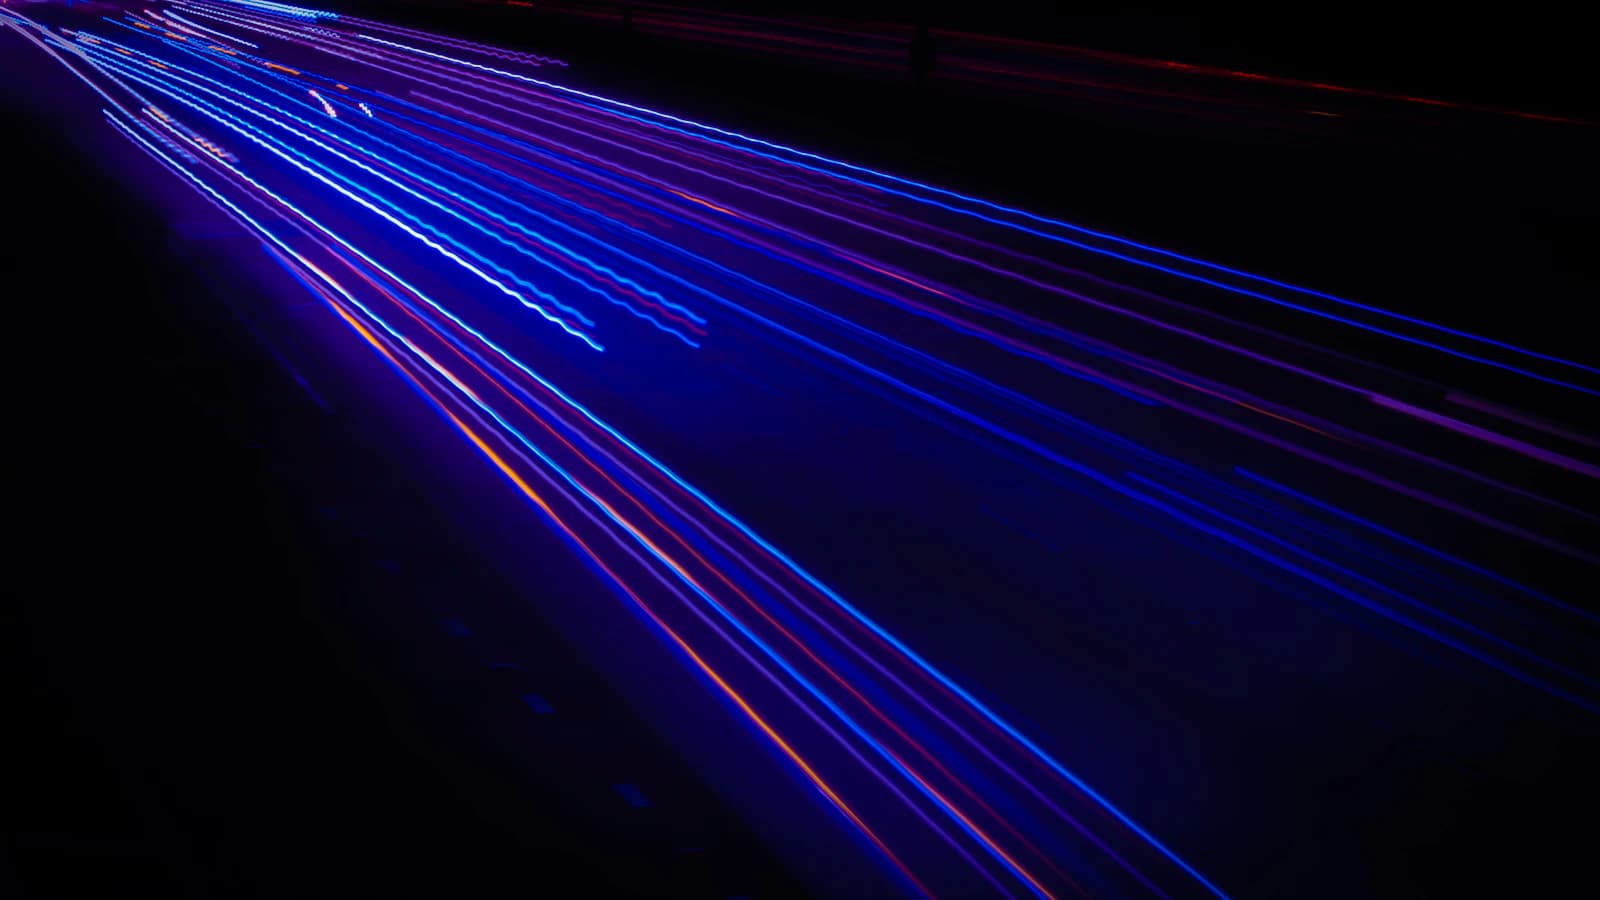
Light trails — the streaks left by moving lights during a long exposure, most commonly car headlights and taillights on a busy road — are one of the most accessible long exposure techniques, because you don't need total darkness or specialized gear, just a fairly ordinary intersection or highway overpass after dusk.
The Basic Idea
The technique works on the same principle as any other long exposure: anything that moves during the exposure is recorded as a blur or streak, while anything static stays sharp. A moving car itself typically blurs into an indistinct shape at these shutter speeds, but its headlights and taillights, small and bright against a darker background, resolve into clean continuous lines that trace the path the car took. Static elements — buildings, road markings, a tripod-mounted foreground — stay crisp.
Shutter Speed: Long Enough to Capture a Full Trail
Shutter speed is the setting that matters most here, and it needs to be long enough for at least one vehicle to travel a meaningful distance through the frame — typically 5 to 30 seconds, depending on how fast traffic is moving and how much of the frame you want the trail to cover. Slower traffic or a desire for longer trails calls for a longer exposure; a wider road with fast-moving cars can produce a full trail in a shorter one. There's no single correct number — check your results on the histogram and lengthen or shorten as needed.
Aperture and ISO: Controlling the Rest of the Exposure
With shutter speed locked in for the trail effect, aperture and ISO become the tools for getting the rest of the exposure right. A narrow aperture (f/8–f/16) is typical, both because it helps prevent the ambient light (streetlights, building lights) from overexposing during a long shutter speed and because, like in other long-exposure night shots, it can add a pleasant star-burst effect on point light sources. ISO should generally stay low (ISO 100–200) since you already have plenty of exposure time to work with, and a higher ISO would just add noise without a corresponding benefit.
Composition: Give the Trails Somewhere to Go
Light trails read most clearly when the road creates a strong compositional line — a straight road receding toward a vanishing point, a curve sweeping through the frame, or an intersection where trails cross in multiple directions. Shooting from an elevated position (an overpass, a parking garage, a hillside) often works better than street level, since it gives the trails more visual separation from each other and shows more of the road's shape. Include a recognizable landmark or skyline in the frame when possible — trails alone can look abstract, but paired with context they read immediately as a specific place.
Practical Setup
A tripod is non-negotiable here, for the same reasons covered in our guide on avoiding camera shake in long exposures — any camera movement during a 10+ second exposure will blur everything, not just the intended light trails. A remote trigger or 2-second self-timer avoids shake from pressing the shutter button. If your camera supports bulb mode, you can hold the shutter open manually for trails that don't fit a preset shutter speed, timing the exposure to specific vehicles passing through frame rather than a fixed duration.
When to Shoot
Blue hour — the 20 to 30 minutes after sunset before full darkness — is often the ideal window, since the sky retains enough color and detail to avoid going completely black while there's still enough darkness for the light trails to stand out clearly. Full night works too, but you lose the sky detail that often makes blue-hour light trail shots more visually interesting than the same scene shot later.