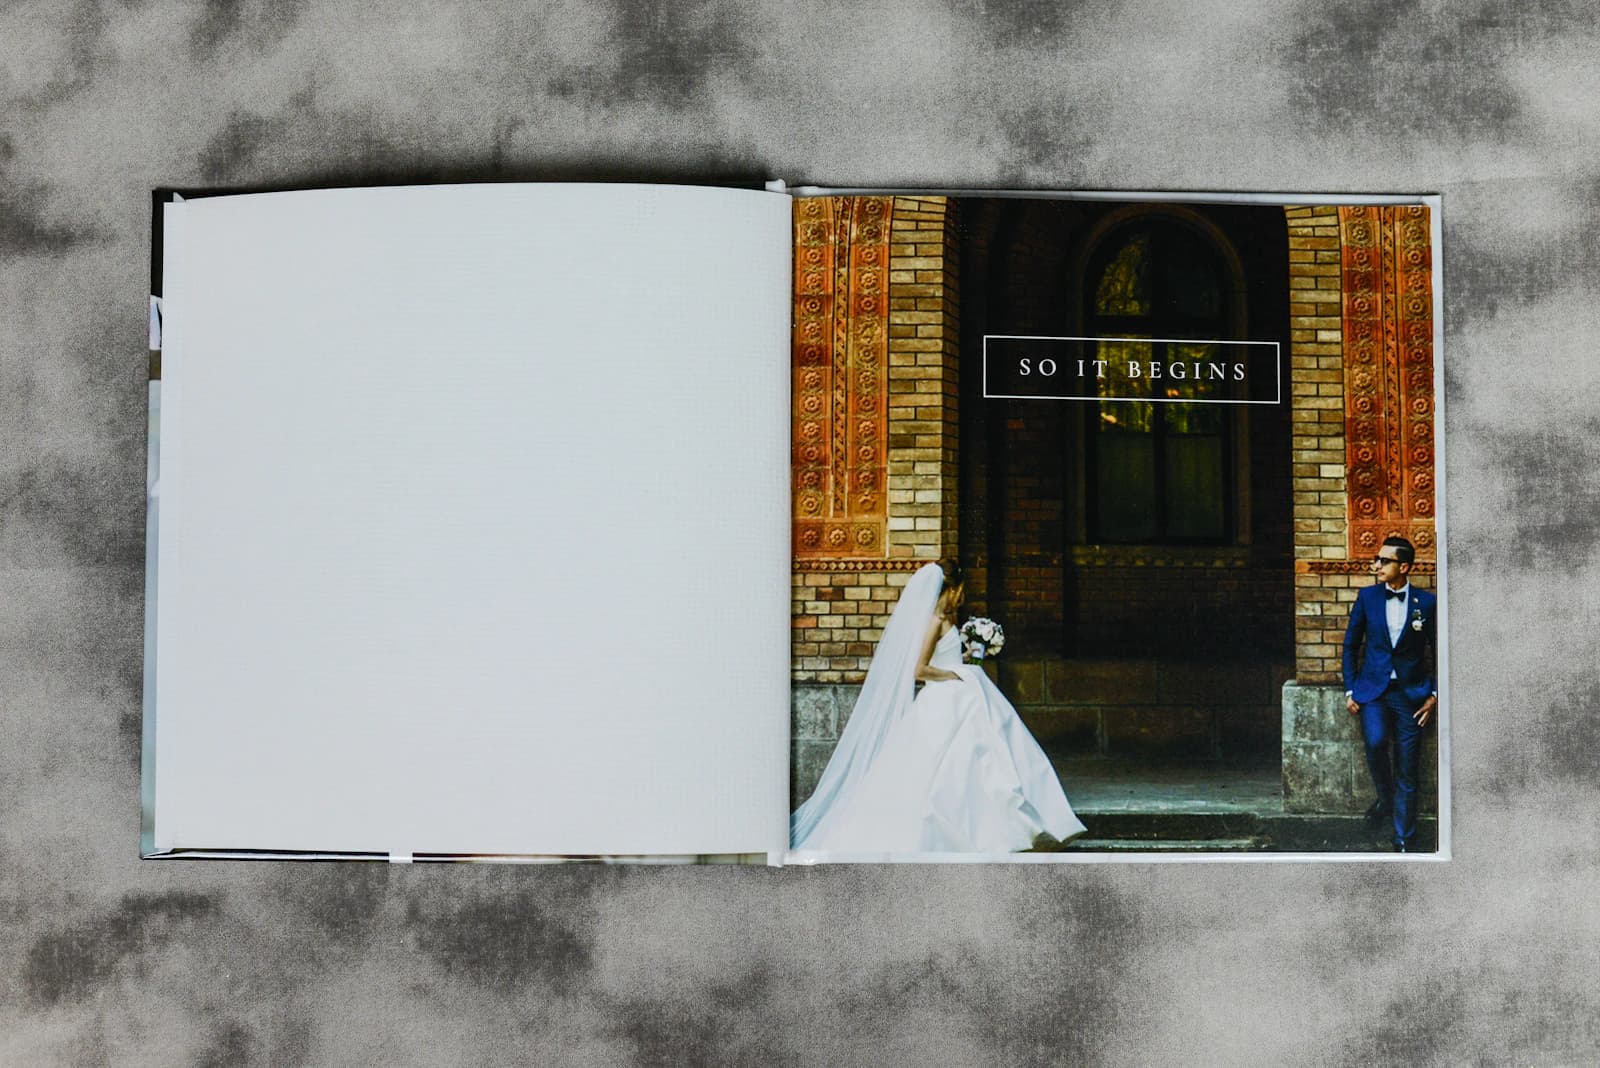
Checking a poster print only means checking one photo's resolution, but a wedding album or photo book is a different problem entirely. You're usually handing over images for 20 to 40 spreads at once, and if even a few of them fall short on resolution, the print lab can hold up approval for the entire book while a designer reworks the layout. Our Print Resolution calculator takes your photo's pixel dimensions and a target DPI and returns the maximum print size, or works the other way — enter a target print size and it tells you the pixel count required — so you can screen album candidates one by one before they ever reach a designer.
Why album printing is fundamentally different from poster printing
A poster hangs on a wall and gets viewed from several feet away, so 150–200 DPI is plenty. An album is held in your hands and viewed up close, so 300 DPI is the baseline expectation. The forgiveness a low DPI gives you on a poster simply doesn't exist for an album. If one poster falls a little short, that's the only image you need to worry about — but an album has to clear the same bar across a dozen or more photos at once, from the cover through every spread, which is exactly why checking each candidate image individually before layout becomes a required step rather than an optional one.
A spread photo needs to be checked at the full spread size, not one page
This is the detail most people miss when prepping album files. If a photo spans a two-page spread, the target size you enter into the calculator isn't a single page's dimensions — it's the full spread. For a 12×12in square album, that means checking the spread at 24×12in, not 12×12in. A 6000×4000px (24MP) original cropped to a square leaves a maximum of 4000×4000px (16MP). That crop comfortably covers a single 12×12in page at 300 DPI, holding up to 13.3in — but stretch the same crop across a 24×12in spread and you need 7200px of width, roughly a 1.8x upscale from the 4000px you have, landing in the "moderate" tier. Any photo you're considering for a spread layout needs to be checked at the spread's full dimensions, not the single-page size.
Check how much a square crop actually costs you
Most camera sensors shoot at a 3:2 ratio, but many album designs lean square or near-square. Cropping a 6000×4000px photo to a square leaves you with only 4000×4000px, matching the shorter side — dropping a 24MP original to 16MP before you've even touched the composition. Add a further crop to tighten framing on a couple or a bouquet detail, and the pixels remaining can end up noticeably lower than expected. Any photo headed for a square crop is worth re-checking with its post-crop pixel dimensions plugged back into the calculator.
Bleed margin is part of the real resolution requirement
Most print labs require 0.125–0.25in of bleed beyond the trim line. For a 12×12in trim-size album, the actual image area you need to cover is closer to 12.25–12.5in once bleed is included. That difference disappears into the margin on a photo with resolution to spare, but on a spread image already sitting near the upscale threshold, it can be exactly what tips the result from "sufficient" into "minor." Enter the trim size plus your lab's bleed requirement into the calculator, not the trim size alone.
The mistake worth avoiding
The most common mistake is checking only the handful of photos that look like obvious favorites and assuming the rest are fine because "the camera shoots 24MP." In practice, the resolution a given page actually needs varies a lot depending on whether it's a spread, how tightly it's cropped, and what the subject is — a detail shot of rings or a bouquet is usually cropped much tighter than a full scene. Prioritize checking the cover and the opening spread first, since those print the largest, and screen out anything borderline before it ever reaches your designer — that's the single most reliable way to avoid a round of rework.
Practical checklist
- For spread photos, enter the full spread size into the calculator (24×12in for a 12×12in album), not a single page's dimensions.
- Calculate against the trim size plus your lab's bleed requirement, not the bare trim size.
- For square or heavily cropped pages, re-enter the expected post-crop pixel count to recheck.
- Check the cover and opening spread first — they print the largest and matter most.
- Confirm whether the upscale factor is under 1.3x or over 2x to decide whether an AI upscaler or a different photo is the better call.