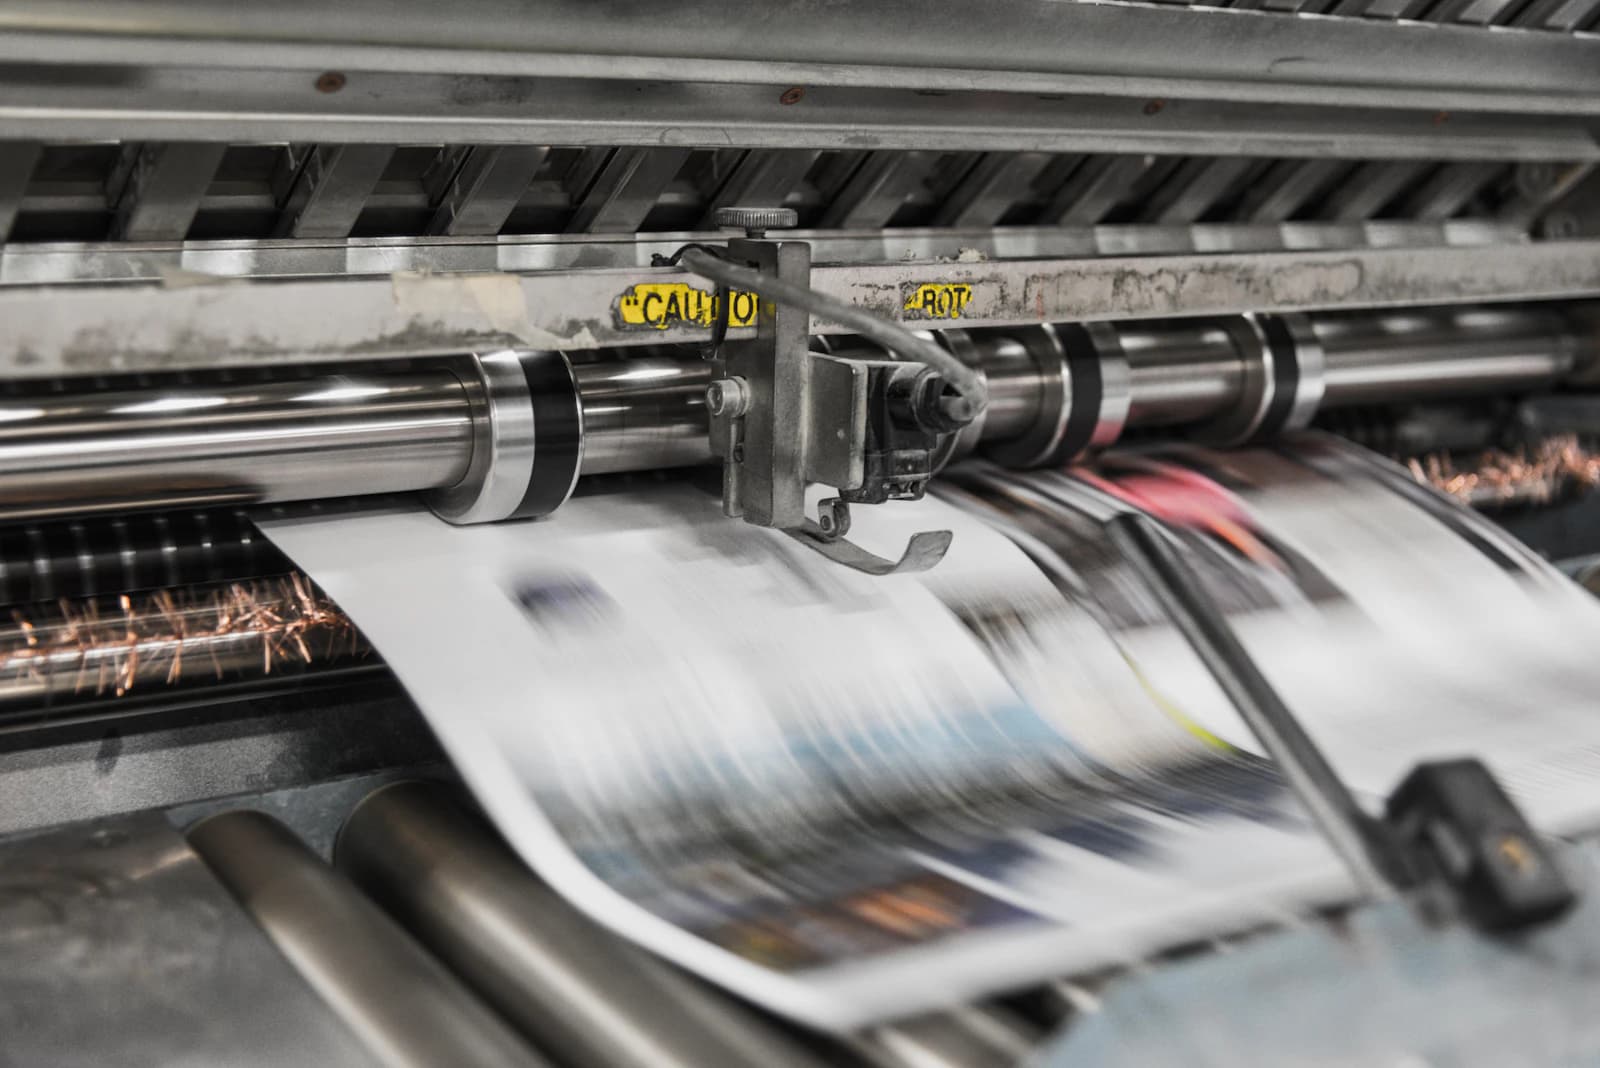
If you've ever sent a photo from a 24MP camera off to be printed as a large poster and gotten back a vague "resolution might be too low" warning from the print shop, it's because that judgment call is anything but obvious. Our Print Resolution calculator takes your photo's pixel dimensions and a target DPI and returns the maximum size you can print at, or works the other way — enter the print size you want and it tells you the pixel count required and how much upscaling your current photo would need.
The two things the calculator solves
The calculator works in either direction. Enter your photo's width and height in pixels along with a target DPI (150/200/300/600 presets are provided) and it shows the largest size, in inches and centimeters, you can print while holding that DPI. A 6000×4000px (24MP) photo prints up to 20×13.3in (about 50.8×33.9cm) at 300 DPI, or up to 40×26.7in (about 101.6×67.7cm) at 150 DPI. Flip it around and pick a target print size first — a preset like 4×6, 8×10, or 20×30, or your own custom dimensions — and it works backward to tell you the pixel count and megapixels that size and DPI combination requires.
DPI isn't always 300 — it depends on viewing distance
A passport photo viewed inches from your face genuinely needs 300 DPI, but a large poster hung on a wall and viewed from several feet away looks essentially identical at 150 DPI. That's exactly why the calculator offers a 150 DPI preset alongside 300. Run a 20×30in poster at 300 DPI and you'd need 6000×9000px (54MP) — well beyond what a 24MP camera delivers. Run the same size at 150 DPI instead and you only need 3000×4500px (13.5MP), which a 24MP camera covers comfortably with no cropping at all. Deciding how close someone will actually stand to view the print, before you plug in a target size, is the first step.
How to read the upscale guidance
When your pixel count falls short of what a target print size needs, the calculator shows an upscale factor along with a four-tier label: sufficient, minor, moderate, or major. That factor tells you how much each side needs to be enlarged — up to about 1.3x is essentially invisible with ordinary resampling, 1.3x to 2x is where a dedicated AI upscaler starts meaningfully outperforming simple resampling, and past 2x quality loss becomes hard to fully hide with any method, making a re-shoot or a smaller print size the safer call. The 20×30in-at-300-DPI example above (54MP needed, 24MP available) works out to an area ratio of 54/24 = 2.25, whose square root gives roughly a 1.5x upscale — landing in the "moderate" tier, which an AI upscaler can generally handle without trouble.
Check how much cropping actually costs you
It's common to crop a photo for composition before sending it off for a poster print, but cutting each side in half leaves you with only 25% of the original pixel count. A 24MP photo cropped that way drops to roughly 6MP, which can turn a print size that looked comfortably safe into one that suddenly needs upscaling. Get in the habit of re-entering your expected post-crop pixel dimensions into the calculator while you're still composing, rather than discovering the shortfall only after the file is already at the print shop.
The mistake worth avoiding
The most common mistake is glancing at a camera's megapixel spec and assuming "that should be plenty" without checking further. Two photos both shot at 24MP can need very different amounts of resolution depending on aspect ratio — printing a near-square poster from a 3:2 sensor already throws away usable pixels before cropping even enters the picture — and stacking a composition crop on top can leave you with noticeably less than the spec sheet implies. It's also worth trying the 200 DPI preset for textured media like canvas, since many print shops treat that as their real-world baseline rather than 300.
Practical checklist
- Decide viewing distance first: close-up prints need 300–600 DPI, while large posters viewed from a distance hold up fine at 150–200 DPI.
- Enter your target print size and DPI into the calculator before shooting or exporting, to see the required megapixels up front.
- If upscaling is needed, check whether the factor is under 1.3x or over 2x before deciding on a method.
- If you plan to crop for composition, re-enter the expected post-crop pixel dimensions to recheck.
- For textured print media like canvas, compare against the 200 DPI preset as well as 300.