If you shot with the same camera and the same lens and one photo catches the eye while another looks flat, the difference mostly comes from composition. Composition is deciding what to put in the frame and where to place it, and spending just a few seconds before pressing the shutter changes the result.
In this post I summarize five composition checks to run before pressing the shutter, using 9 photos shot at the same place with the same lens. Subjects such as roofs, walls, and rafters appear, but the criteria apply as they are to any landscape.
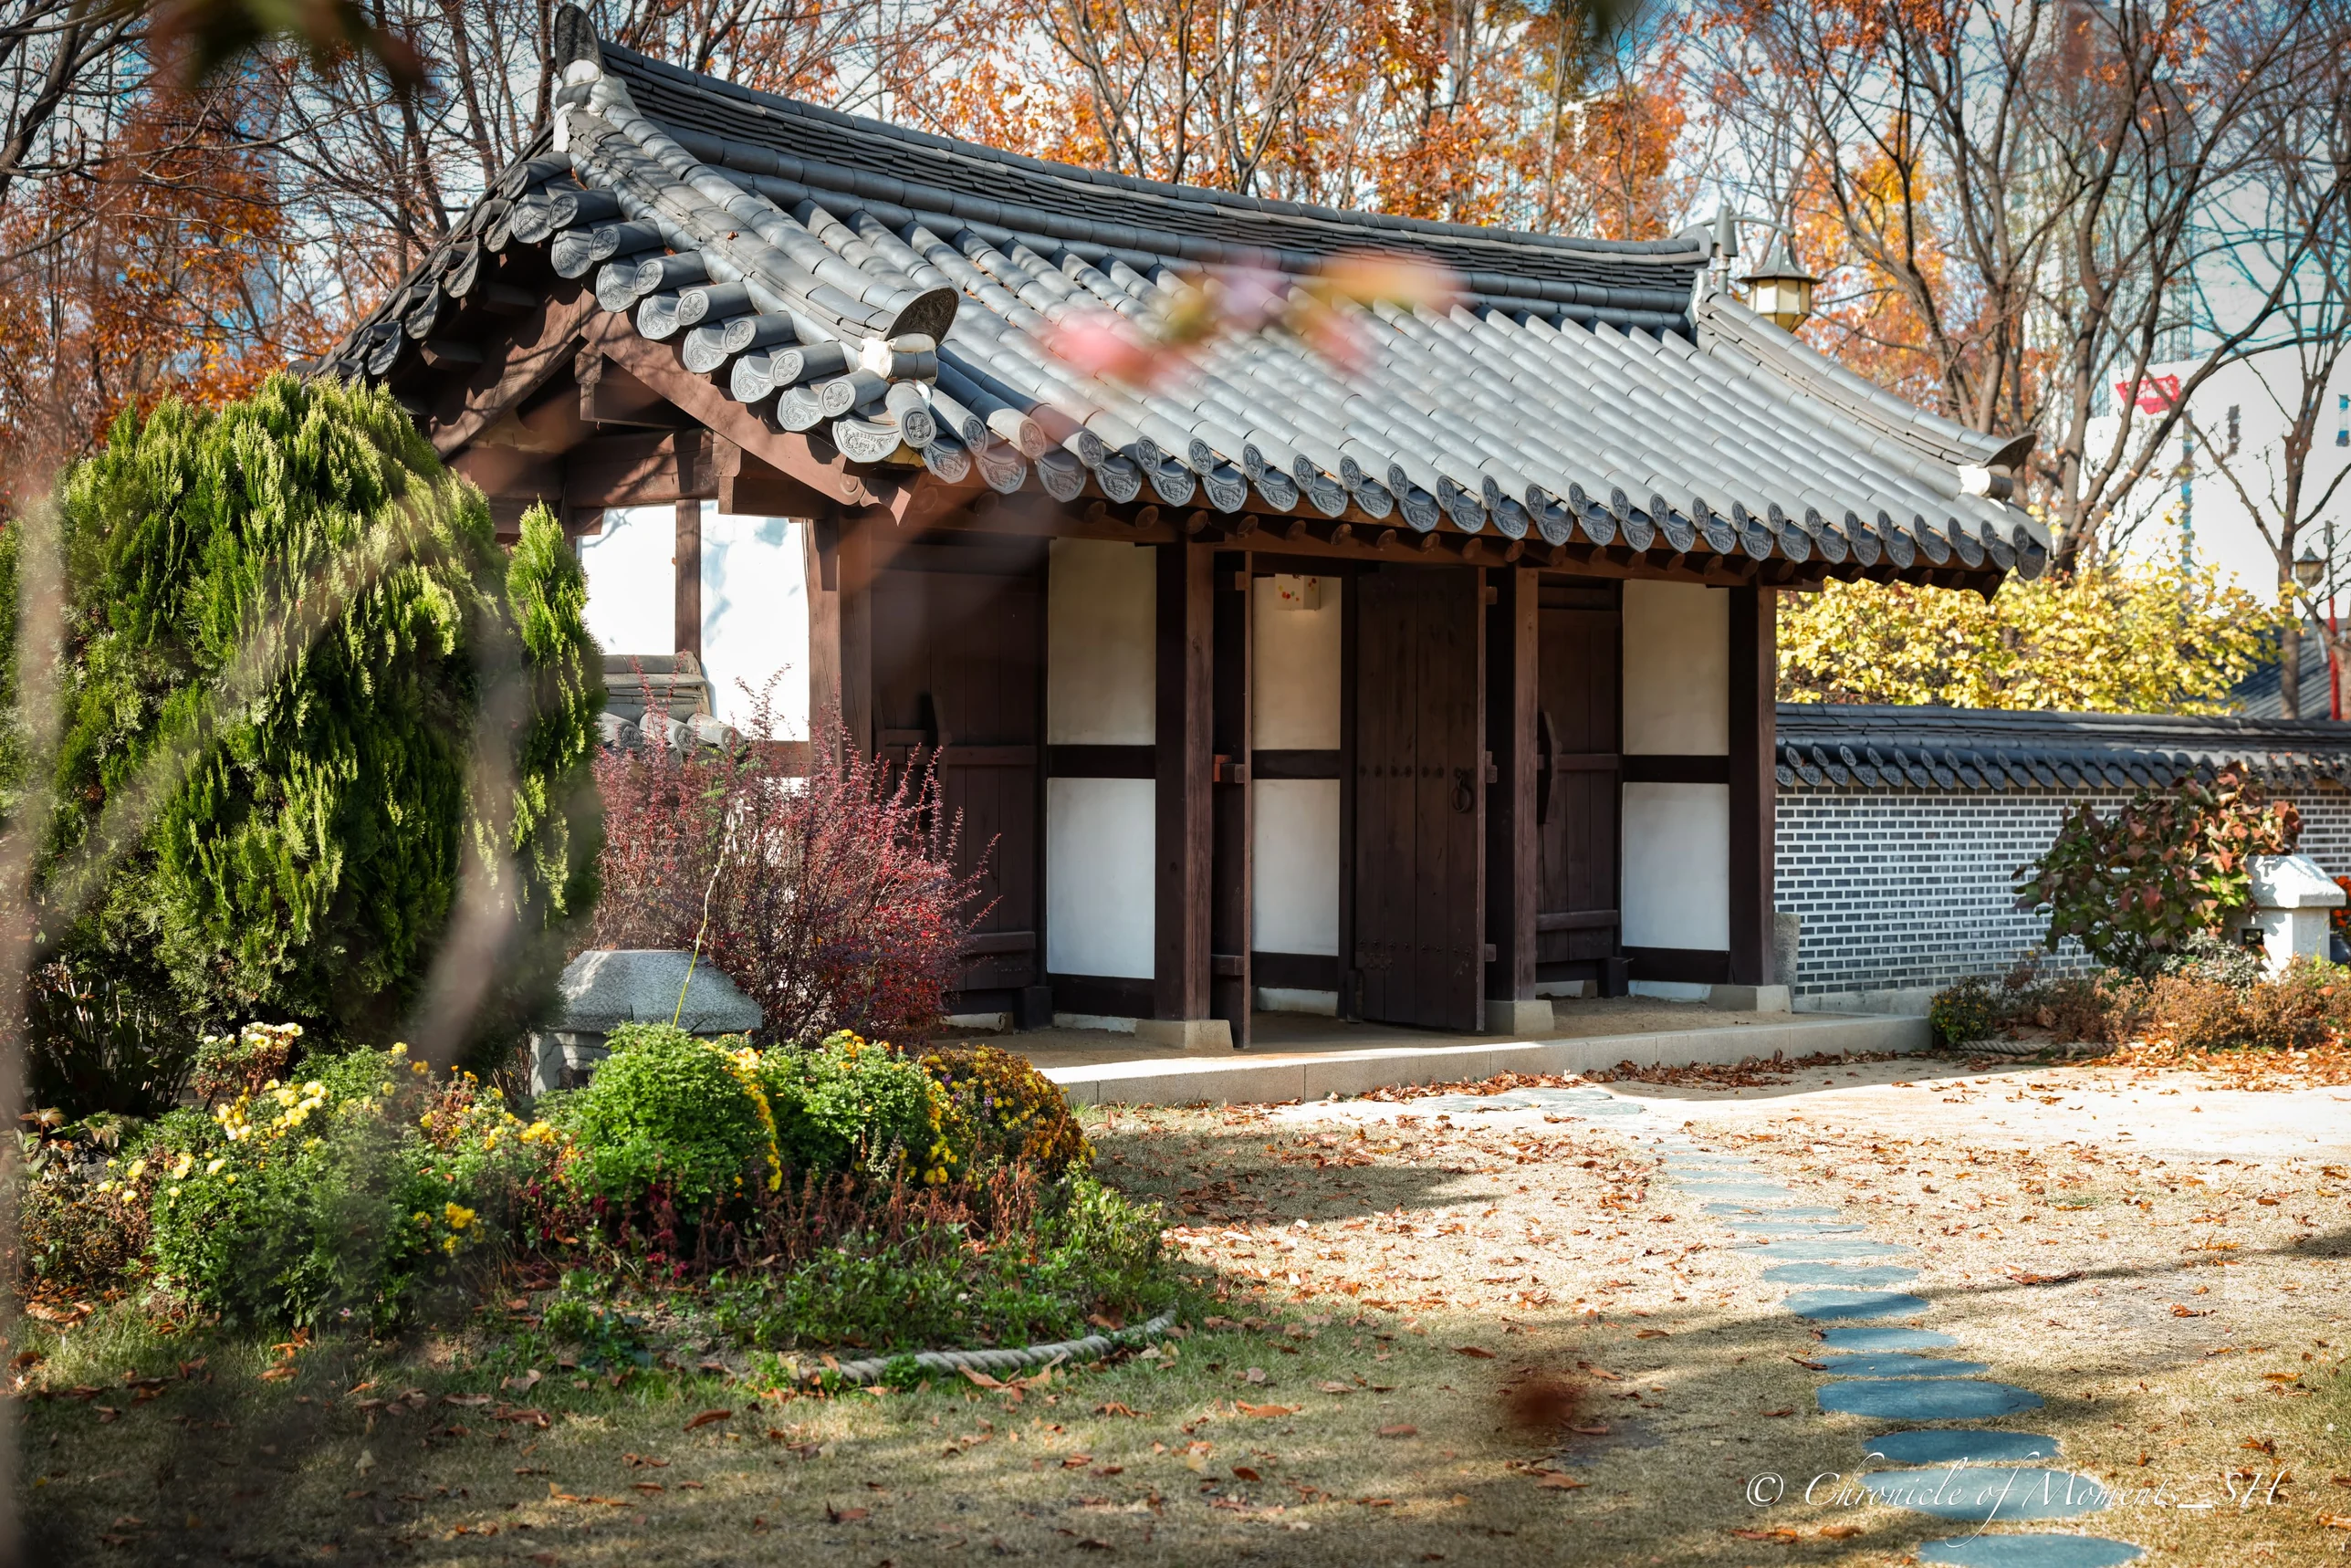
Canon EOS R5 Mark II · RF24-70mm F2.8 L IS USM · 57mm · F4 · ISO 50 · 1/60 s · 2025-11-18
(Click the photo to view it at full size)
Why Check Composition First
In a photo, the eye does not move randomly. It moves first to bright places, sharp places, and the direction lines lead, pauses once at the edge of the frame, and then comes inward. Composing means making a path for that movement.
All five below are things you can check by eye before pressing the shutter. You don't need to put all five into one photo; even one or two done clearly change the photo.
| What to check | One-line summary | Example in this post |
|---|---|---|
| 1. Diagonals | A line crossing the frame at an angle creates direction and depth | Wall |
| 2. Repetition | The same shape continuing creates rhythm | Rafters, jar terrace |
| 3. Frame within a frame | Objects at the edges wrap the subject | Eaves |
| 4. Curves and straight lines | Together they make each other stand out | Roof tiles and stone wall |
| 5. Reflection and symmetry | Water makes top-bottom symmetry | Pond |
1. Find the Diagonal Crossing the Frame
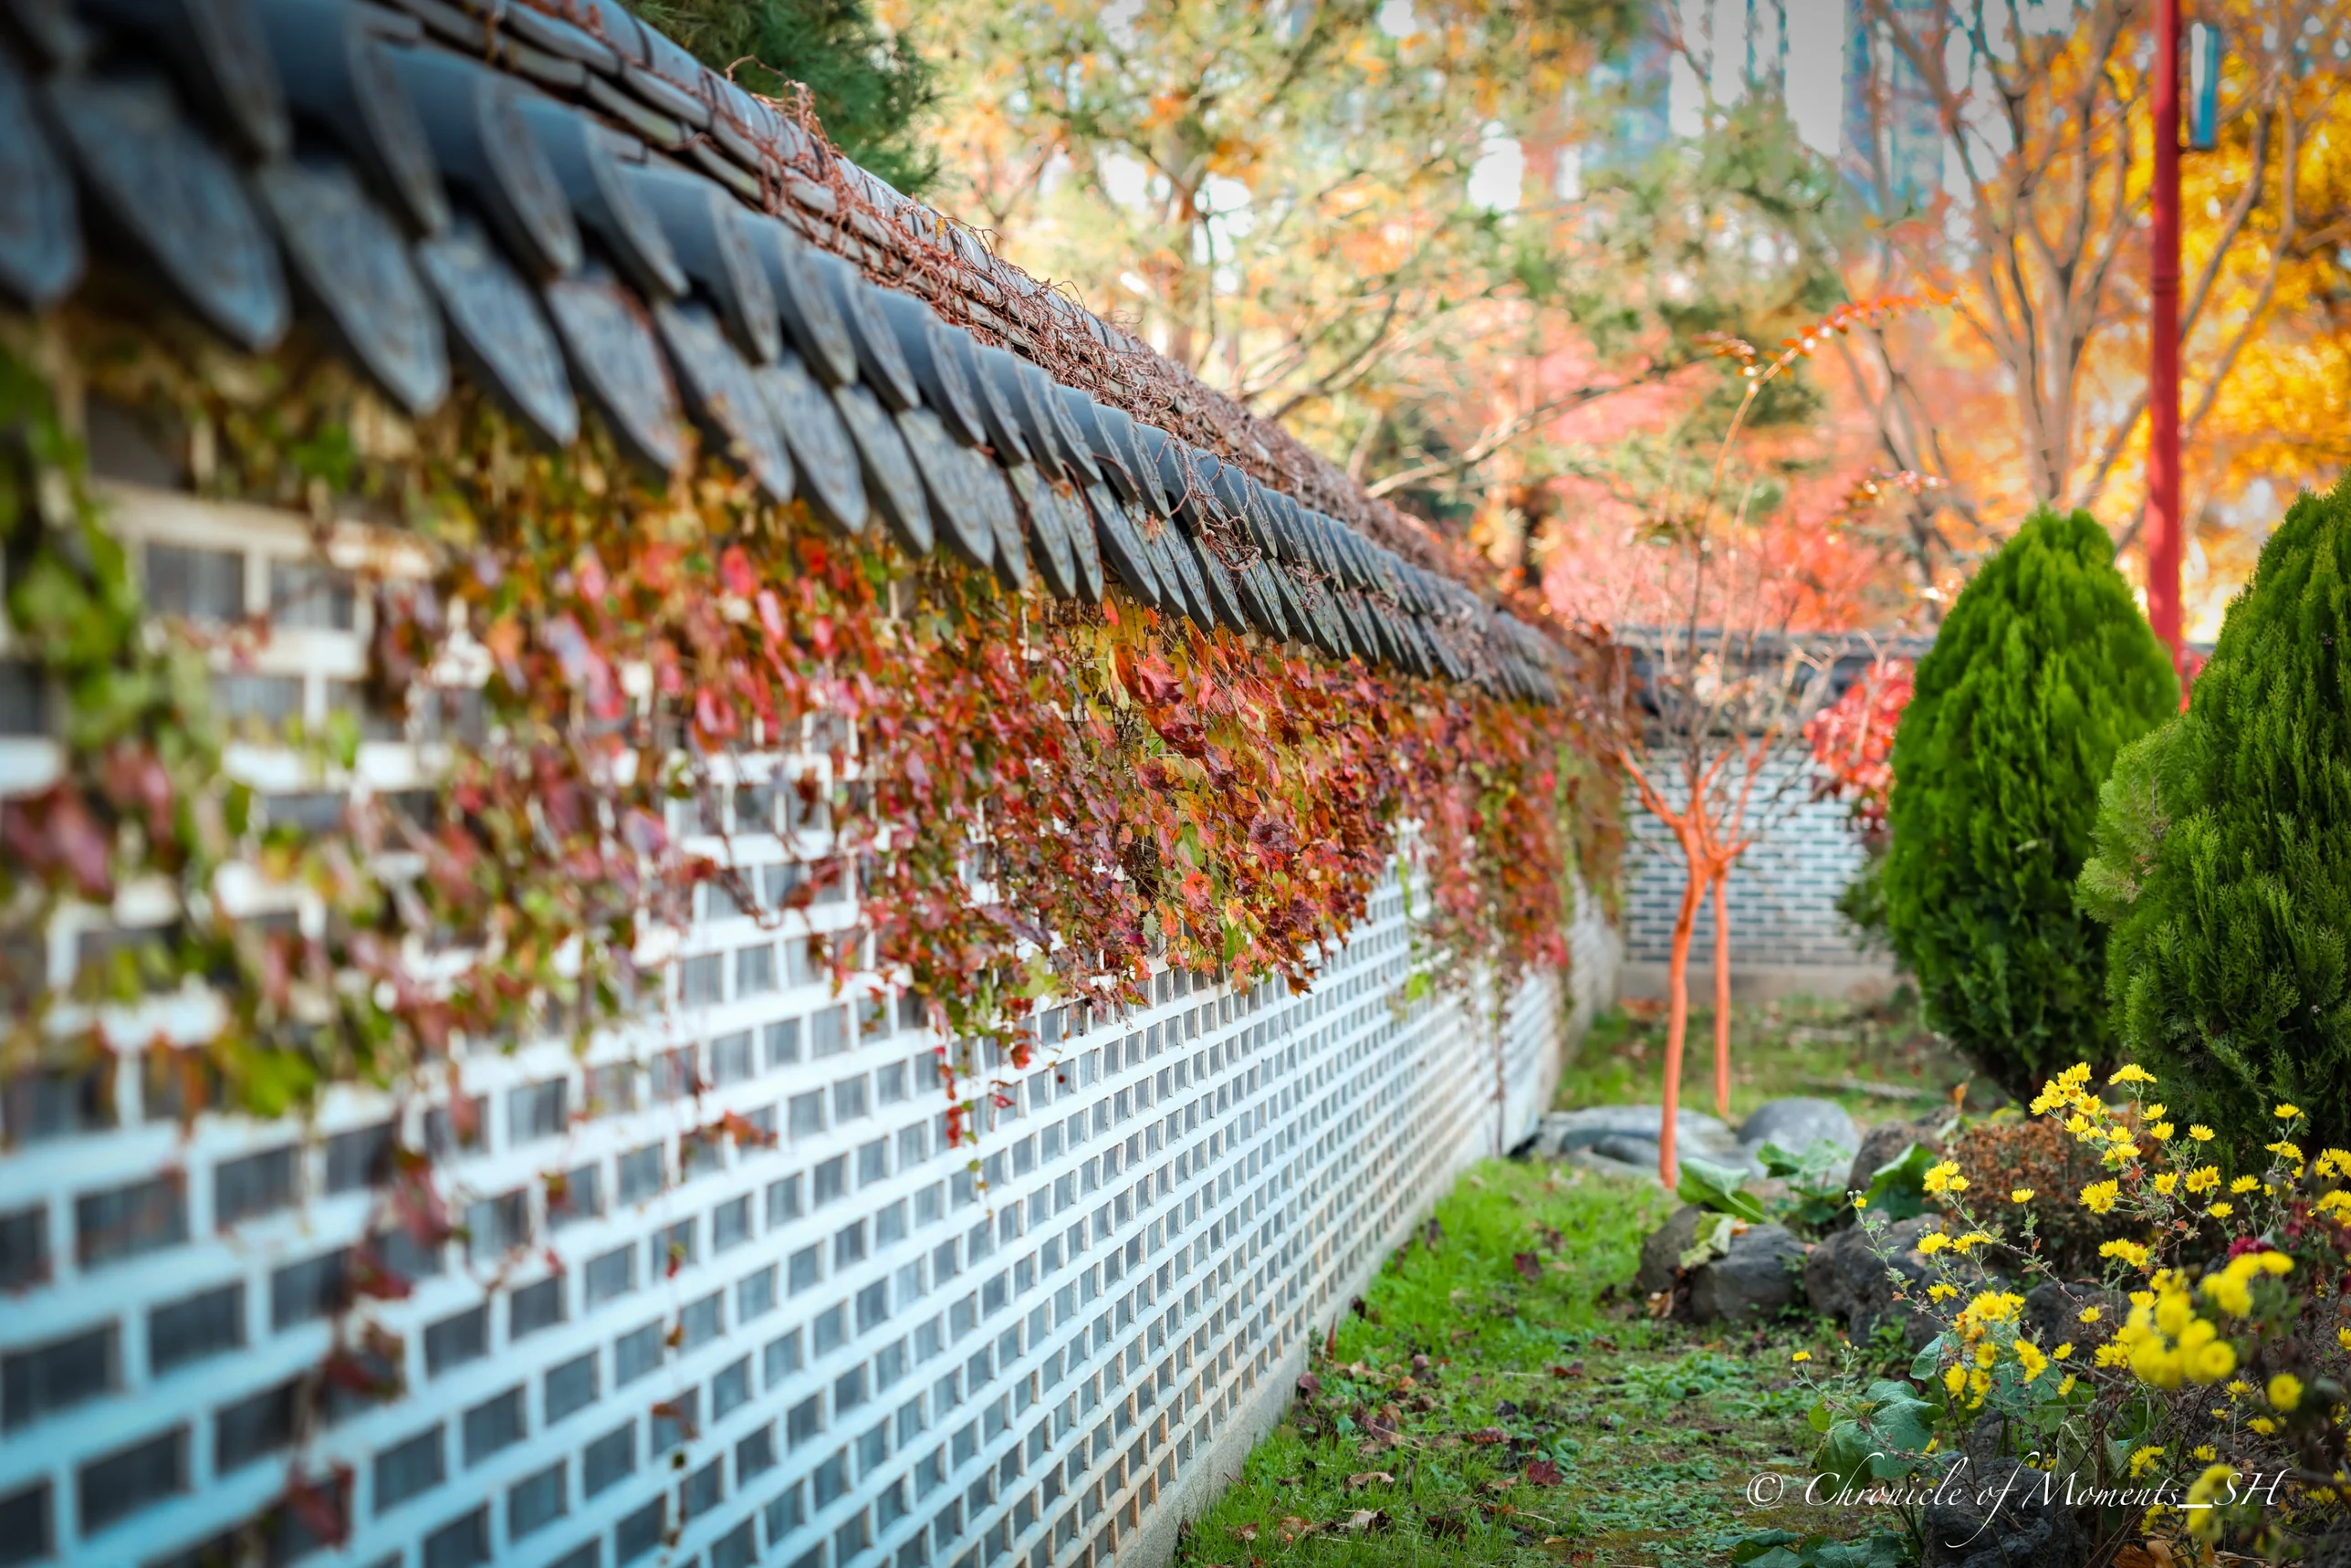
Horizontals and verticals are stable, and diagonals give a photo direction and movement. A wall is a good subject for making a diagonal. Shot straight on, a wall is flat, but shot from an angle, it stretches long from the front of the frame to the back and gains depth.

(Click a photo to view it at full size)
In both photos the wall starts at the front corner of the frame and exits on the opposite side. At 70mm there is a compression effect where distant things look close together, so the lines of the wall look denser and stronger. Opening the aperture to F2.8 to blur in front of and behind the focus makes the eye rest on the sharp stretch.
Once you find a line, also check where that line ends. If there is a point where the eye can rest at the end of the line (a tree, an object of a different color), the photo feels complete.
2. Build Rhythm from Repeating Shapes
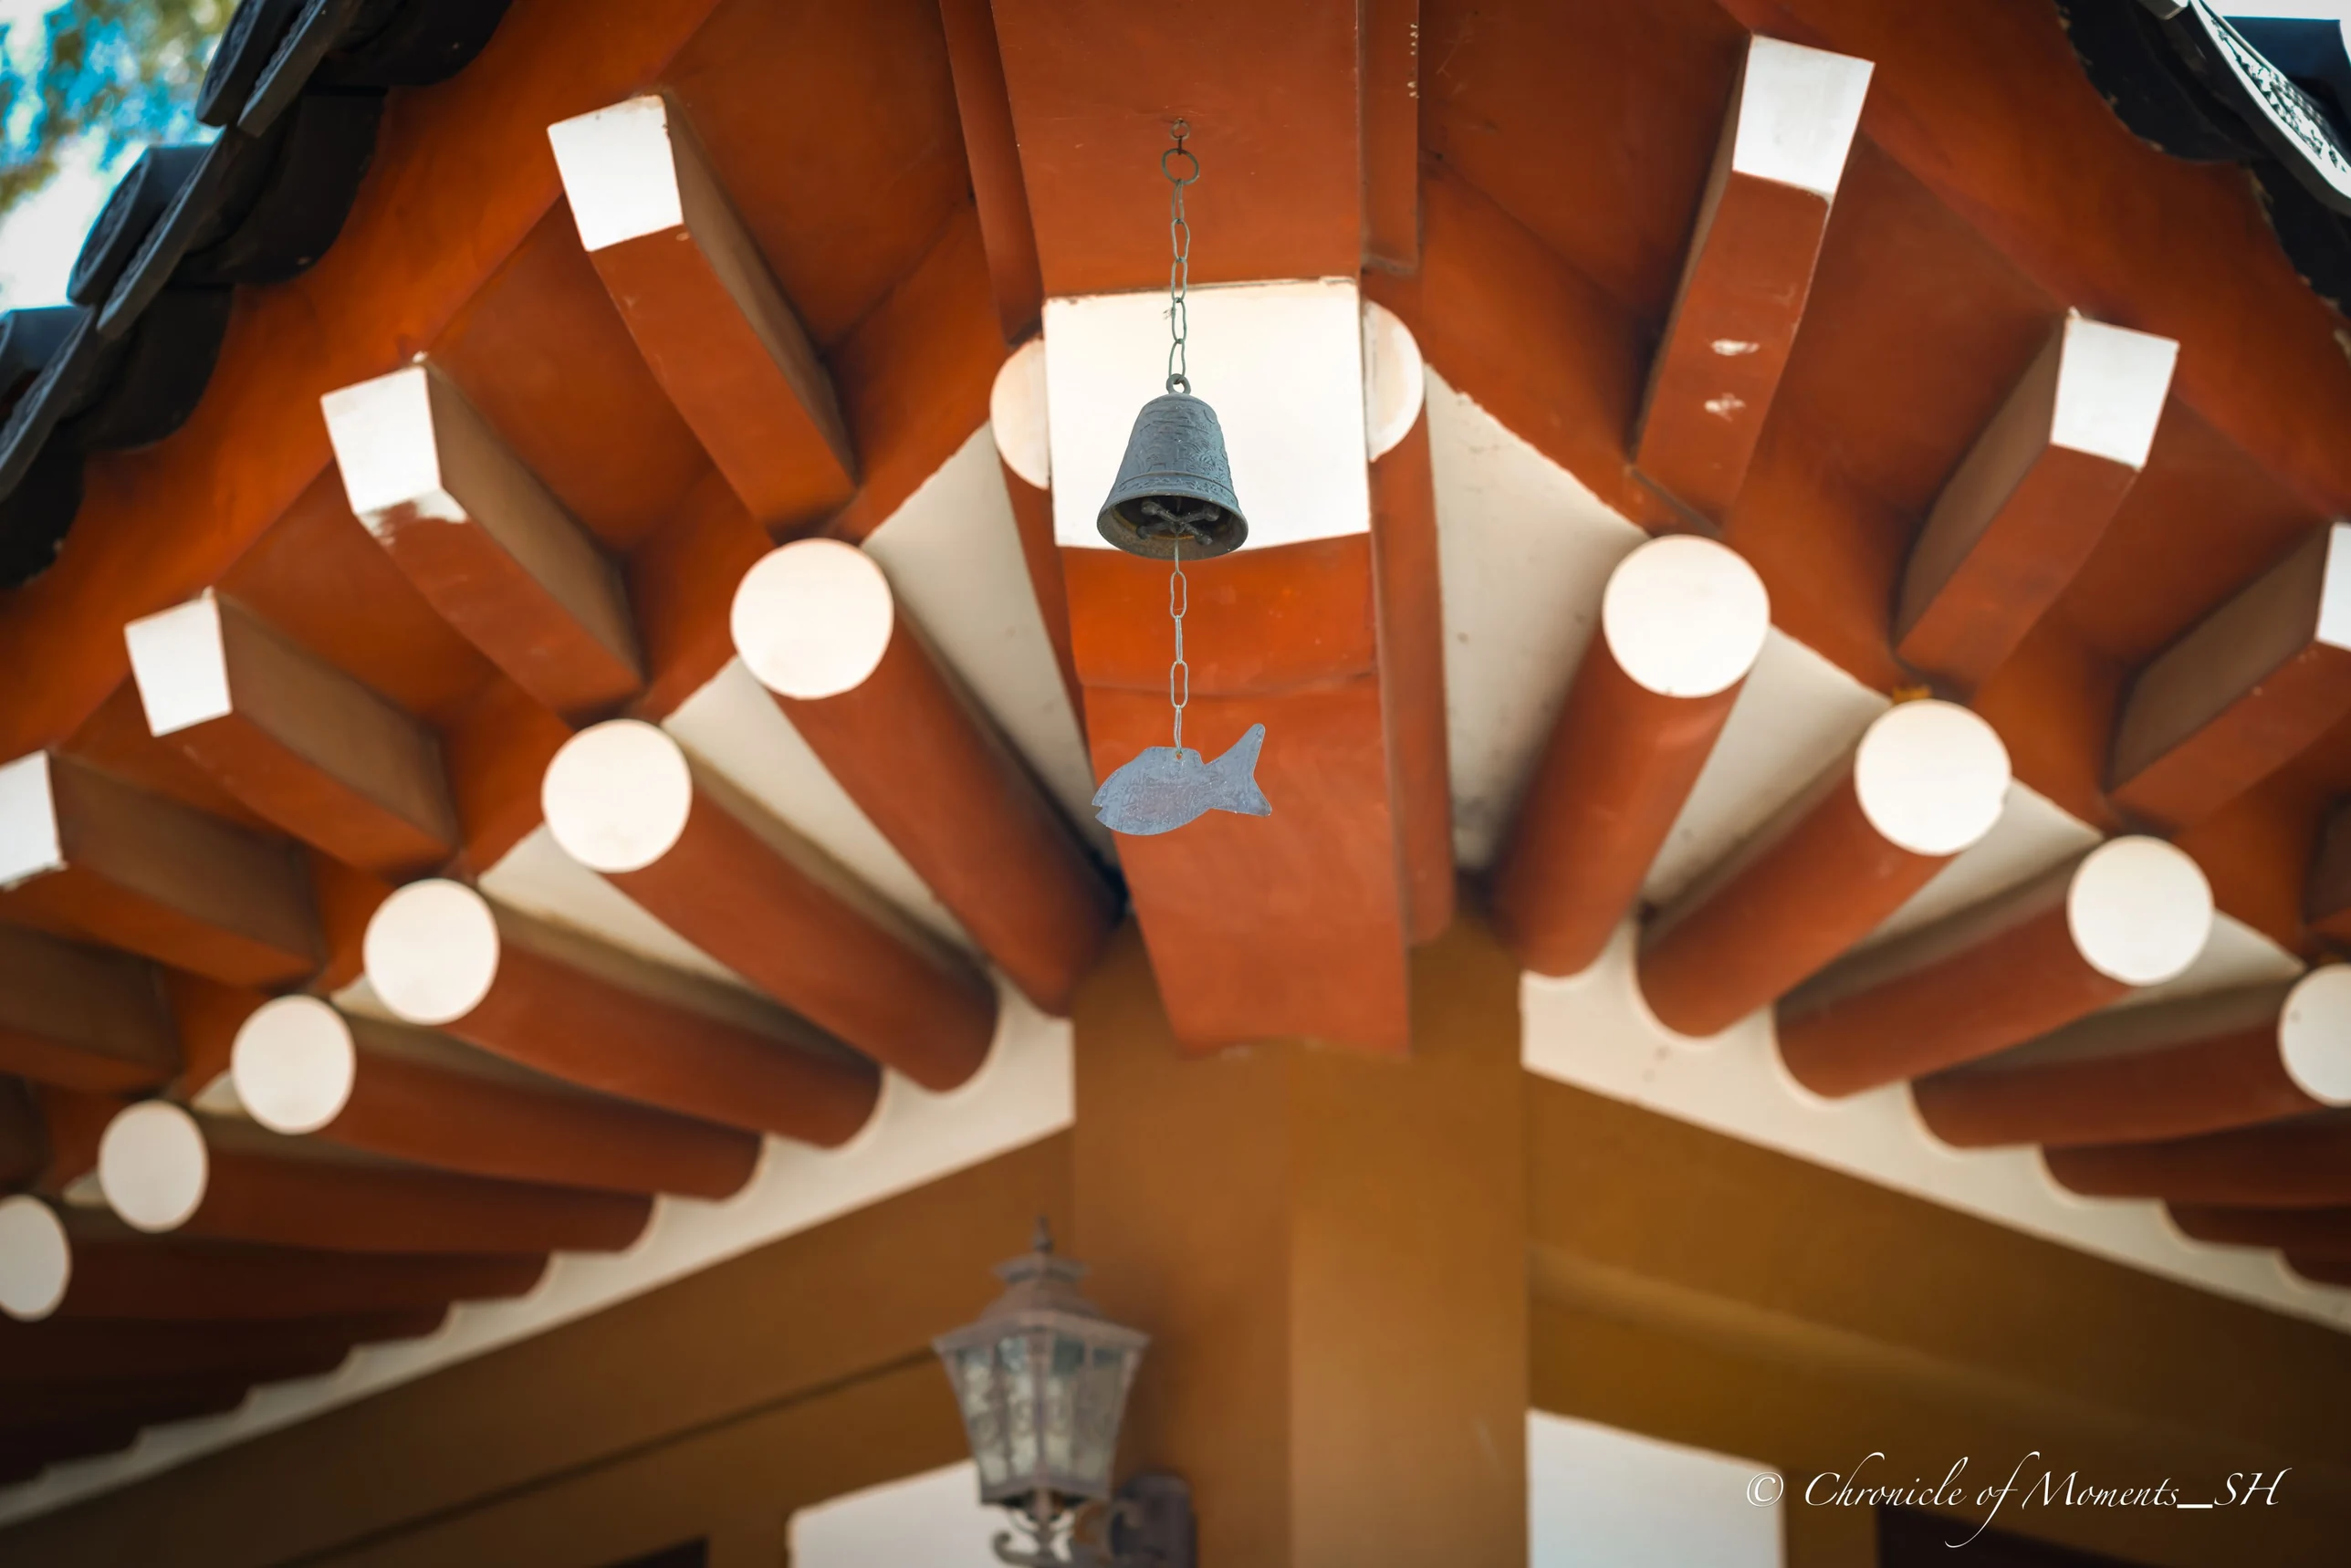
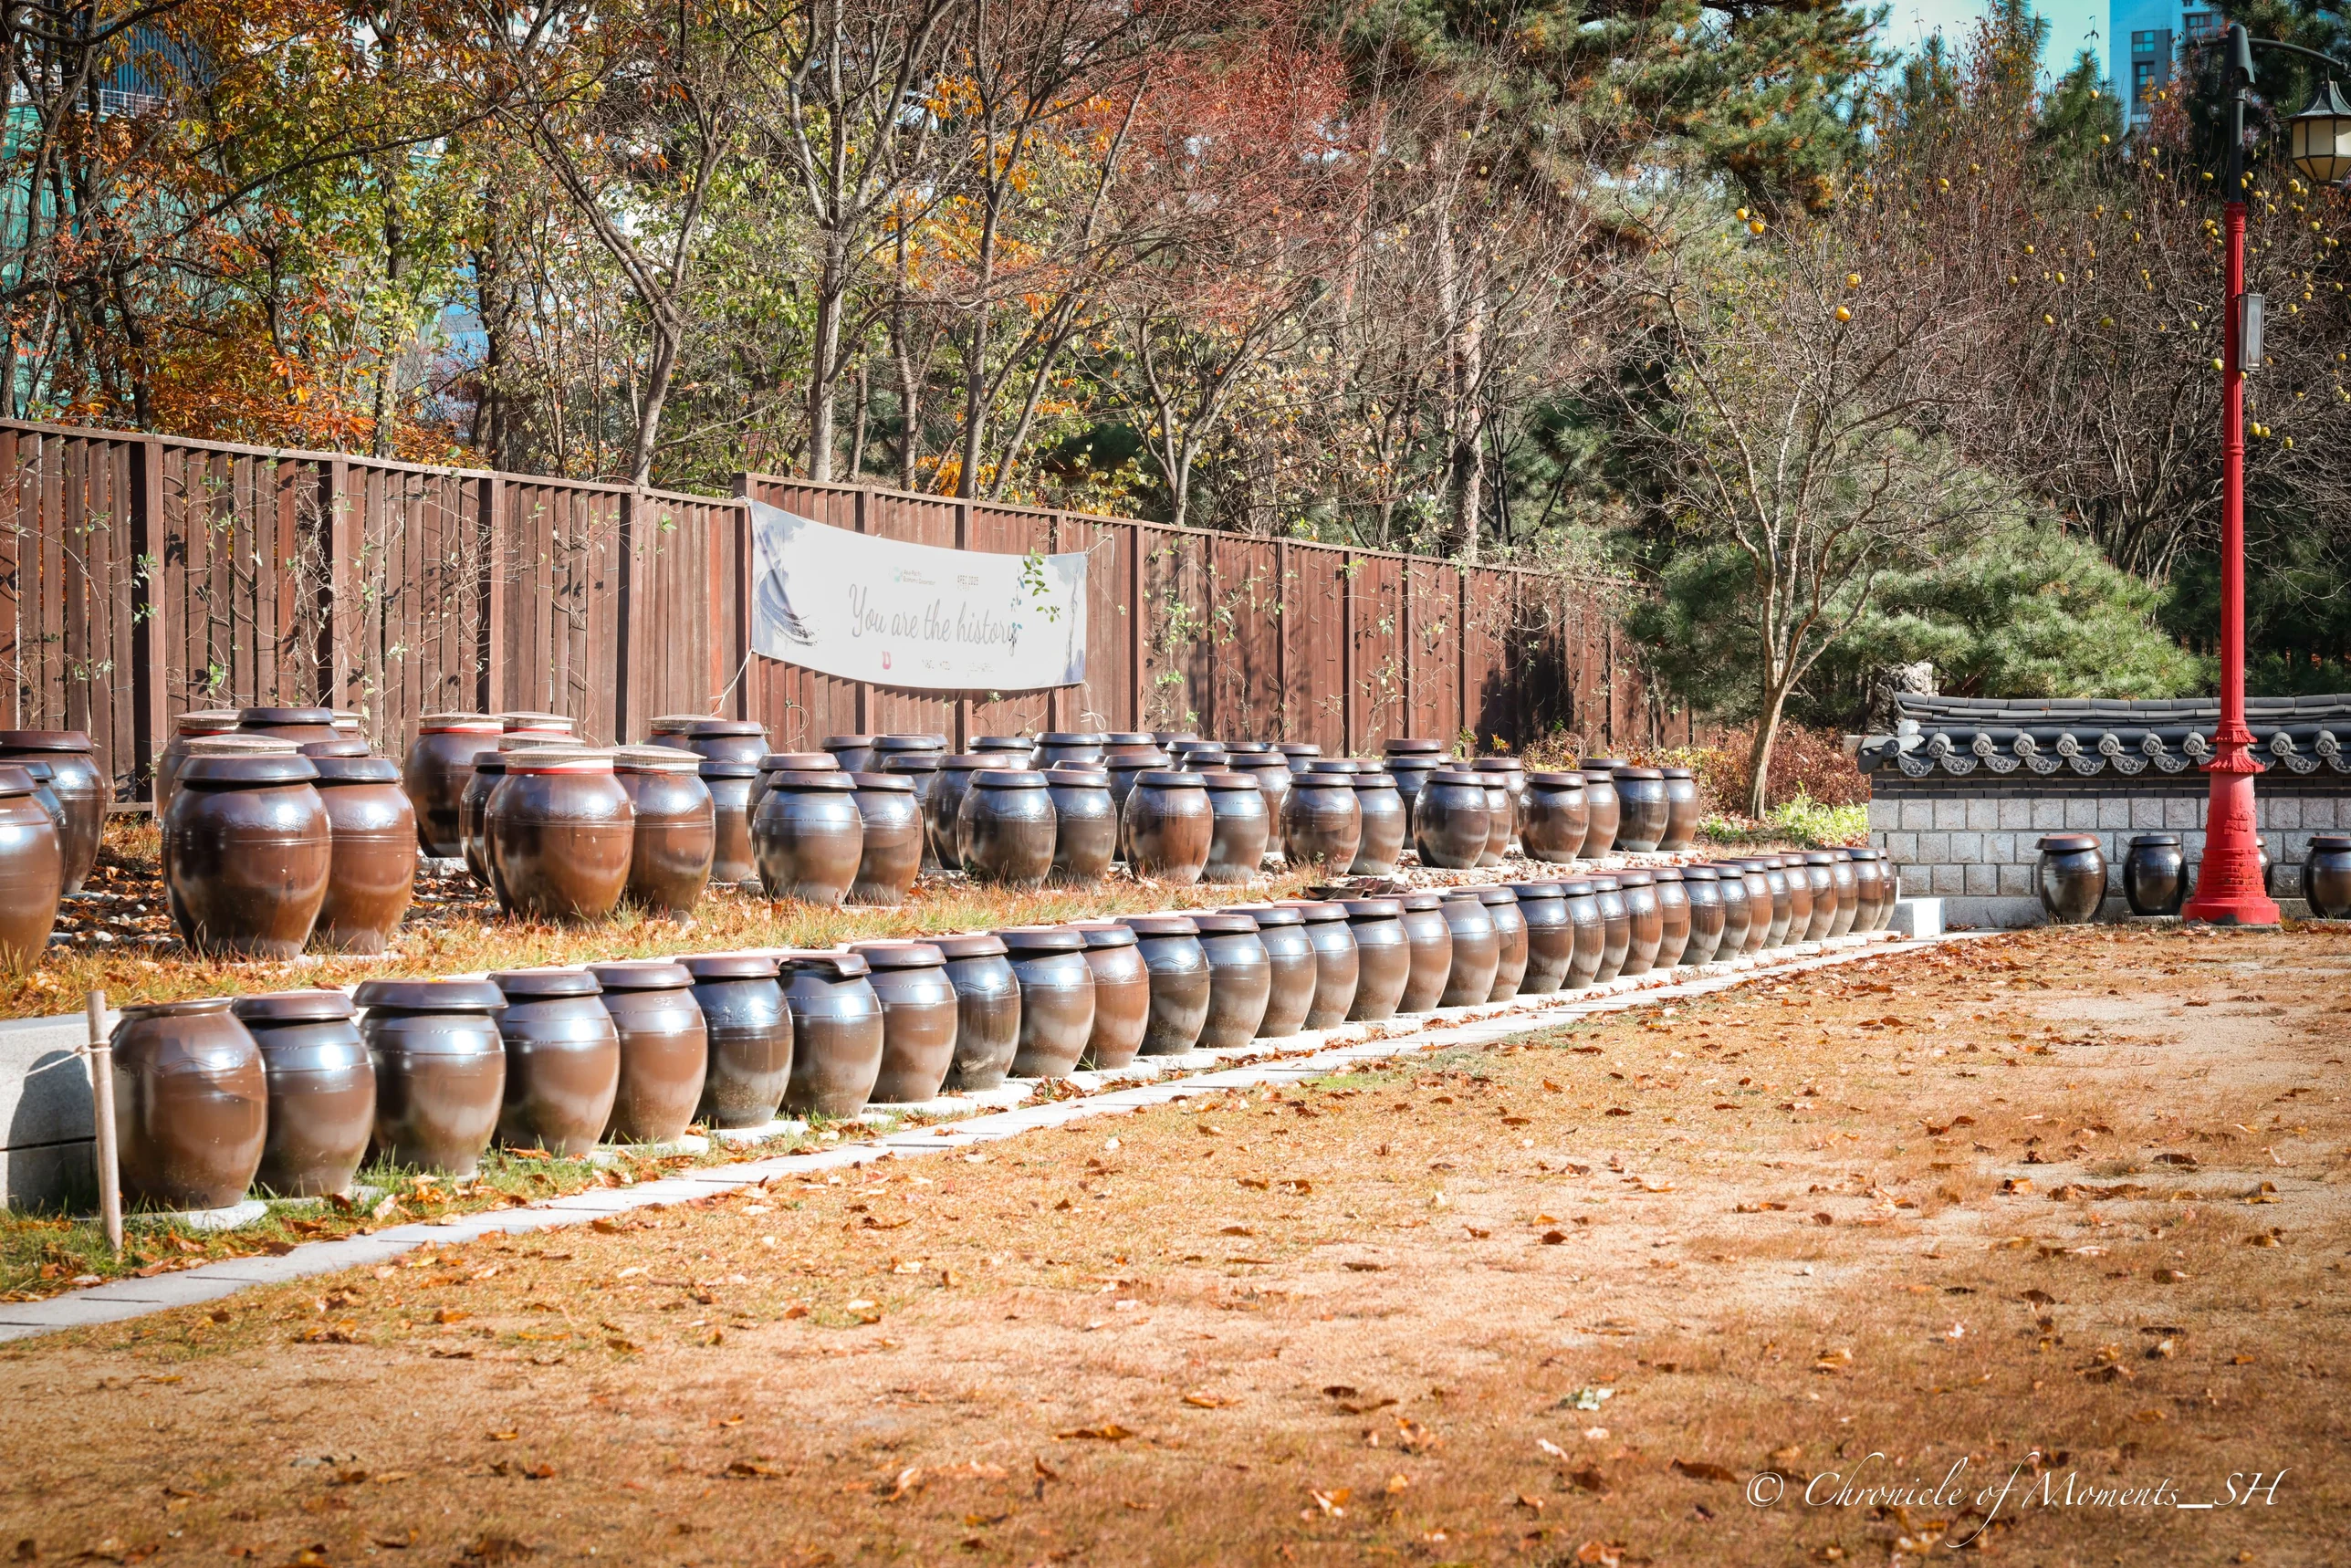
When the same shape continues regularly, the photo gets rhythm. Repetition can be laid out long horizontally or made to converge toward one point. A scene where the round cut ends of rafters (the timbers that support the eaves) line up and converge in one place is an example.
(Click a photo to view it at full size)
In the rafter photo, the white circles continue regularly, and the wind chime hanging in the middle (a small bell hung at the end of the eaves) becomes the center of the repetition. In the jar-terrace photo, the same shape lines up and stretches long into the frame, and the red pillar at the right end anchors the end of the row.
When shooting repetition, look for one element that breaks the rule. If only one thing differs, like the wind chime in the rafter photo, the eye gathers there. A rule that only continues is boring, and one exception brings the photo to life.
The shooting settings differed too. For the rafters I used F2.8 to blur the background and foreground and make the wind chime stand out, and for the jar terrace I used F8 to capture the whole row sharp. You can see the depth-of-field difference by aperture in more detail with the Understanding Depth of Field guide and the Depth of Field Calculator.
3. Make a Frame Within the Frame
Placing another object at the edge of the frame to wrap the subject is called a frame within a frame. The frame gathers the eye inward and creates depth. A scene where eaves and roof tiles act as the frame is the classic example.
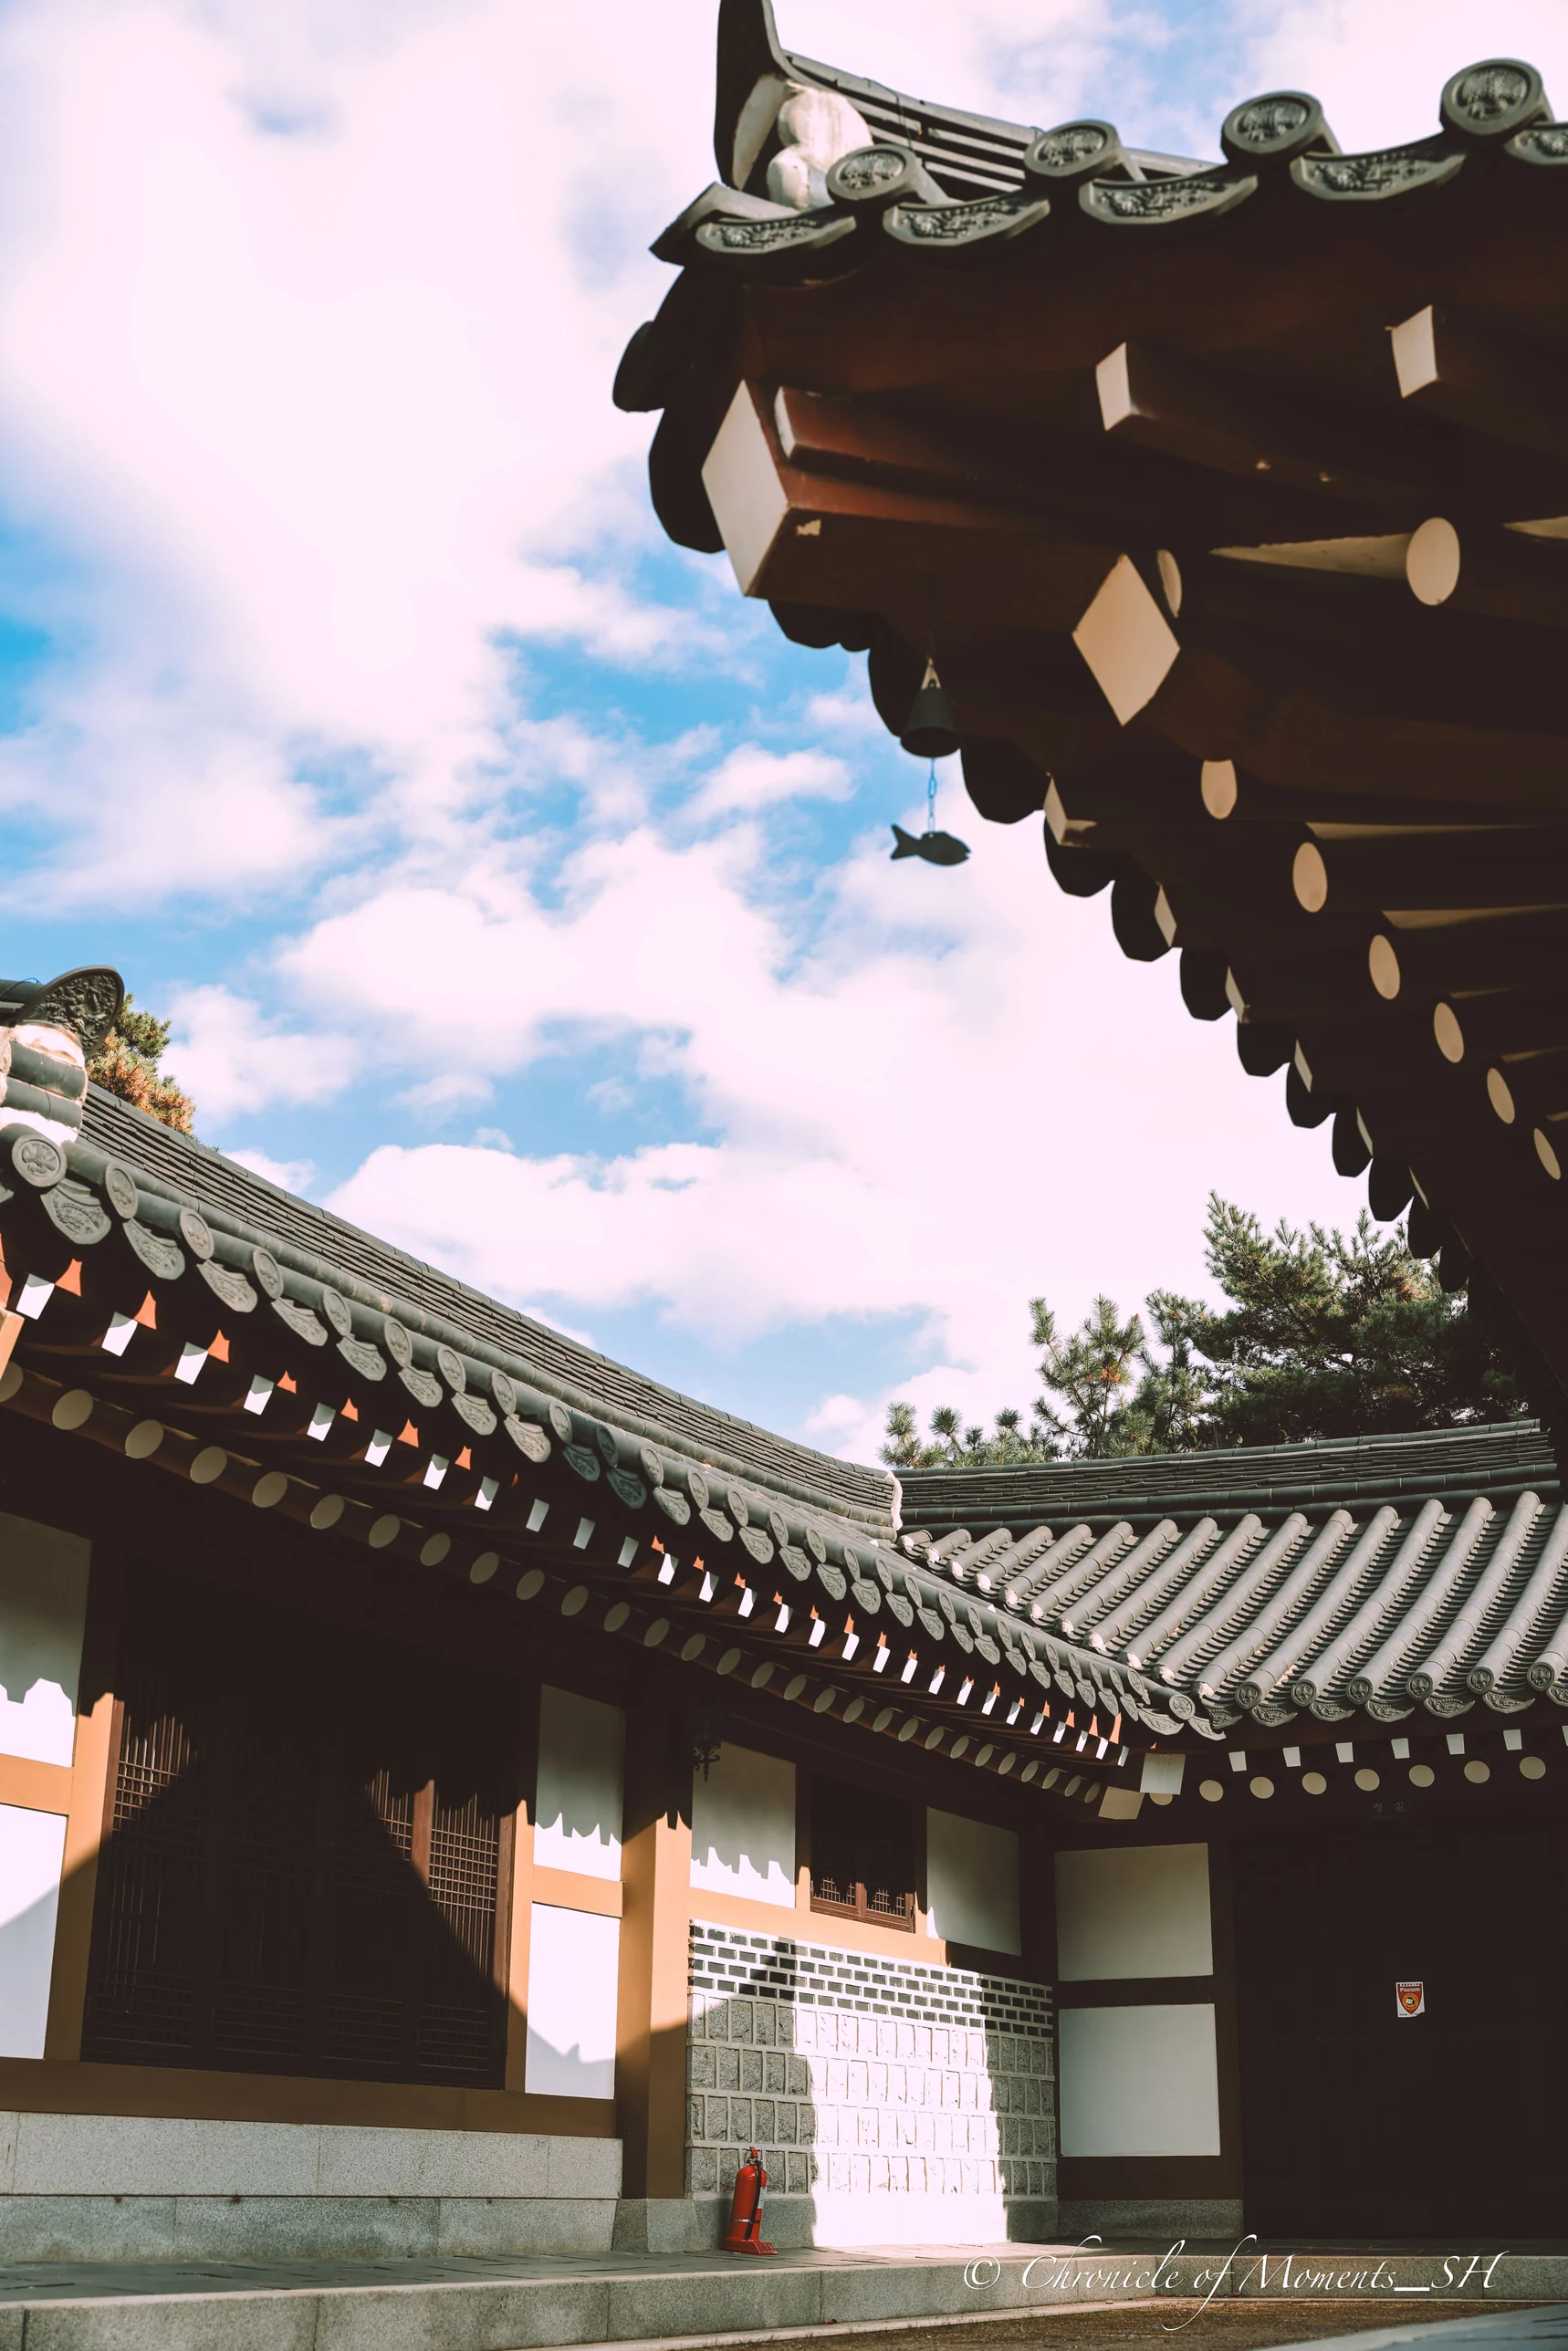
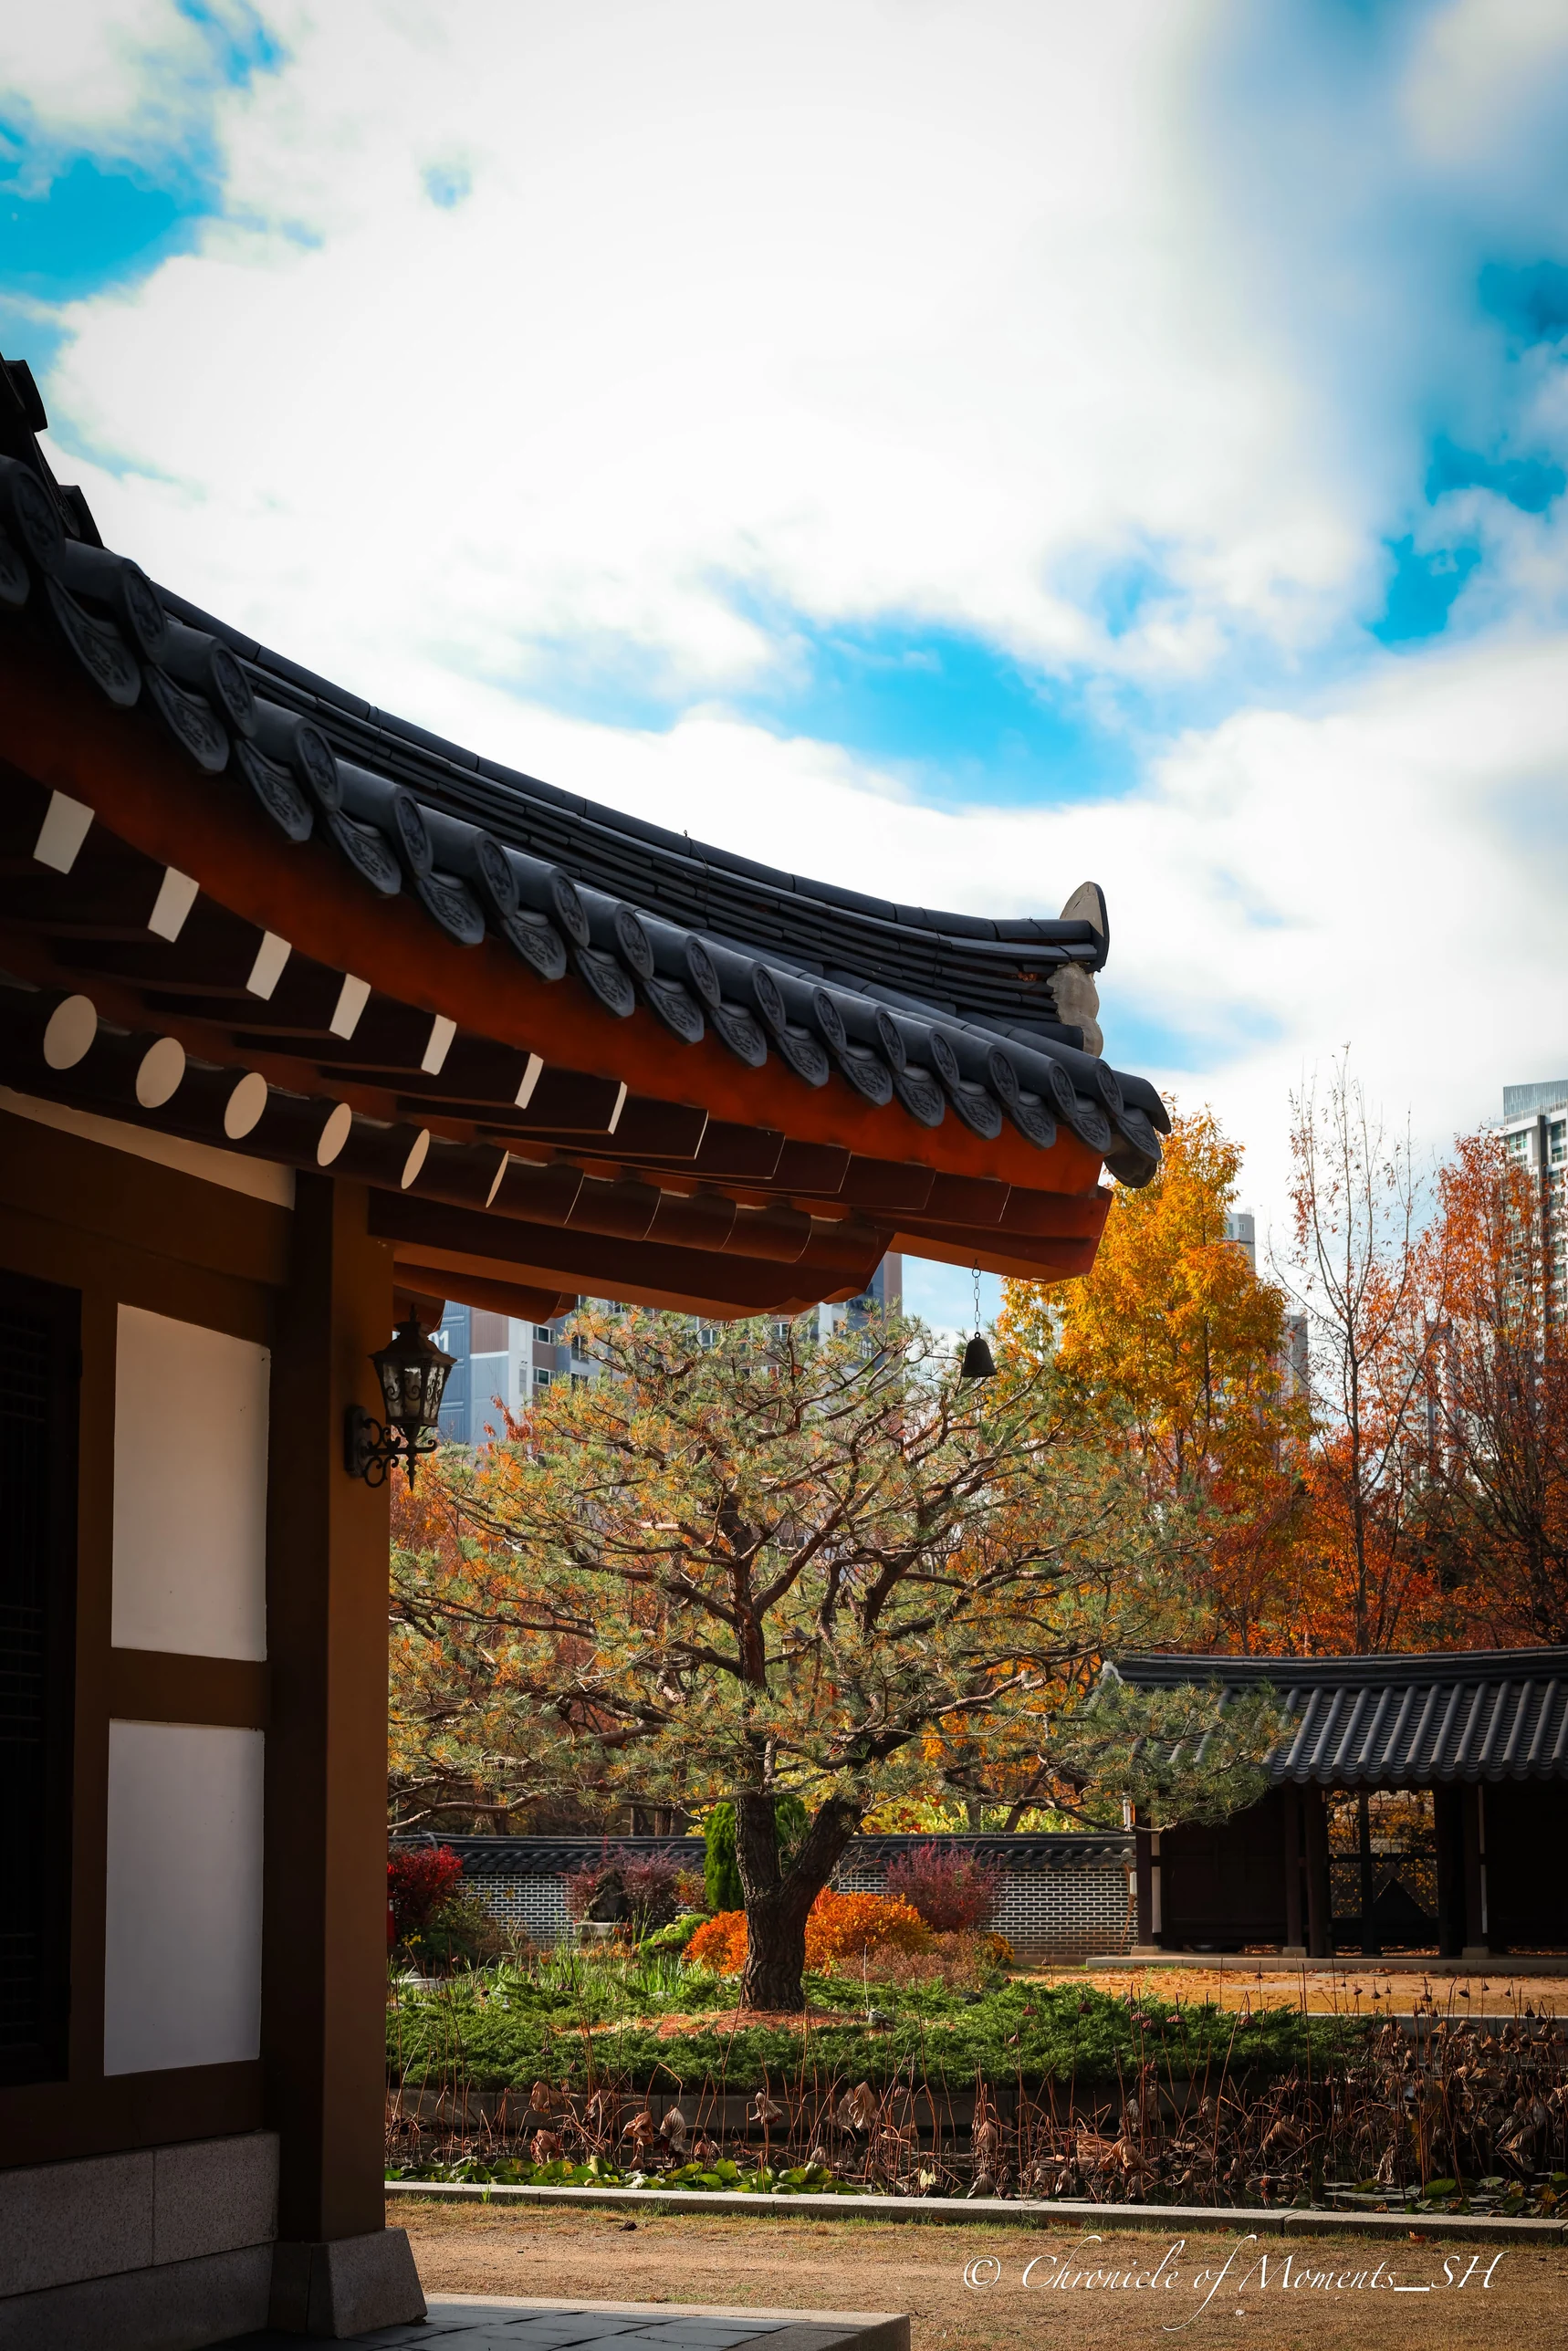
(Click a photo to view it at full size)
In both photos the eaves at the top of the frame cover the upper part, and below them you see sky and trees. The frame takes up one side of the frame, and the remaining space becomes where the eye rests. The darker or simpler the object that forms the frame, the more the subject inside stands out.
If you stop down to about F5–F6.3 here, both the frame and the inside look crisp. There is also a way to leave the frame blurred and capture only the inside sharp, so I recommend shooting both and comparing.
4. Capture Curves and Straight Lines Together
Curves alone are soft but weak, and straight lines alone are solid but stiff. Together in one frame they make each other stand out. Roof tiles are curves, and the mortar joints of a stone wall and pillars are straight lines.
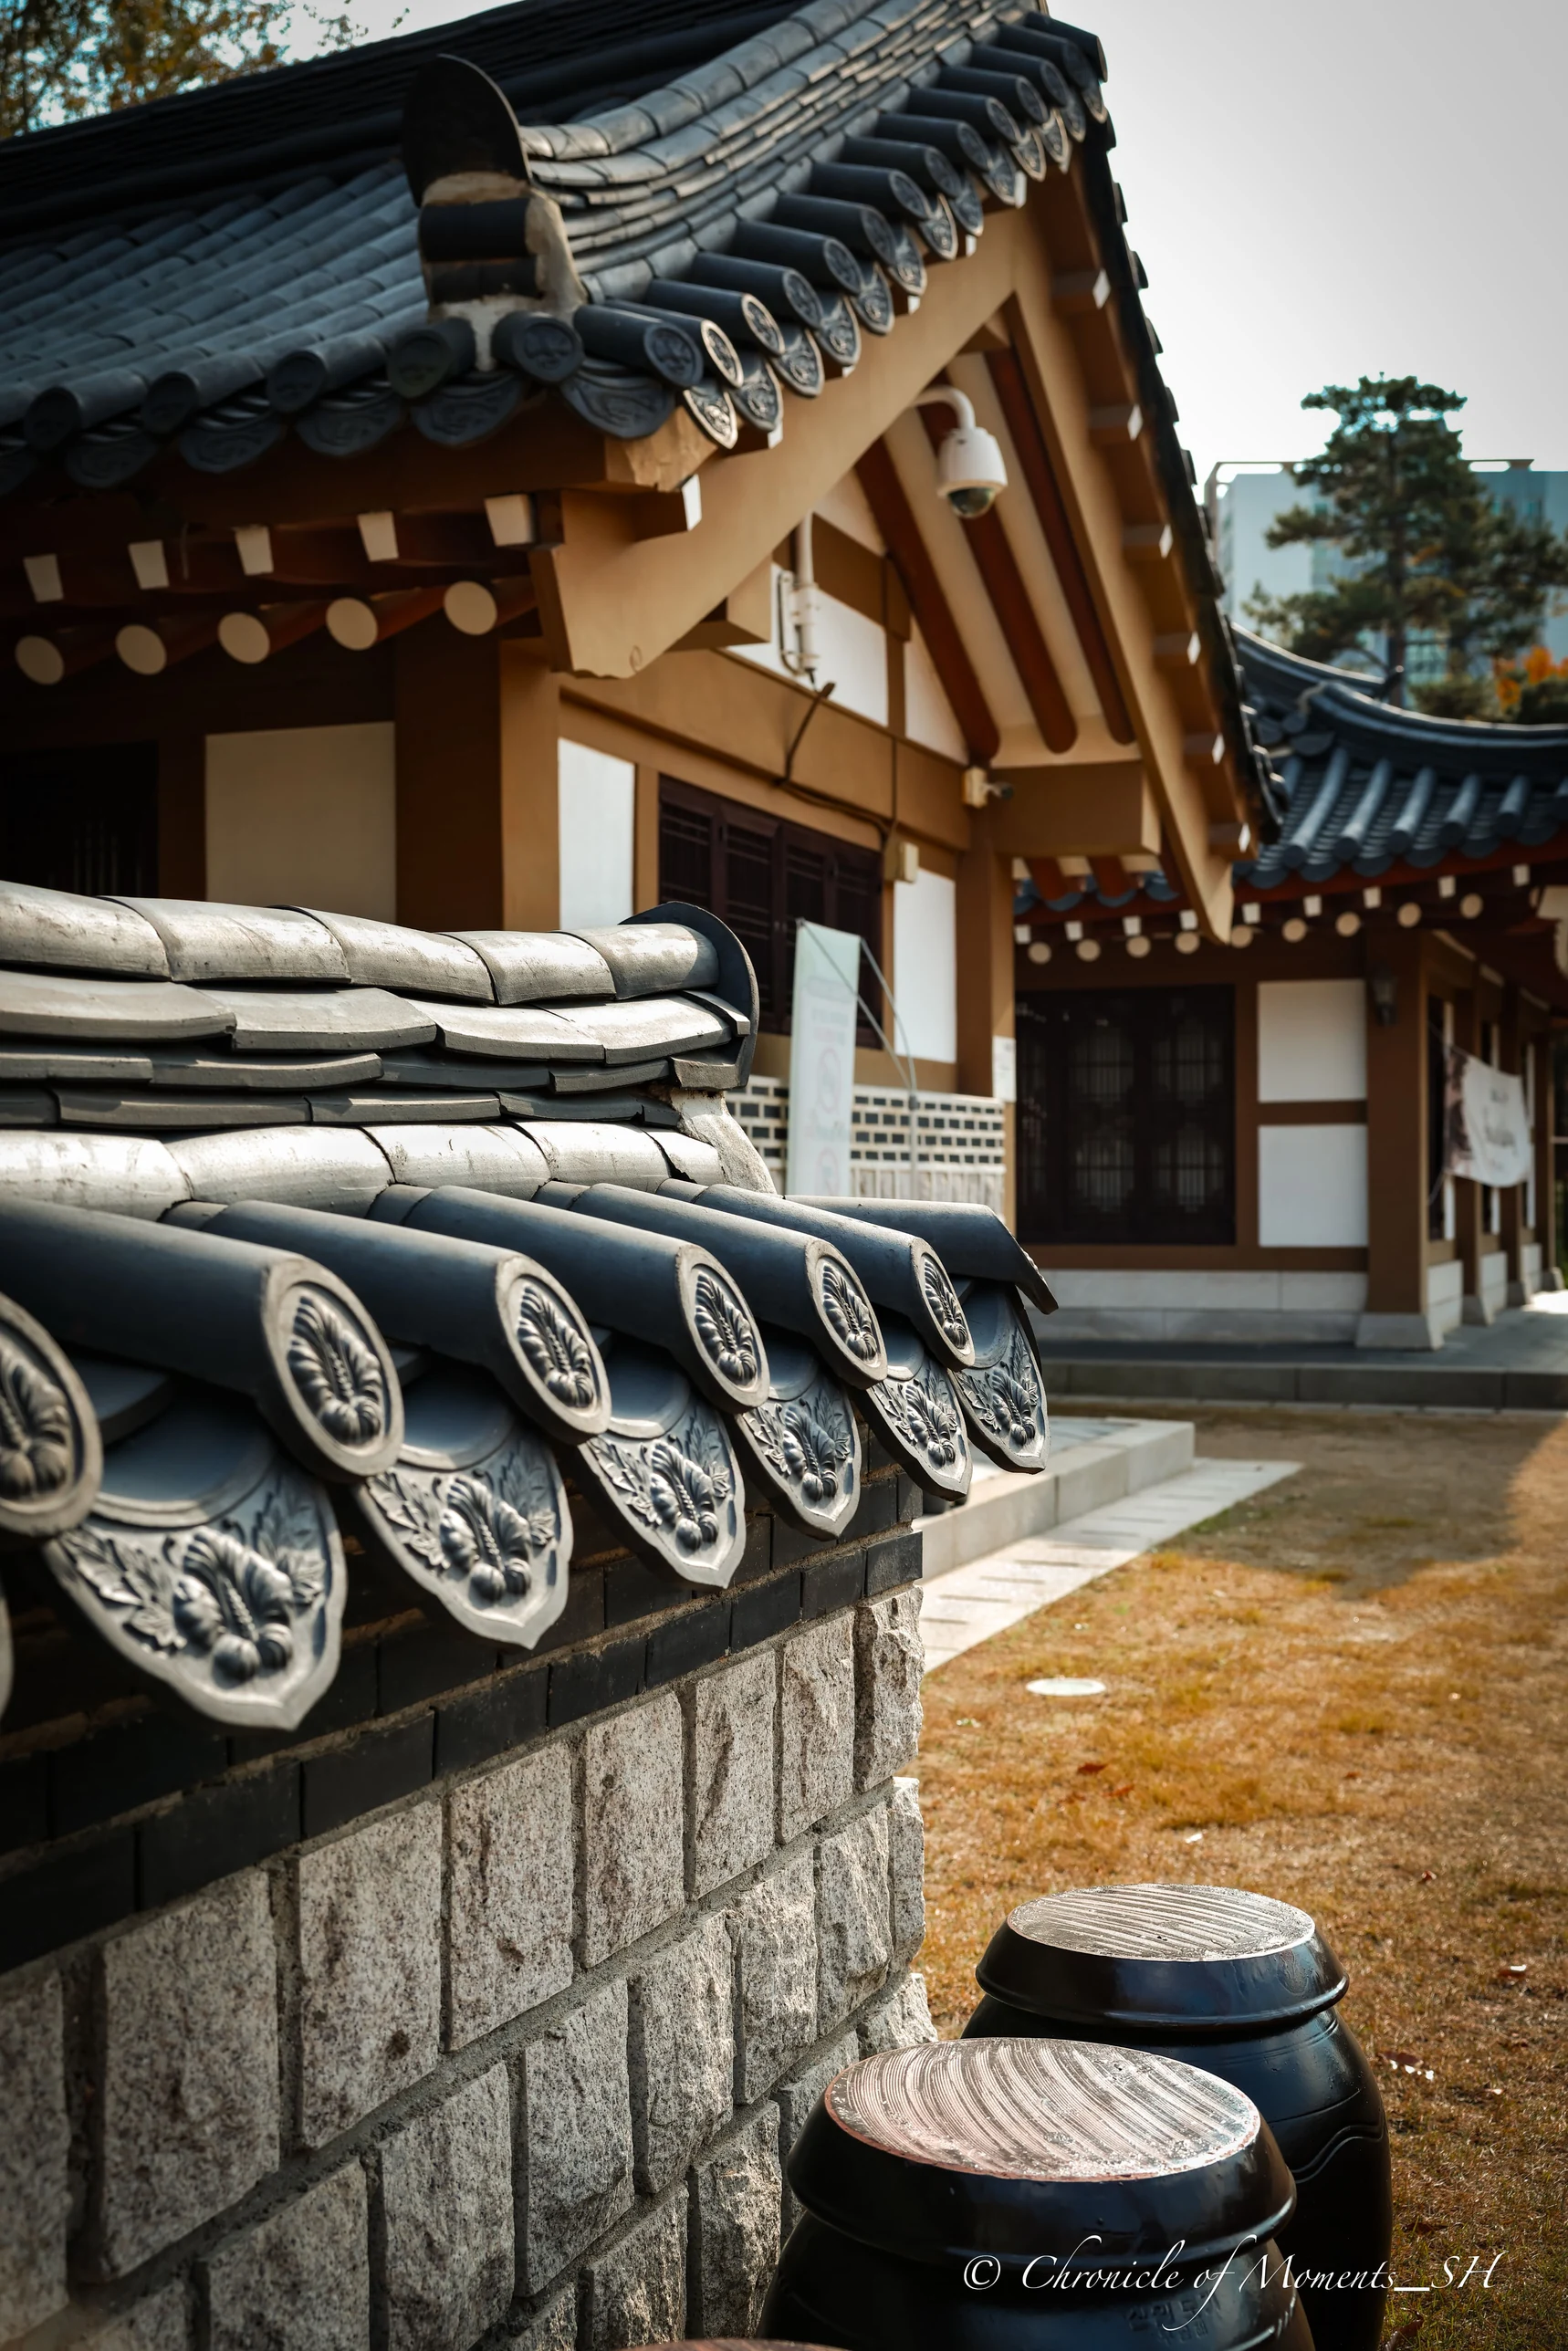
Canon EOS R5 Mark II · RF24-70mm F2.8 L IS USM · 40mm · F5 · ISO 50 · 1/50 s · 2025-11-18
(Click the photo to view it at full size)
The round pattern and curve at the end of the roof tile sit on top of the straight lines of the stone wall below. Curves draw the eye in softly, and straight lines give the frame order. Check that neither side dominates the frame too much, and that the curves and straight lines sit close to each other.
An object placed in front, like the black jar at the lower right of the photo, adds depth between the curves and the straight lines. Placing a near object slightly across one side gives the frame a front-to-back distinction.
5. Make Symmetry with Reflection
A reflection on water can make a frame whose top and bottom resemble each other. A symmetrical composition gives a sense of stability and a quiet mood.
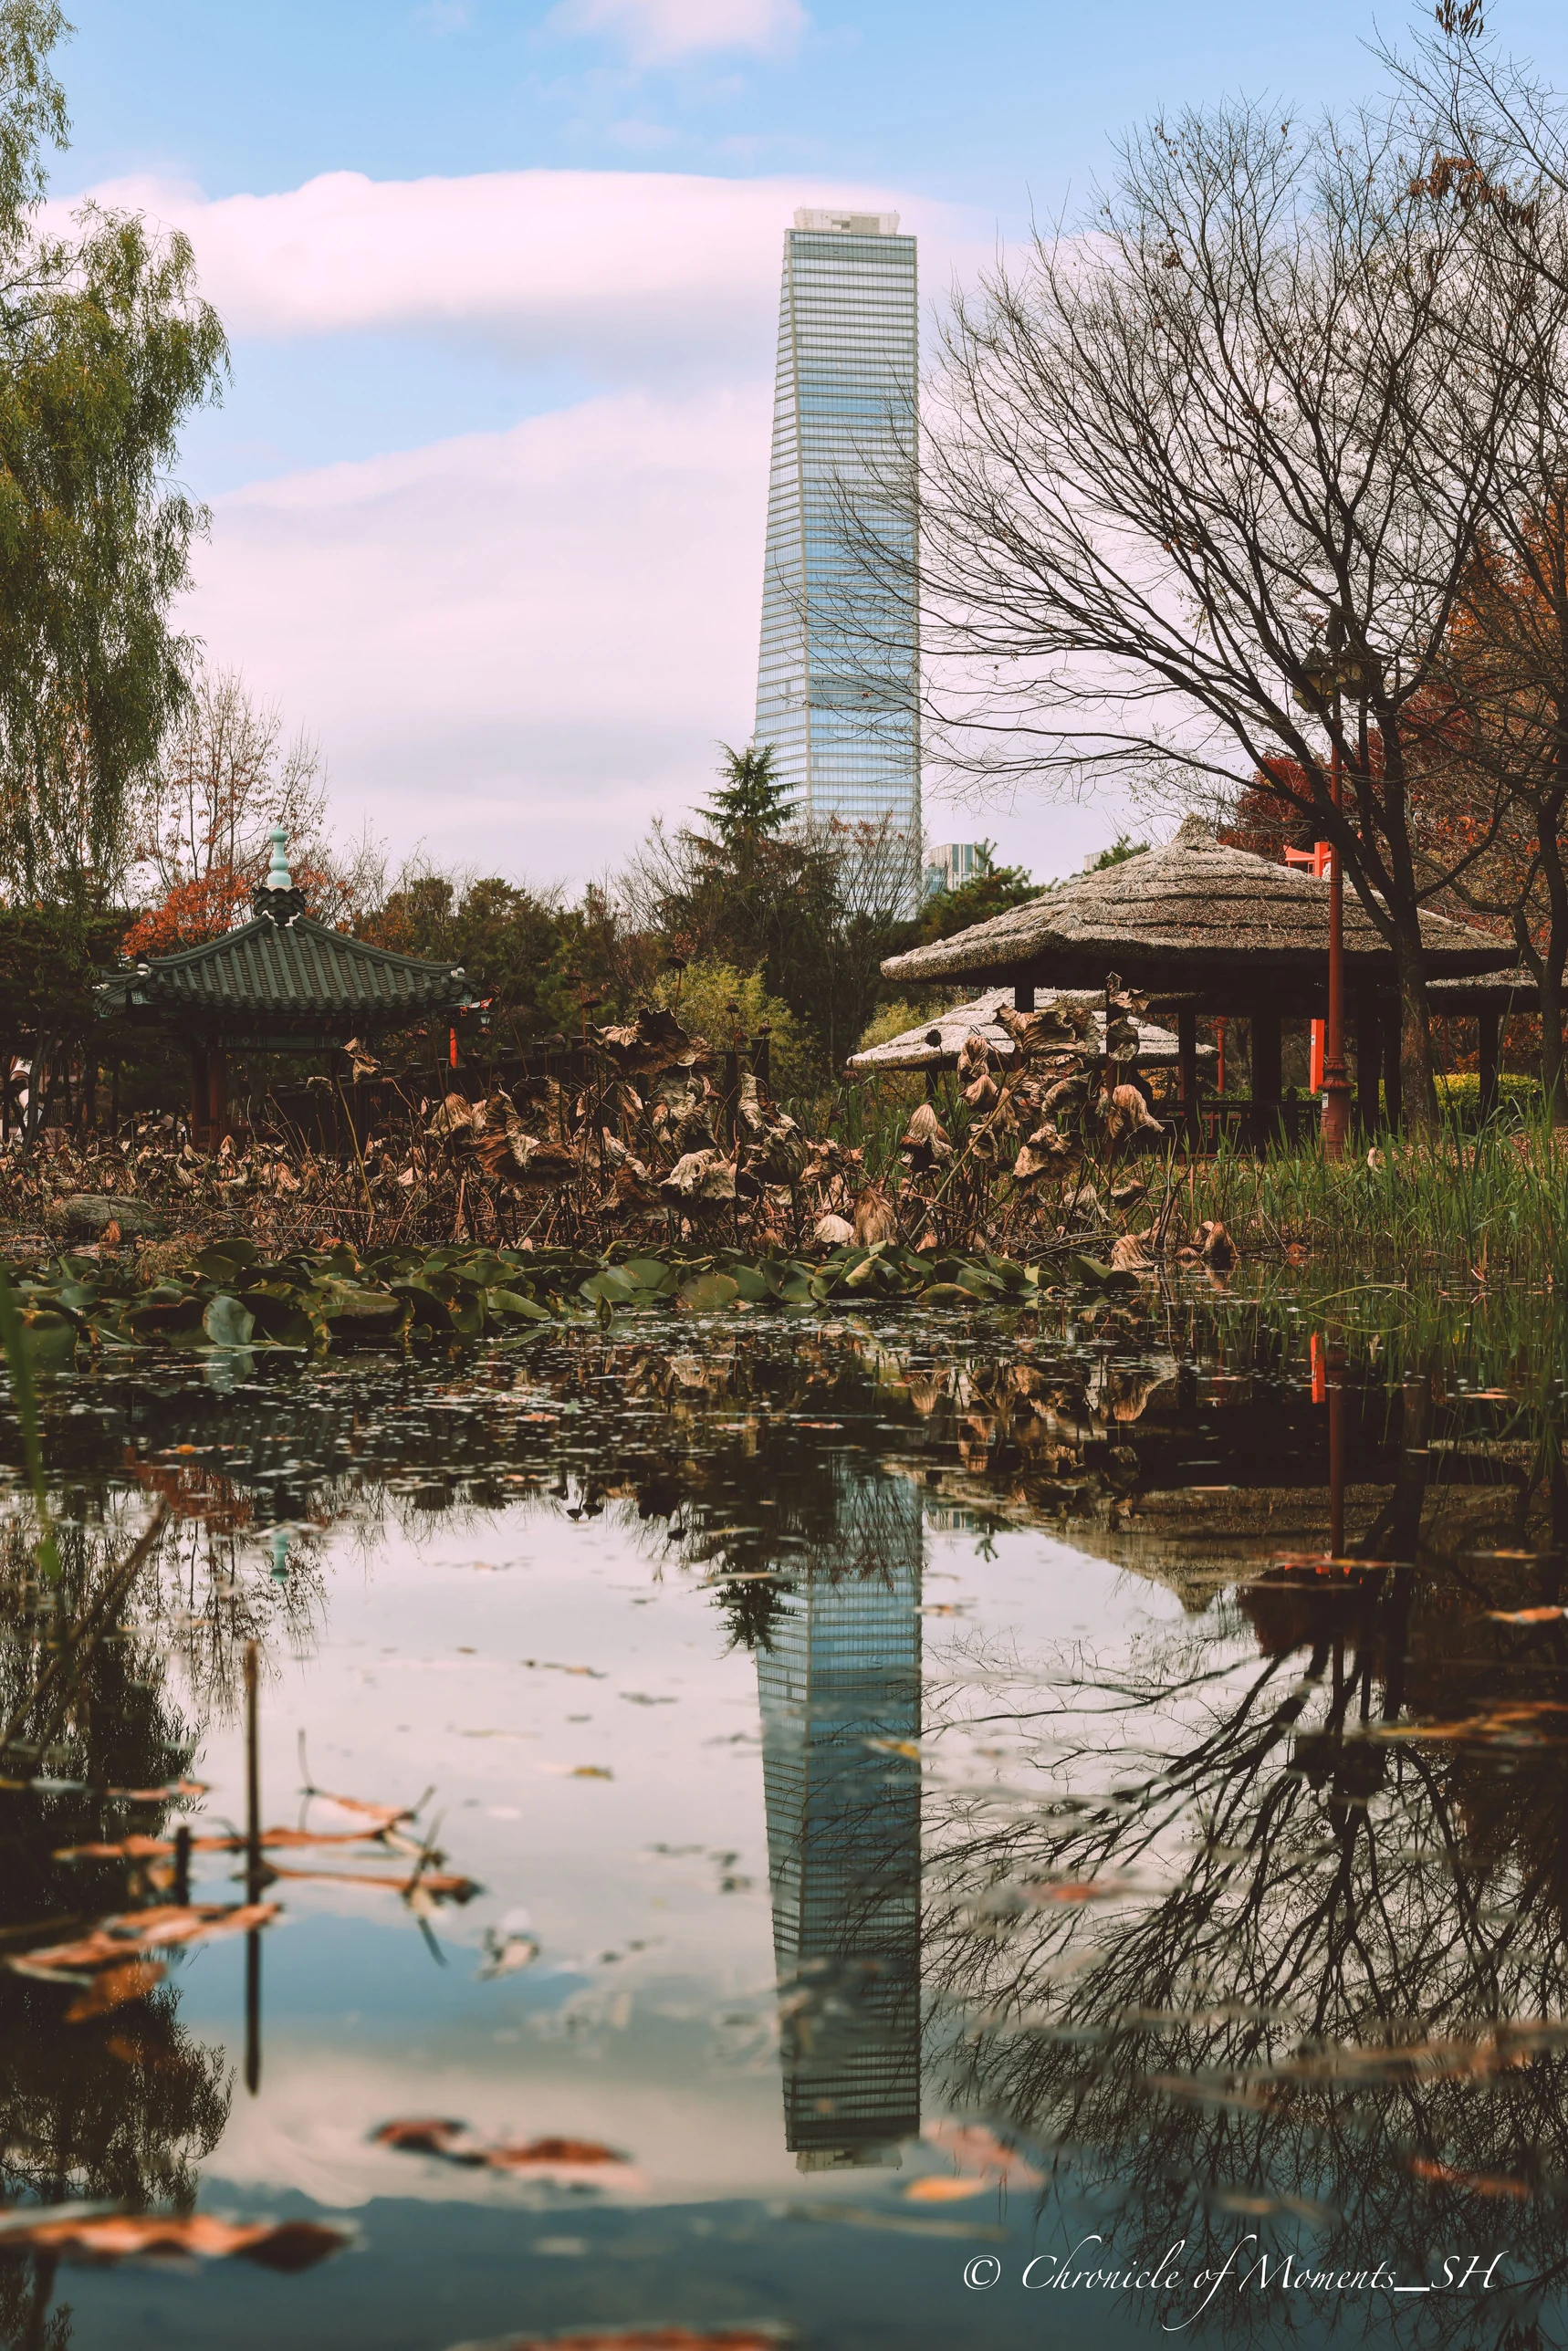
Canon EOS R5 Mark II · RF24-70mm F2.8 L IS USM · 57mm · F10 · ISO 250 · 1/60 s · 2025-11-18
(Click the photo to view it at full size)
The tall building reflected in the pond faces the real building, forming vertical symmetry. Shooting close to the water surface, as in this photo, makes the reflection take up more area. I stopped down to F10 to capture both the building and the reflection crisp, and made up for the darker exposure with ISO 250.
Perfect symmetry is sometimes monotonous. If there is an element that slightly breaks the symmetry, like the pavilion on the right or fallen leaves at the water's edge, the photo feels much more natural.
Checklist
- Is there a line crossing the frame at an angle (wall, road, eaves), and did you see where that line ends?
- Is there a repeating shape, and one element that breaks the rule?
- Is there something at the edge of the frame that can serve as a frame (eaves, a door, a branch)?
- Are curves and straight lines balanced in one frame?
- Is there a surface that creates reflections, such as water or a window?
Common Mistakes: 5 Ways to Ruin Composition
The most common mistake is always putting the subject in the center of the frame. A centered composition is not wrong, but looking first at the direction of lines and eye movement and then moving the subject to one side often makes the photo far more natural.
Having a line cut off awkwardly at the corner of the frame is also a frequent mistake. If you placed a wall or road diagonally, check that the line is captured all the way to where it ends. In symmetrical or frontal compositions a tilted horizon is especially noticeable, so the habit of leveling before shooting helps.
When you use a frame within a frame, a frame that is too bright or busy competes with the subject for the eye. A dark, simple frame is better. Lastly, there are times you focus only on composition and miss the aperture setting. If the background is busy and you've stopped down, the untidy background shows as it is, so check composition and aperture together.
FAQ
Do you decide composition when shooting, or by cropping later?
Deciding when shooting is the basic approach. You can crop later when retouching, but resolution drops, and a photo is cleaner when you settle distracting elements at the edges from the start.
Is it enough to know the rule of thirds?
The rule of thirds is one guideline on where to place the subject. The five in this post are guidelines on how to use lines and shapes, so they can be used together with the rule of thirds.
Does composition change with lens focal length?
It does. A wide angle shows near objects large and emphasizes depth, while a telephoto compresses distance and makes lines and shapes denser. The same wall feels different at 38mm and 70mm. You can check your lens's angle of view with the Camera Field of View Calculator.
How do I use a photo's EXIF for studying composition?
Check the focal length and aperture of a photo you like, and you can see with what settings that composition was made. Upload a photo to ExifLens and you can see the shooting info right away, which is useful when comparing the same scene with different settings.
Putting It Together
Composition is the habit of taking one look over diagonals, repetition, frames, curves and straight lines, and symmetry before you press the shutter. You don't need to put every guideline in one photo; clearly bringing out the one or two that catch your eye changes the photo. For what comes next, covering light and timing together with composition, read on in the Composition, Light and Timing Guide.
Copyright Notice
All photos used in this post are works taken directly by the site operator (Chronicle of Moments_SH). Photographs are protected as photographic works under Article 4(1)(ix) of the Korean Copyright Act, and copyright arises from the moment of shooting without any registration or other procedure (Article 10(2)).
Without the copyright holder's prior permission, it is prohibited to reproduce the photos in this post (Article 16), to post or transmit them on blogs, forums, social media, or communities (public transmission, Article 18), or to modify or edit them into derivative works (Article 22). Removing or altering the copyright notice and frame in a photo can also infringe the right of attribution (Article 12) and the right to integrity (Article 13). Uses the law permits, such as fair quotation of a published work (Article 28) or use within a private or domestic scope (Article 30), are exceptions.
Unauthorized use can lead to injunction claims (Article 123) and damages claims (Article 125), and can be punished by imprisonment of up to 5 years or a fine of up to 50 million won (Article 136(1)). For-profit or habitual infringement can be punished even without a complaint (Article 140).
Photo-use inquiries: skysmoga@gmail.com
© Chronicle of Moments_SH. All rights reserved.